Table of Contents
Is Your Garage Lighting Good Enough? It’s Time for an Upgrade
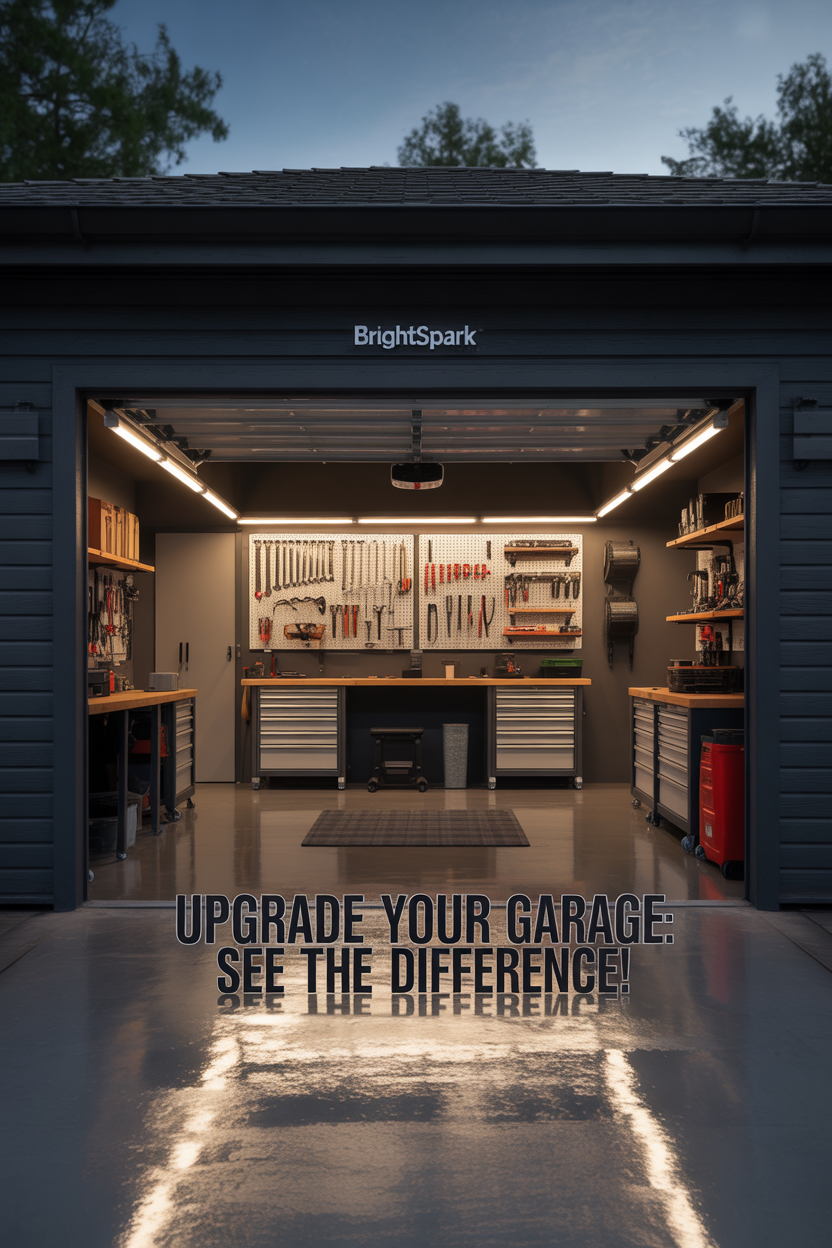
Chances are, your garage lighting is long overdue for an upgrade. Most homes come with stock lighting that is barely adequate. The single, dim bulb that came with your garage door opener simply isn’t enough. Sure, it makes the space “not dark,” but it’s far from ideal for working on projects, finding your tools, or even just safely walking around.
That bare bulb hanging from the center of your garage ceiling casts harsh shadows and a gloomy glare. This kind of lighting makes it tough to get anything productive done. Proper lighting is one of the most effective ways to improve a garage, turning it from a simple storage space into a functional workshop or an organized, welcoming part of your home.
You can learn more about how different lighting choices can improve your space and unlock your garage’s true potential.
So, why should you change your garage lighting? Beyond just being inadequate, that old incandescent bulb is incredibly inefficient. For the same energy cost, you could install something that makes your garage genuinely usable.
Forget Watts: Why Lumens Are What Really Matter for Brightness

It’s time for a quick lesson in modern lighting terms. It isn’t complicated, but it’s different from the old days when we only looked at one number: watts.
We used to think watts told us how bright a bulb was. While it seemed that way, it was only because all standard bulbs used the same old-fashioned incandescent technology.
With today’s modern bulbs, watts no longer measure brightness. Instead, they measure how much energy a bulb uses, which is great for comparing running costs.
To understand a bulb’s actual brightness, you need to look at its lumens. The good news is that every new light bulb package clearly displays this number. For a complete guide, the U.S. Department of Energy provides a comprehensive overview.
For reference, here is how many lumens old incandescent bulbs produced:
- 40w → 450 Lumens
- 60w → 800 Lumens
- 75w → 1100 Lumens
- 100w → 1600 Lumens
- 150w → 2600 Lumens
Warm vs. Cool: How Kelvin (K) Affects Your Garage’s Feel
Have you ever noticed that some light feels soft and yellowish-orange, while other light is crisp and white? This quality is known as color temperature.
Color temperature is measured in Kelvin (K) and has nothing to do with physical heat. The scale ranges from around 2,500 K (warm) to over 6,000 K (cool).
A lower Kelvin number produces a “warmer” light that appears more yellow or orange, like a cozy living room lamp. A higher Kelvin number produces a “cooler” light that appears more white or even blueish, like daylight.
The sweet spot for clear, focused work is between 4,500 K and 5,500 K. This range is often called “pure white” or “daylight,” mimicking the sun at midday.
For garages, you’ll want to aim for the 5,000 K range. This provides clean, clear light for projects. Avoid the “cozy” lower numbers unless you’re specifically creating a man cave with a relaxed, den-like atmosphere.
See Colors Clearly: What is the Color Rendering Index (CRI)?
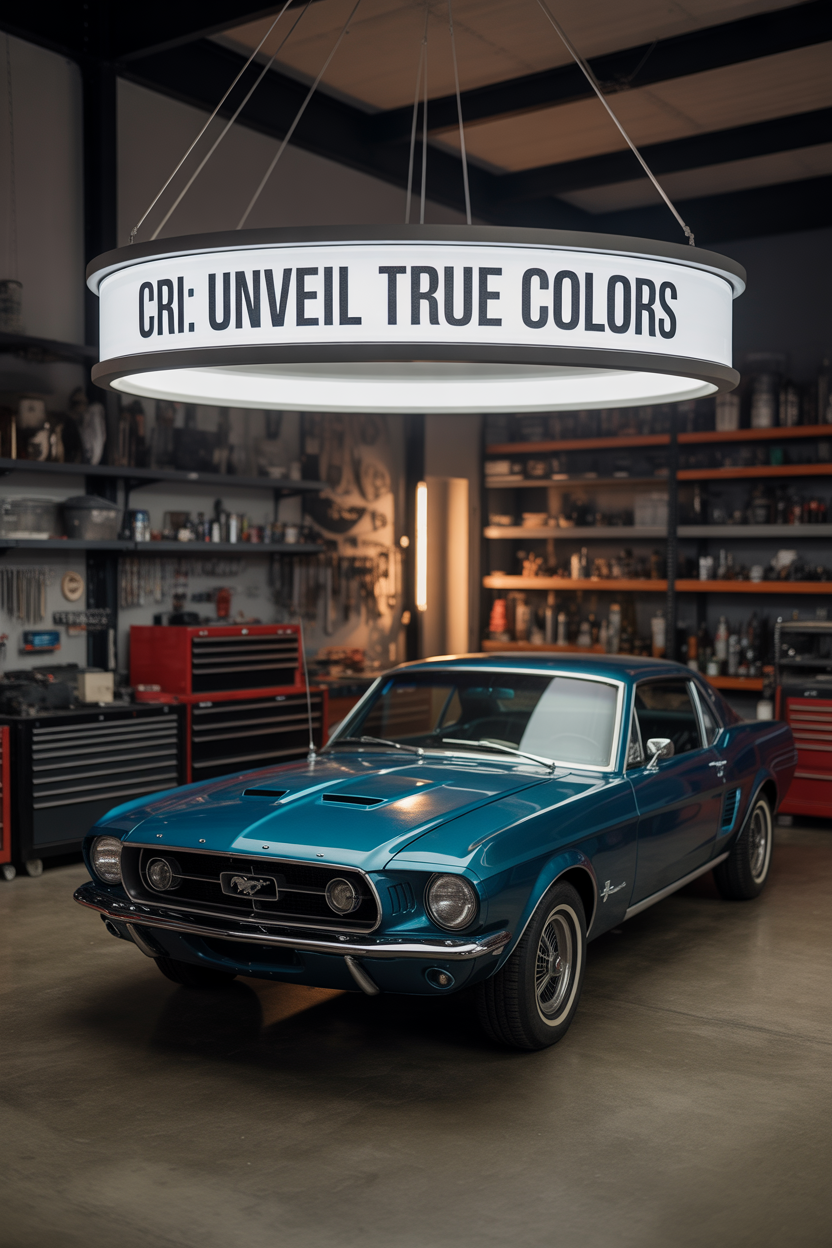
The final lighting metric you should know is the CRI, or Color Rendering Index. This number isn’t always on the package but is critical for any color-sensitive work.
CRI measures how accurately a light source makes colors appear compared to natural daylight. Natural daylight has a perfect CRI of 100.
To understand CRI, think of someone shopping for fabric. They might take the material to a window to see its true color in natural light, instinctively seeking a high-CRI source.
The opposite of this would be a black light, which radically alters how colors appear and has a CRI of less than zero. For an in-depth explanation, Philips provides a helpful FAQ on CRI.
For general use in a garage, a CRI of 80 or higher is perfectly fine. It will render colors well enough for most organizational tasks and projects.
However, if you’re doing detail work like painting, auto body work, or classic car restoration, a CRI of 90 or more is essential. This ensures you get the most accurate and true-to-life color representation.
The Contenders: Halogen, CFL, and LED Lights Compared
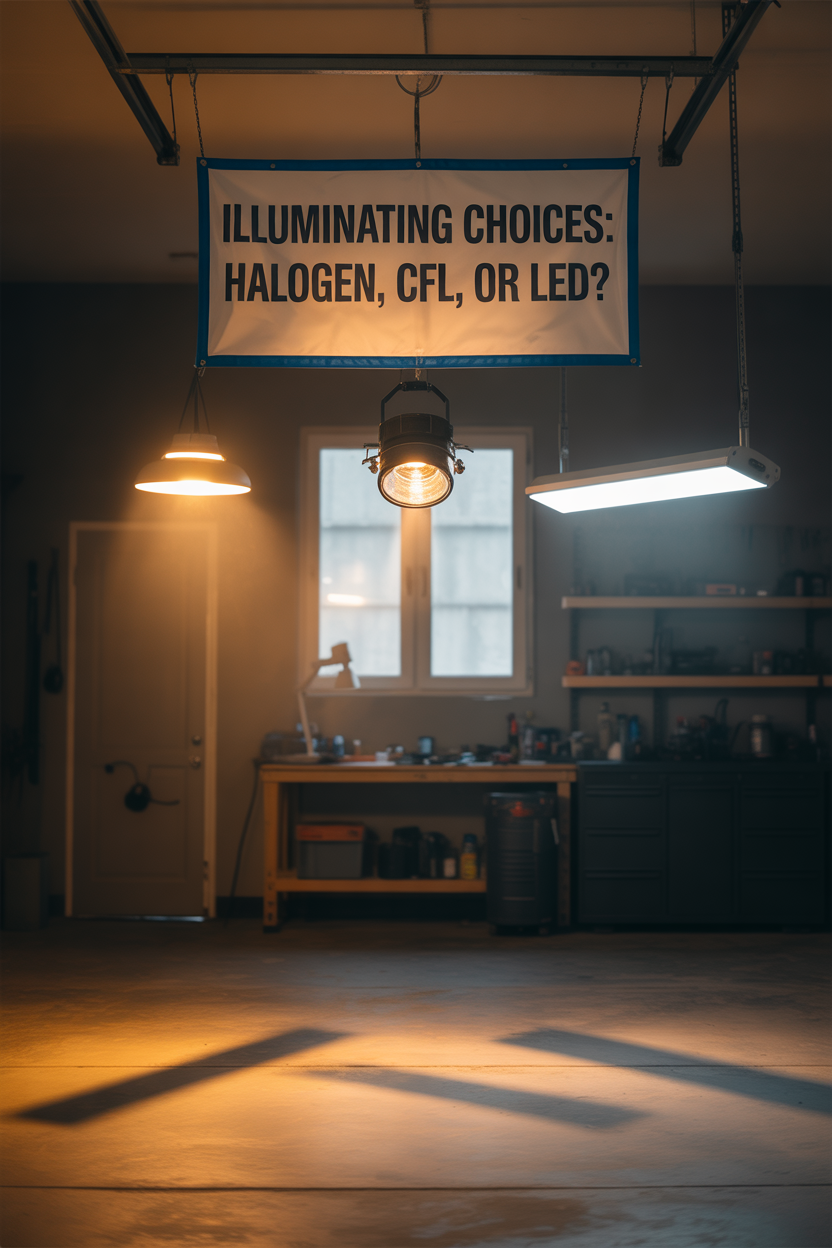
Today’s market offers a few different types of lighting solutions. Each has its own profile, but one stands out as the clear winner for garage applications.
Halogen/Incandescent: These are the closest modern equivalent to old incandescent bulbs. They offer a warm, high-CRI light but are only about 25-28% more efficient and last just 1-3 years.
CFL (Compact Fluorescent Light): CFLs were once popular for their energy savings, using about 75% less energy than old incandescents. However, they contain mercury, can flicker, and have been largely surpassed by a better technology.
LED (Light Emitting Diode): This is the undisputed champion for your garage. LED technology has improved dramatically, offering incredible efficiency, brightness, and adaptability.
All new bulb types are more efficient than old ones and last longer. However, the differences between them are significant when planning a garage lighting project.
Why LED Reigns Supreme for Garage Lighting Solutions
If you only take away one thing from this guide, let it be this: for your garage, the best solution is LED lighting. The benefits are simply unmatched.
LED lights are the longest-lasting option available, with many quality bulbs rated for 15 to 25 years of use. This means you can install them and forget about changing bulbs for a very long time.
They are also the most energy-efficient, using around 80% less energy than old incandescent bulbs. This low energy draw allows you to install powerfully bright lights without a major impact on your electric bill.
Finally, LED technology is remarkably versatile. It can produce a wide range of color temperatures and achieve a bright, clear light perfect for any garage task.
For help deciding, see our guides on The Best Garage Lights and determining How Many Garage Lamps You Need.
Will Upgrading to LED Lighting Save You Money?

The answer is a resounding yes, though perhaps not in the way you first think. The savings depend on how you use your garage.
If you only briefly pass through your garage each day, you won’t see dramatic savings on your electric bill. But if that’s the case, you likely aren’t reading an in-depth guide to garage lighting!
The real return on your investment comes from improving the quality and usability of your space. An investment in good LED lighting makes your garage more functional, safe, and enjoyable to be in.
ENERGY STAR certified bulbs, for example, use up to 90% less energy and last 15 times longer. This saves you money on both energy and replacement costs over their lifetime.
A modest upfront cost for LEDs will save you money and hassle in the long run. You get superior lighting with a low impact on your bill and without the annoyance of constantly changing bulbs.
How Much Light Do You Actually Need in Your Garage?
Believe it or not, there are professional design recommendations for the amount of light in any given room. These guidelines put numbers to our intuitive sense of what feels right.
For example, bedrooms and living rooms feel more inviting when they are less bright. A brightly lit living room can feel as clinical as a bathroom, where bright light is necessary for grooming.
For a garage, a minimum of 30-40 lumens per square foot is a good starting point. This is roughly the amount of light recommended for a well-lit kitchen.
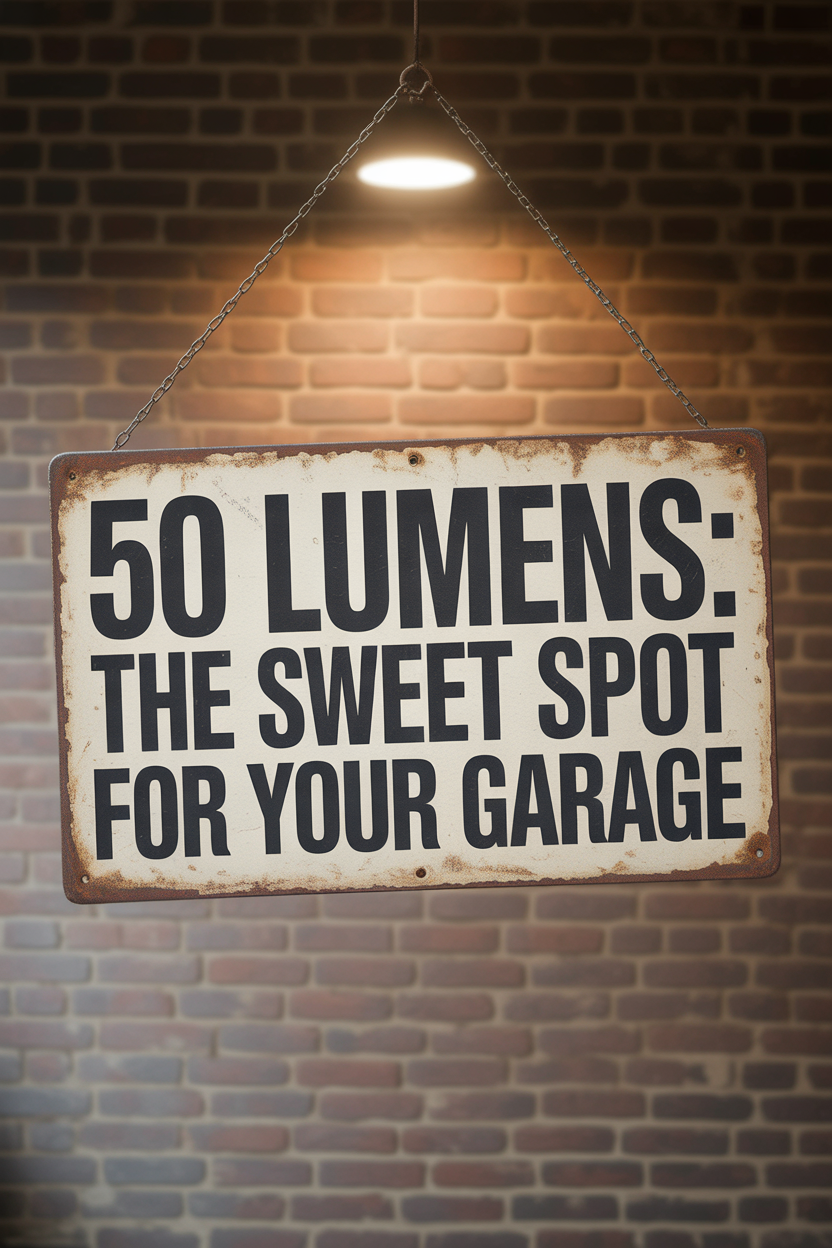
Most lighting experts, however, recommend 50 lumens per square foot for a general-purpose garage space. This ensures good visibility for parking, storage, and day-to-day tasks.
If you plan on doing detailed work, restoration, or other hobbies, you should aim higher. A target of 75-100 lumens per square foot is ideal to reduce eye strain and improve safety.
How to Calculate the Perfect Number of Lumens for Your Garage

Before you calculate your garage’s needs, it’s helpful to see the standard lumen recommendations for various residential spaces.
Recommended Lumens Per Square Foot:
- Hallways: 5-10 lumens
- Bedrooms: 10-20 lumens
- Living rooms: 10-20 lumens
- Dining rooms: 30-40 lumens
- Kitchens: 30-40 lumens
- Bathrooms: 70-80 lumens
- Task Lighting: 70-80 lumens
The calculation for your garage is simple. First, use a tape measure to find the length and width of the space.
Multiply these two numbers to get the total square footage of your garage. Then, multiply that square footage by your desired lumens per square foot (e.g., 50 for general use, 75 for a workshop).
When in doubt, it is always better to go brighter. You can’t easily add more light later, but you can always segment your lighting with multiple switches if it’s too bright.
Let’s Do the Math: A Real-World Lighting Calculation
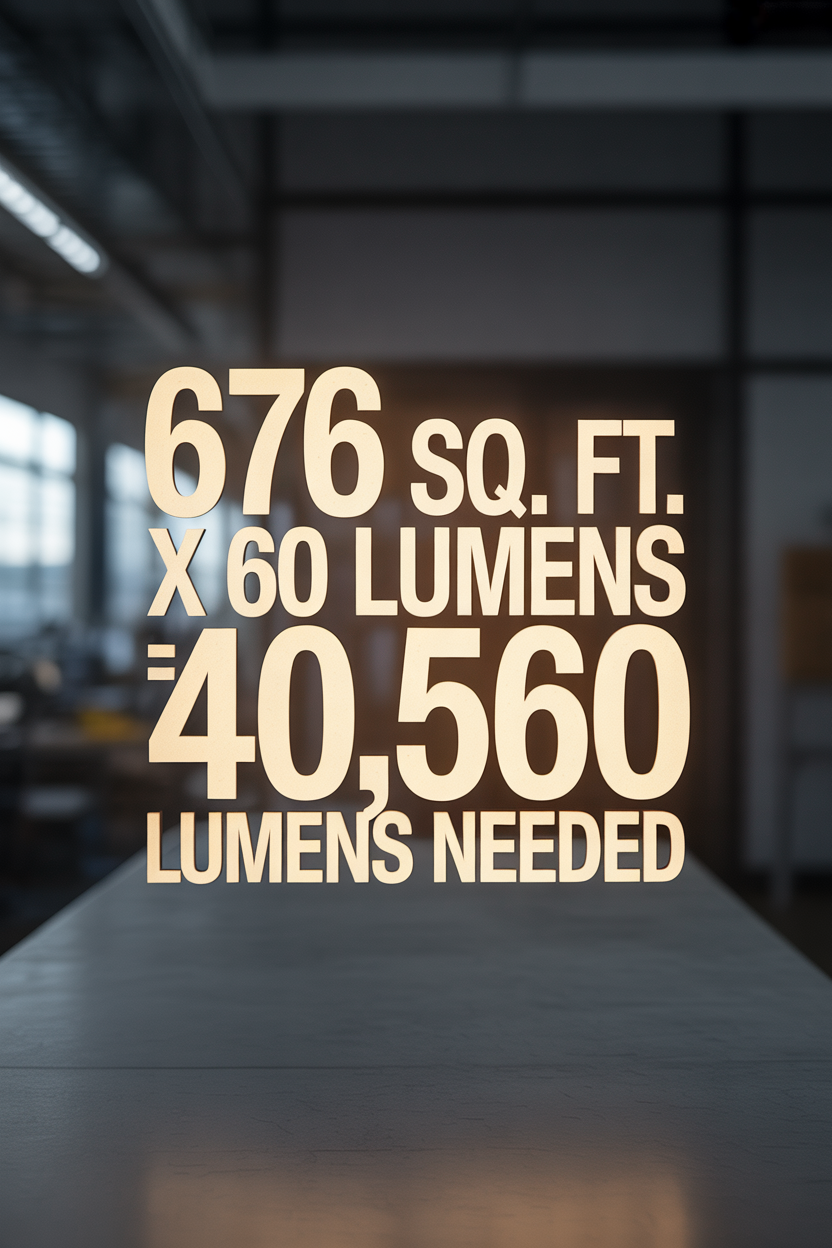
Let’s walk through a real-world example. Say your garage is 26 feet wide by 26 feet long. That gives you a total of 676 square feet.
You decide you want a nice, bright lighting setup providing 60 lumens per square foot. This is a great middle-ground for a multi-purpose garage.
Now, multiply your area by your desired brightness: 676 sq. ft. x 60 lumens = 40,560 total lumens needed. This is your target.
A 26 x 26 ft. garage with 60 lumens per square foot requires 40,560 total lumens. Three 4-packs of 4,000 lumen lamps (16,000 lumens per pack) will give you 48,000 lumens, which is a good overshoot of the goal.
Next, you find a light fixture you like, such as a four-pack of Sunco LED shop lights. Each lamp produces 4,000 lumens, so one package provides a total of 16,000 lumens.
To reach your goal of 40,560 lumens, you divide that by the package’s output: 40,560 / 16,000 = 2.53. Since you can’t buy half a package, you’ll purchase three.
Three packages will provide 48,000 total lumens, comfortably exceeding your target and ensuring a brilliantly lit, functional space.
Fixture Placement: How to Light Your Garage Without Shadows

The key to good general lighting is to maximize light spill and minimize shadows. Proper fixture placement is crucial for achieving this.
Long, rectangular LED shop lights that hang from the ceiling are usually the best choice for even coverage. They can typically be mounted flush to the ceiling or hung from a small chain.
To avoid creating dark spots around the edges of your garage, avoid placing your main lights too close to the walls. Distributing them evenly across the main ceiling area is more effective for overall brightness.
Why You Still Need Task Lighting (Even with Bright Overhead Lights)
Even with perfect overhead lighting, your own body can cast shadows when you’re hunched over a project. This is where task lighting becomes essential.
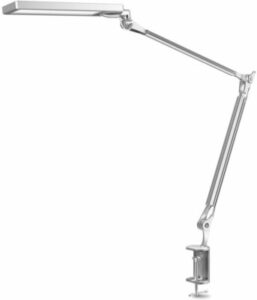
If you have a workbench, you should invest in a good task light. An adjustable, extra-bright swing-arm lamp is an excellent choice for focused work.
A quality task lamp, like this BYB model, provides shadow-free illumination right where you need it most. It directs powerful light onto your hands and your project, eliminating frustrating shadows.
This approach also allows you to light up just your work area without turning on all the main garage lights. This saves energy and focuses the light exactly where it counts, making every project safer and more precise.


