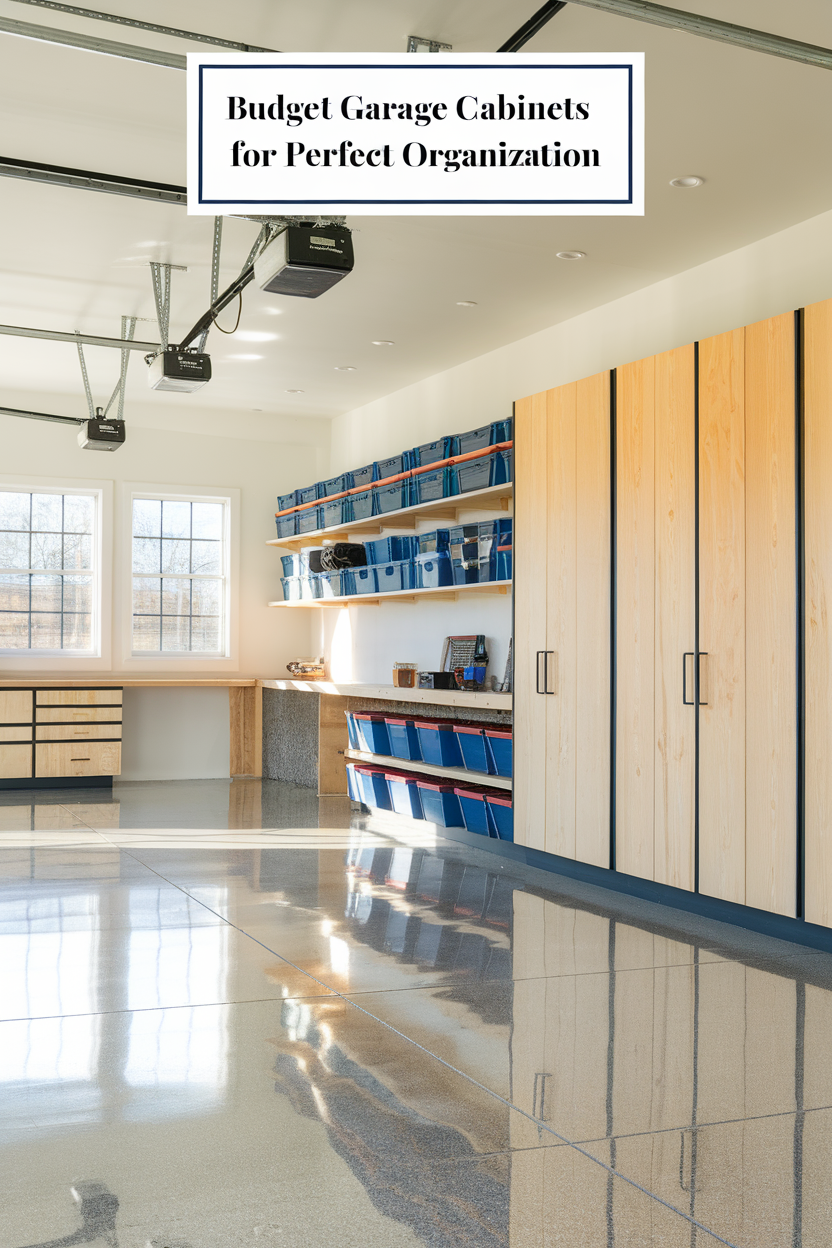
The Magic of an Organized Garage Oasis
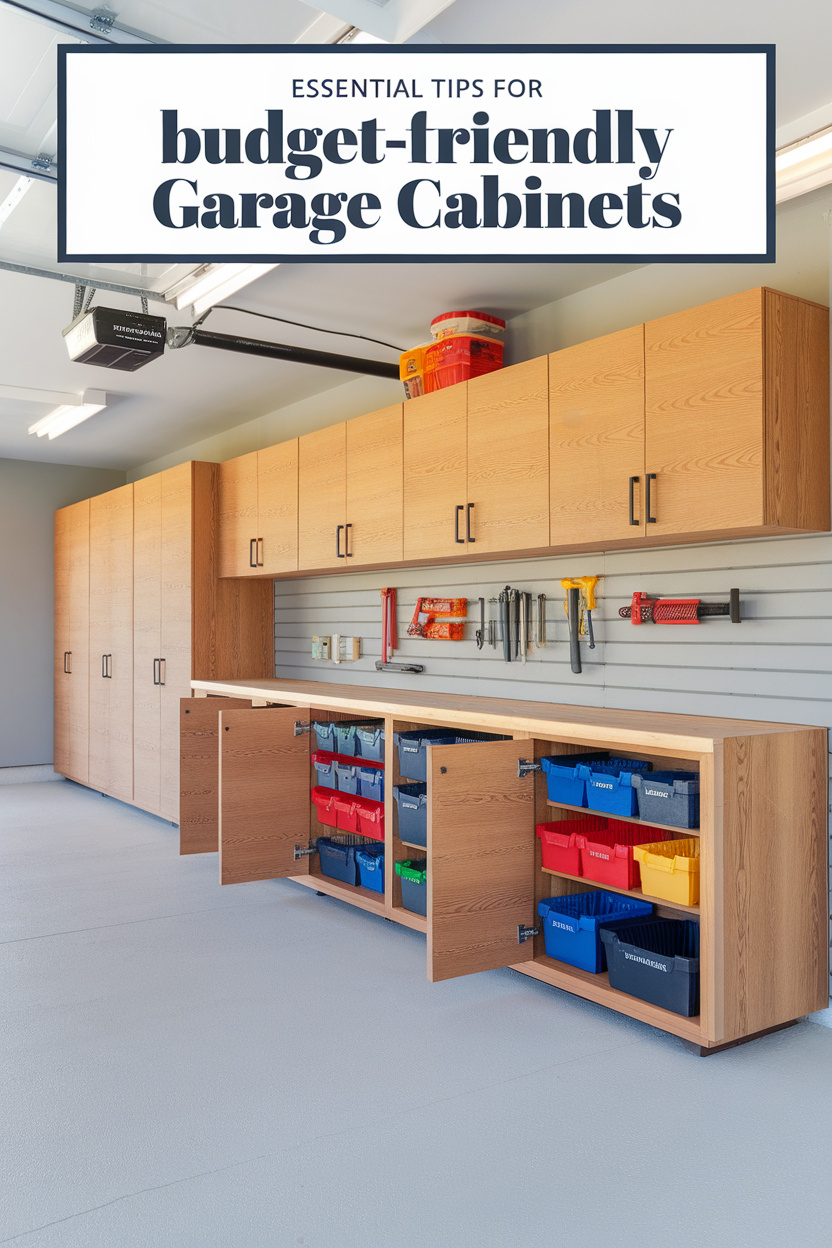
Isn’t there something magical about turning a chaotic, cluttered garage into an organized oasis? It’s a space that actually makes you smile when you pull in.
That satisfying feeling of knowing exactly where every tool and piece of sports equipment belongs can turn your garage from a dreaded dumping ground into a functional extension of your home.
The right storage solution doesn’t just hide the mess—it creates a system that works for your specific needs. It makes everyday life smoother and more efficient.
In this guide, I’ll walk you through the entire process of building your own DIY garage storage cabinets. We’ll go from measuring your space to adding those final, professional-looking touches.
You’ll discover budget-friendly material options, essential tools, and clever design tricks that maximize every inch of wall space.
Even if you’ve never built anything before, you can create custom garage cabinets that look professional. With these straightforward steps, they will stand the test of time.
Your Quick-Start Guide to DIY Cabinet Success
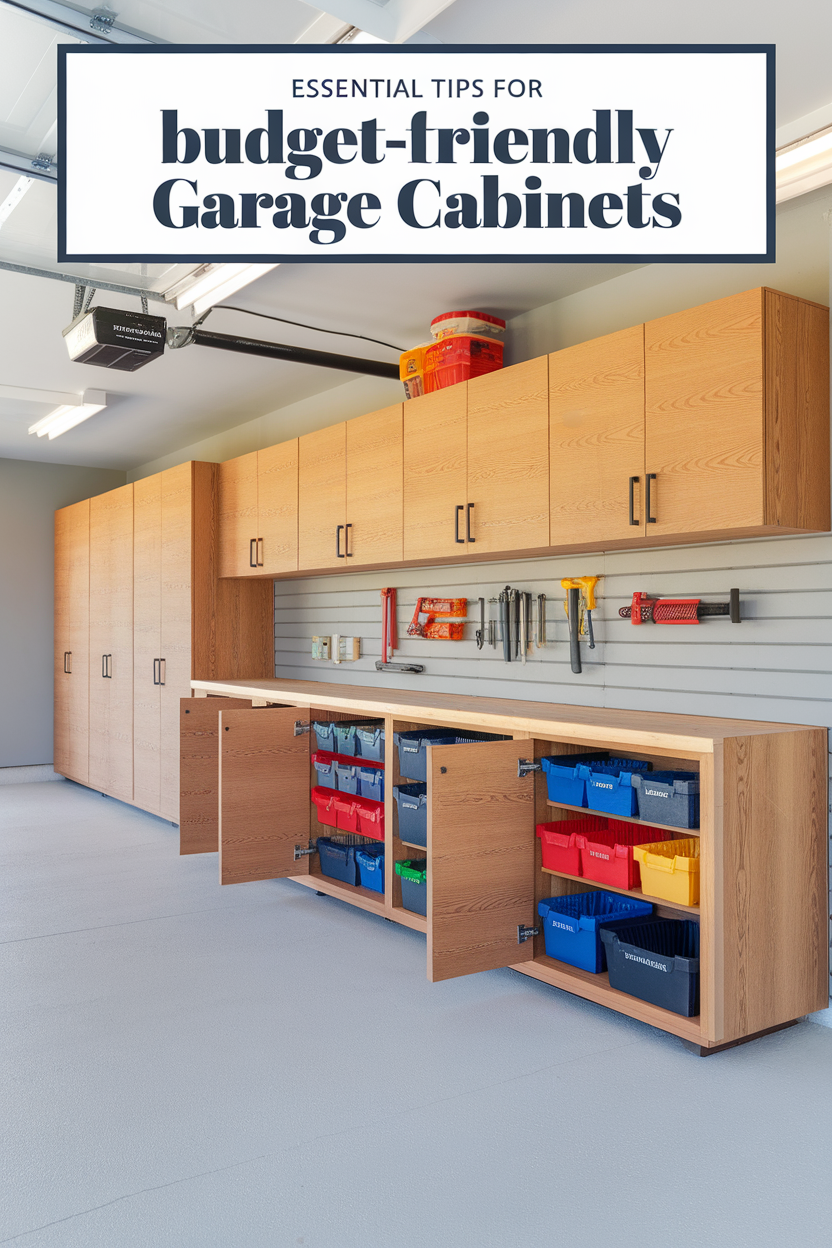
Turn your garage into an organized haven with these DIY storage cabinet solutions anyone can implement.
First, measure your garage space carefully and create a detailed layout plan before purchasing any materials. Accurate site measurement and planning is the essential first step for success.
Use 3/4-inch plywood and pocket-hole joinery for professional-quality cabinets. This method doesn’t require advanced woodworking skills, offering strength in a beginner-friendly package, as shown in this detailed video guide.
Install wall-mounted cabinets at varying heights to utilize vertical space. This keeps items accessible while maximizing your precious floor area.
Customize cabinet depths based on specific storage needs. Use deeper units for bulky items and shallower ones for frequently used tools to optimize your investment.
Add floating shelves between or above cabinets. This creates flexible storage that can be easily reconfigured as your needs change over time.
Install sliding door systems on cabinets to conceal clutter while maintaining full access in tight spaces. This is a great tip for budget-friendly storage solutions.
Finally, apply a quality primer and durable paint or polyurethane finish. This protects your cabinets from harsh garage conditions, ensuring their longevity and good looks.
Step 1: Design Your Dream Garage with Precision Planning

The perfect garage storage system begins with a thoughtful layout that turns chaos into calm!
Start by measuring your entire garage space. Be sure to note the height of your walls, locations of outlets, windows, and any permanent fixtures that might impact cabinet placement.
This comprehensive approach ensures your storage solution fits perfectly and addresses your specific needs, a critical step experts emphasize to avoid common pitfalls.
Create a detailed floor plan on graph paper or using a free online design tool. Divide your garage into functional zones based on how you use the space.
Designate specific areas for different activities such as car maintenance, gardening, sports equipment, or your workshop. You’ll love how this zoning approach makes everything more accessible and logical.
Before finalizing your design, mark the cabinet locations on your garage floor using painter’s tape. This helps you visualize the layout and ensure proper clearance for vehicles and movement.
Take a weekend to thoroughly clean your garage, assess what you actually need to store, and finalize your cabinet layout plan before purchasing any materials.
Step 2: Build Strong Cabinets with Basic Tools
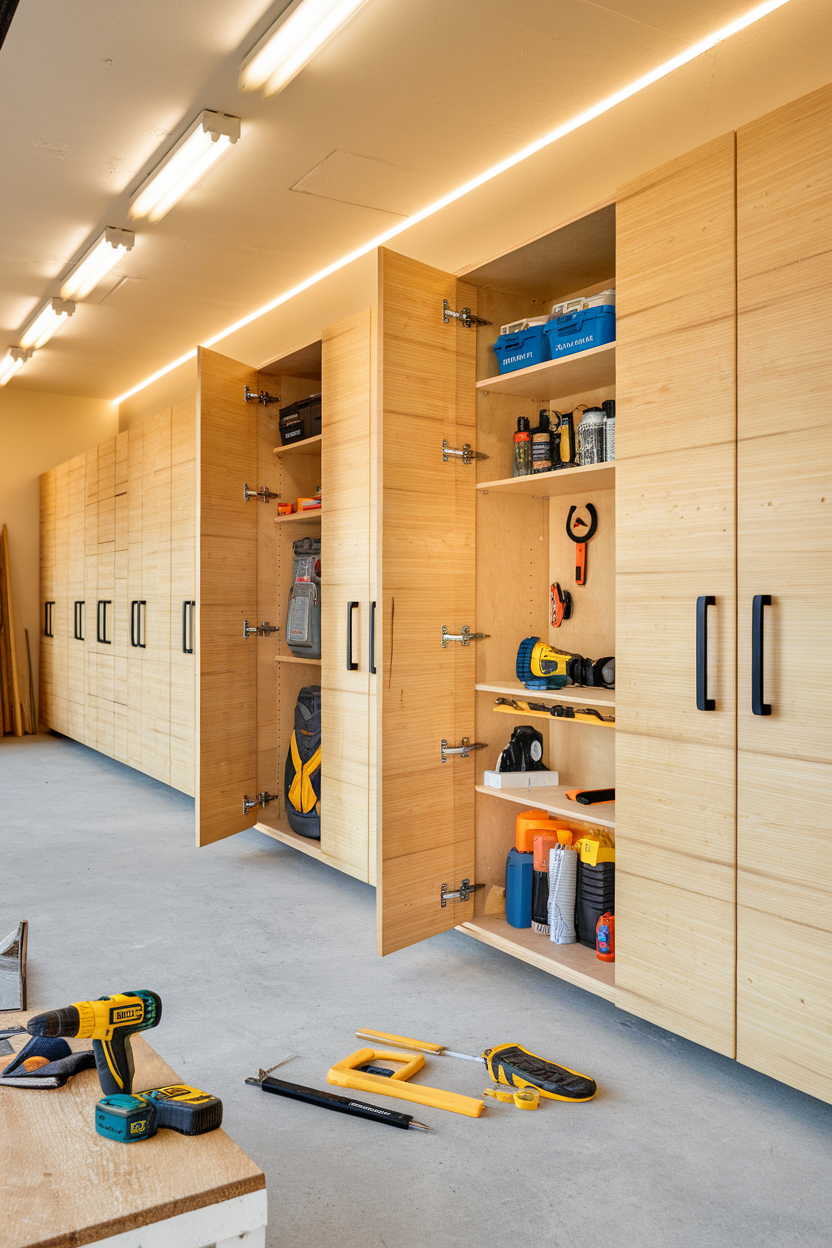
You don’t need a professional workshop to create garage cabinets that will stand the test of time. A few key choices make all the difference.
3/4-inch plywood offers the perfect balance of strength, affordability, and workability for DIY cabinet construction. This allows you to build professional-looking storage without breaking the bank, a method detailed in step-by-step guides.
Pocket-hole joinery is a fantastic trick for beginner woodworkers. It requires only a simple jig and a drill to create strong, hidden joints that make your cabinets look professionally crafted.
You can see this technique in action in this helpful video tutorial. Use a circular saw with a straight-edge guide for precise cuts.
Pre-assemble cabinet boxes on a flat surface before installation. This ensures everything is square and properly aligned—you’ll be amazed at how professional your results look!
Start with a simple base cabinet design (approximately 36″ high x 24″ deep x 24-36″ wide) that you can replicate and modify as needed. Use adjustable feet on bottom cabinets to accommodate uneven garage floors.
This weekend, purchase your plywood and hardware, then cut all pieces for your first cabinet to kickstart your garage transformation.
Step 3: Go Vertical to Maximize Wall Storage
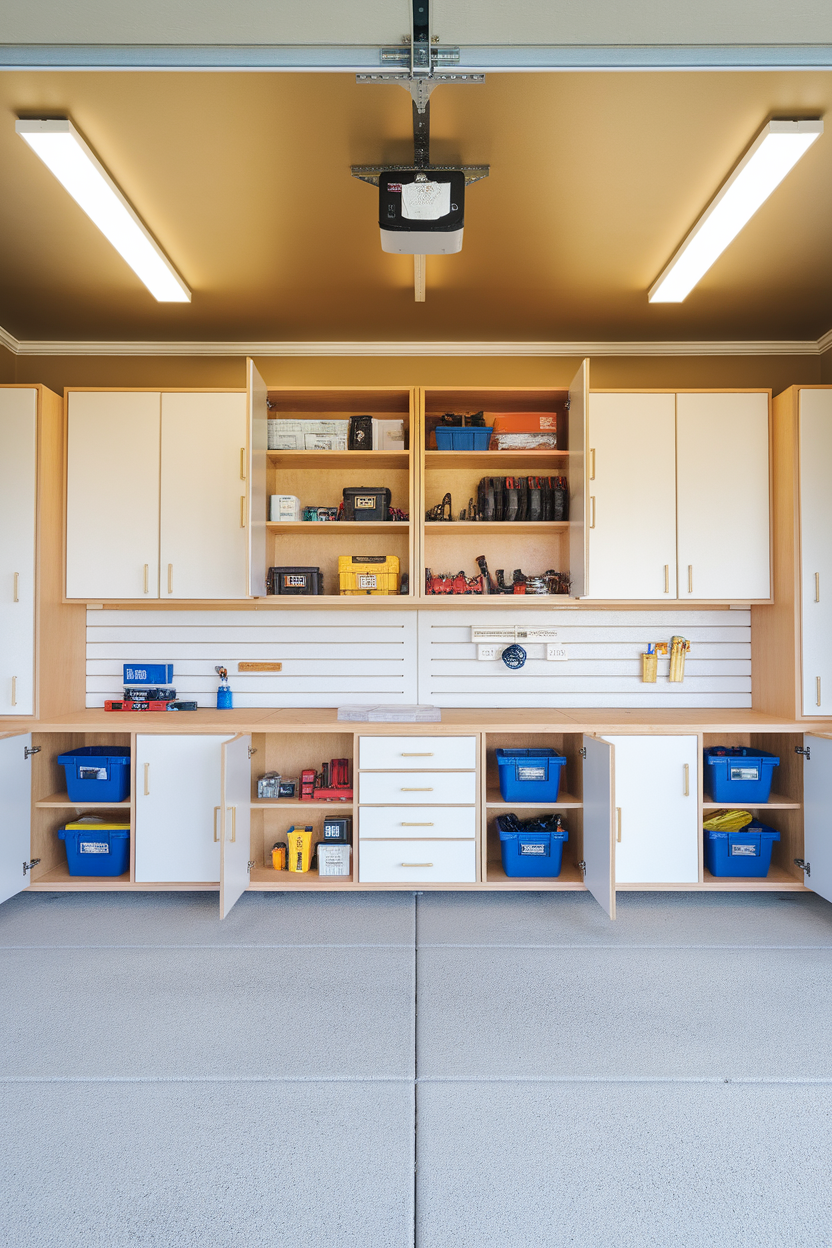
The secret to doubling your garage storage capacity lies in looking up!
Wall-mounted cabinets dramatically increase your storage potential by utilizing often-wasted vertical space. This keeps items off the floor while maintaining full access to your garage’s footprint.
Install a French cleat system along your garage walls to support upper cabinets. This provides incredible strength while allowing you to reposition cabinets as your needs change.
As professionals advise, a secure mounting system is non-negotiable for safety and durability.
Stagger cabinet heights and depths to create visual interest and accommodate items of various sizes. Place frequently used items at eye level and seasonal storage higher up where you’ll still have easy access when needed.
Consider installing at least one cabinet with a pegboard or slat wall back panel that extends below. This creates a versatile tool storage zone that will keep your most-used items visible and accessible.
This weekend, map out your wall cabinet locations and install your first French cleat rail to begin your vertical storage journey.
Step 4: Tailor Cabinet Depths for Customized Storage
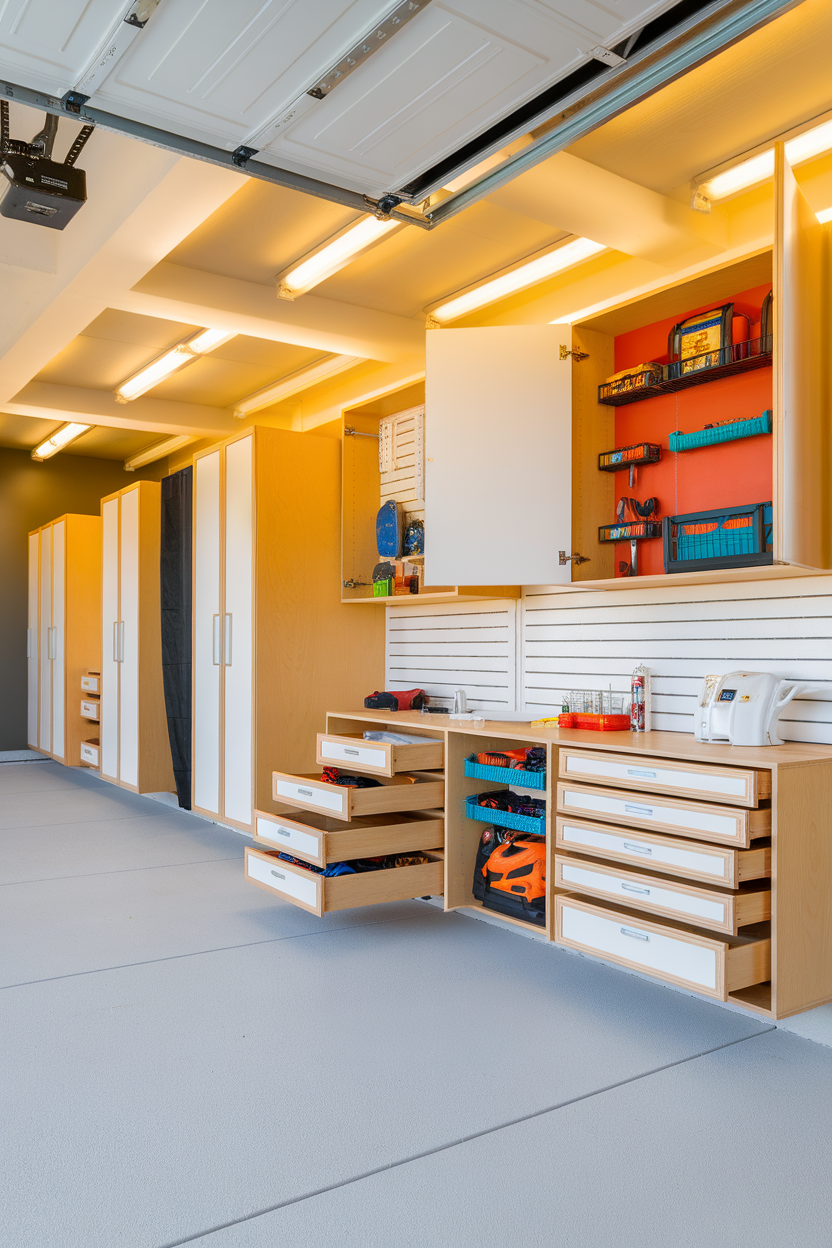
One size definitely doesn’t fit all when it comes to garage storage. Smart customization is key.
Varying your cabinet depths creates a storage system perfectly tailored to your specific items. This approach eliminates wasted space while ensuring everything has its perfect place.
Design deeper cabinets (18-24 inches) for bulky items like power tools and sports equipment. Create shallower units (12 inches or less) for smaller tools, automotive supplies, and cleaning products.
Customizing dimensions is a key factor that impacts the overall cost and effectiveness of your setup.
Incorporate pull-out drawers and trays in deeper cabinets to eliminate frustrating rummaging. This allows you to access items at the back without having to remove everything in front.
You’ll save countless hours of searching and feel a wonderful sense of control over your space.
Create a detailed inventory of what you’ll be storing and group items by size before finalizing your cabinet depths. This ensures each cabinet serves its intended purpose perfectly.
Take measurements of your largest items today and adjust your cabinet plans to accommodate these specific storage needs.
Step 5: Add Style and Function with Floating Shelves
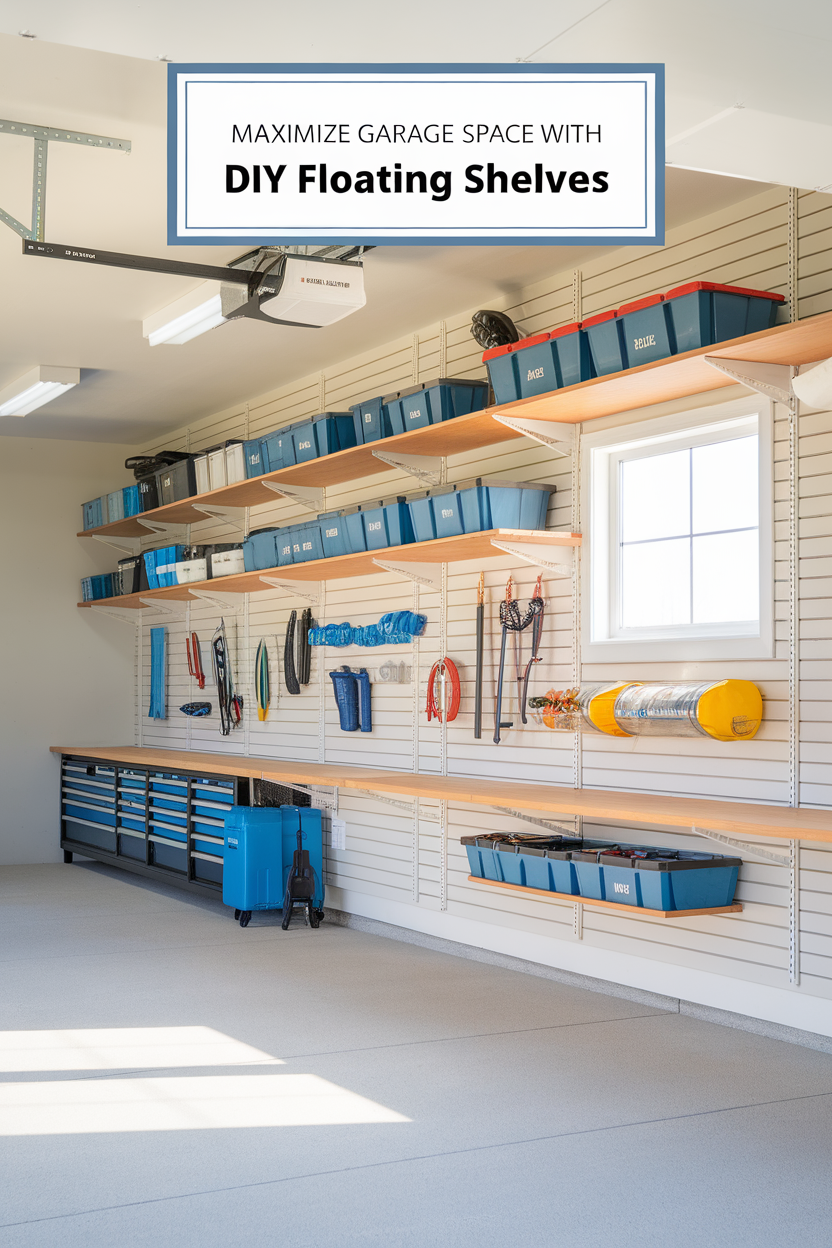
Floating shelves add a touch of modern sophistication while providing incredibly practical storage flexibility!
Installing open shelving between or above cabinets creates display space for frequently used items. It also adds visual breathing room to your storage wall, preventing that closed-in feeling.
Use heavy-duty floating shelf brackets that mount directly to wall studs. These are capable of supporting up to 100 pounds per shelf for serious garage storage needs.
Alternate cabinet and open shelf sections to create a custom storage wall. This approach perfectly balances easy accessibility with visual clutter concealment.
You’ll appreciate how this mixed approach keeps your most-used items within easy reach while hiding other items behind closed doors.
Consider adding small LED strip lighting underneath floating shelves to illuminate work areas. This also makes it easier to find items in lower cabinets.
This weekend, install at least one floating shelf section to experience how this flexible storage option enhances your garage organization system.
Step 6: Save Space with Sleek Sliding Doors
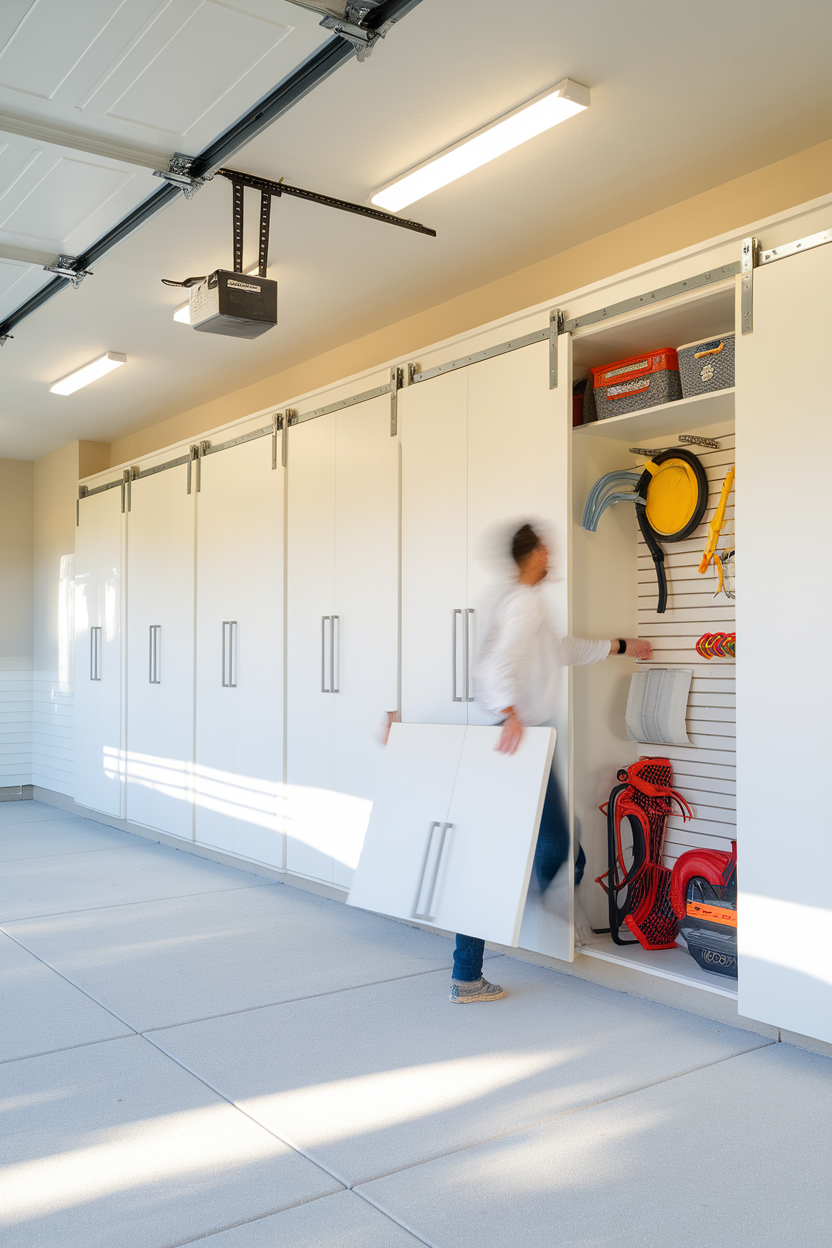
Sliding doors make ordinary garage cabinets into sleek, space-efficient storage solutions.
Unlike traditional swing-out doors, sliding systems require no clearance space in front of cabinets. This makes them perfect for tight garages or areas where you need to maintain clear walkways.
This efficiency makes them a core component of many budget-friendly storage strategies.
Install simple track systems at the top and bottom of cabinet openings, using 3/4-inch plywood or MDF for the doors themselves.
Add recessed finger pulls or edge pulls to sliding doors for a clean look that won’t catch on clothing. You’ll love how this streamlined approach maintains a neat appearance while providing full access to your storage.
Consider using translucent acrylic or polycarbonate panels for some sliding doors. This allows visibility while still concealing clutter, especially for cabinets with frequently used items.
Order sliding door hardware today and prepare door panels for at least one cabinet to experience this space-saving solution firsthand.
Step 7: Protect Your Cabinets with a Pro-Grade Finish
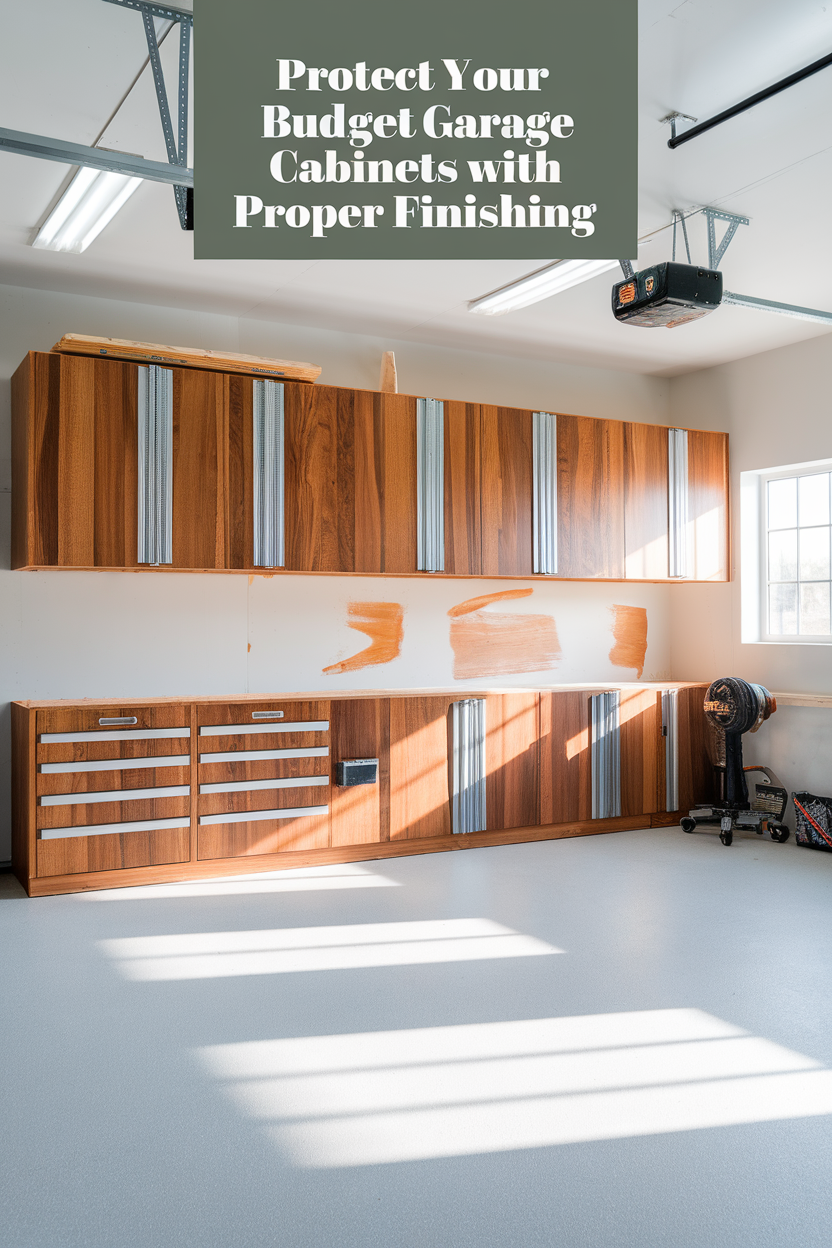
The right finish turns your DIY cabinets from good to great while protecting your investment for years to come.
Proper sealing and finishing not only enhances appearance but also shields your cabinets from garage conditions. This includes temperature fluctuations, humidity, and inevitable bumps and scrapes.
Start with a high-quality primer designed for wood surfaces. Follow it with at least two coats of semi-gloss or gloss paint that will resist dust and allow for easy cleaning.
For a visual demonstration of the finishing process, check out this helpful tutorial.
Consider adding a polyurethane topcoat to high-use surfaces like countertops and shelves for maximum durability. This is a key tip found in detailed cabinet-building guides.
You’ll appreciate this extra protection when you’re setting down heavy tools or working on messy projects without worry.
Label cabinet contents either with a simple label maker or by adding a small whiteboard panel to cabinet doors for contents that change frequently.
This weekend, sand all visible cabinet surfaces and apply your primer to prepare for the final finishing steps that will protect your storage system for years to come.
What Tools Will I Need for My DIY Cabinets?
Gathering the right tools beforehand makes the entire process smoother and more enjoyable. You don’t need a full workshop, just a few key items.
For planning, you’ll need a measuring tape, a pencil, and a good level. Accuracy at this stage prevents headaches later.
A circular saw with a straight-edge guide is crucial for making clean, precise cuts in your plywood. A power drill is also essential for assembly.
The secret weapon for strong, hidden joints is a pocket-hole jig. This simple tool will give your cabinets a professional, seamless look.
Finally, have a sander, quality paint brushes, and rollers on hand for the finishing touches. These will help you achieve that durable, pro-grade finish.
Get a Custom Look by Mixing Materials
Don’t be afraid to mix and match materials for a high-end, custom look that truly stands out. This is where you can add your personal style.
Combine the warmth of your plywood cabinets with the industrial edge of a metal pegboard backsplash. This creates a functional and visually appealing tool wall.
Consider using a stainless steel sheet to create a durable and easy-to-clean countertop for your main workbench area. It’s a practical upgrade that looks fantastic.
This blend of materials and textures adds great visual appeal. It turns your garage from a simple storage area into a thoughtfully designed workspace.
An Organized Garage is a Whole New Experience

Imagine stepping into your garage and feeling that same rush of pride you get from the other well-designed rooms in your home. This is more than just a dream—it’s completely achievable.
These DIY garage storage cabinets do more than just organize tools. They bring your home’s stylish look right into this often-ignored space.
The clean lines, custom sizes, and quality finishes create a sense of order that reflects your taste and brings unexpected joy to everyday tasks.
You can absolutely create this kind of garage experience yourself, even if you’ve never tackled a major DIY project. When broken into manageable steps, building your own cabinets is surprisingly straightforward.
Plus, the financial savings are huge compared to professional installation, which can cost thousands of dollars more.
Why not start today? Simply measure your space and sketch out a plan for your dream garage. Your future organized self will thank you.


