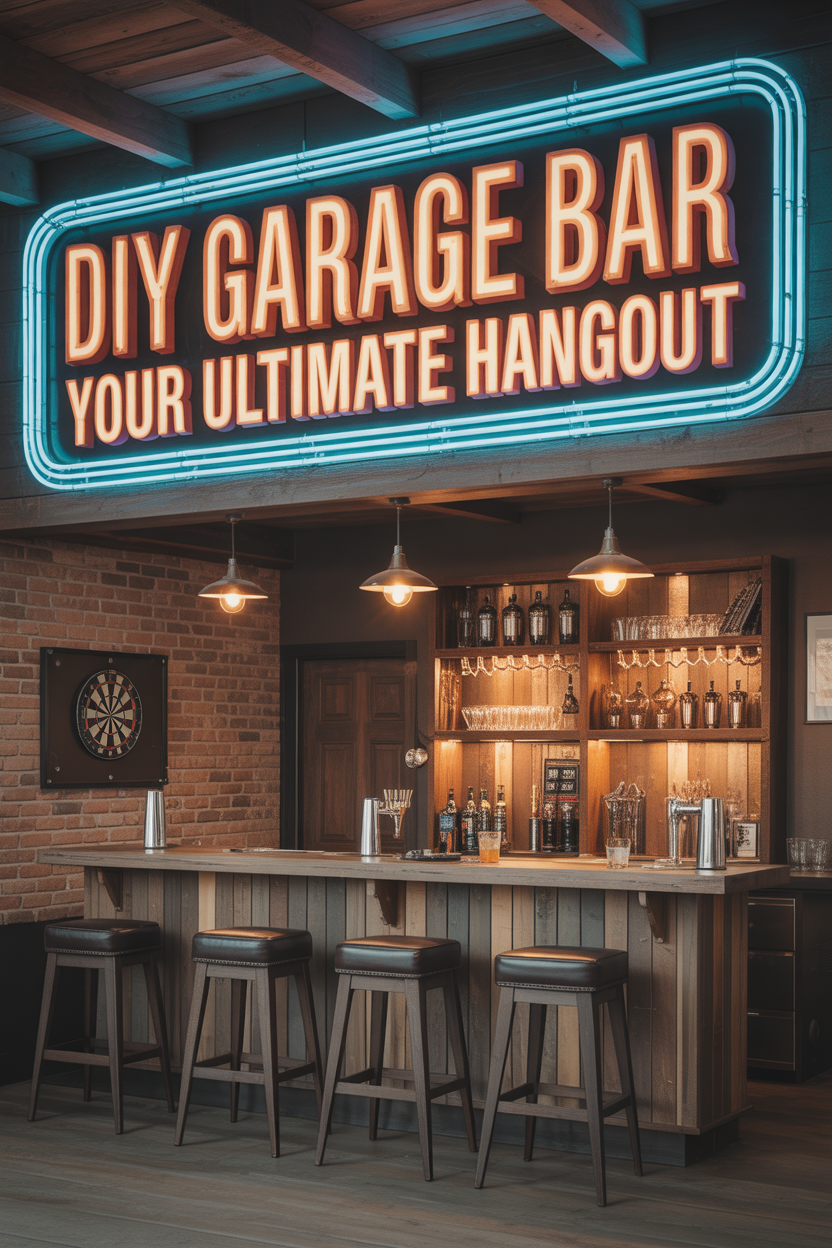
How to Build the Ultimate DIY Garage Bar: Transform Your Space
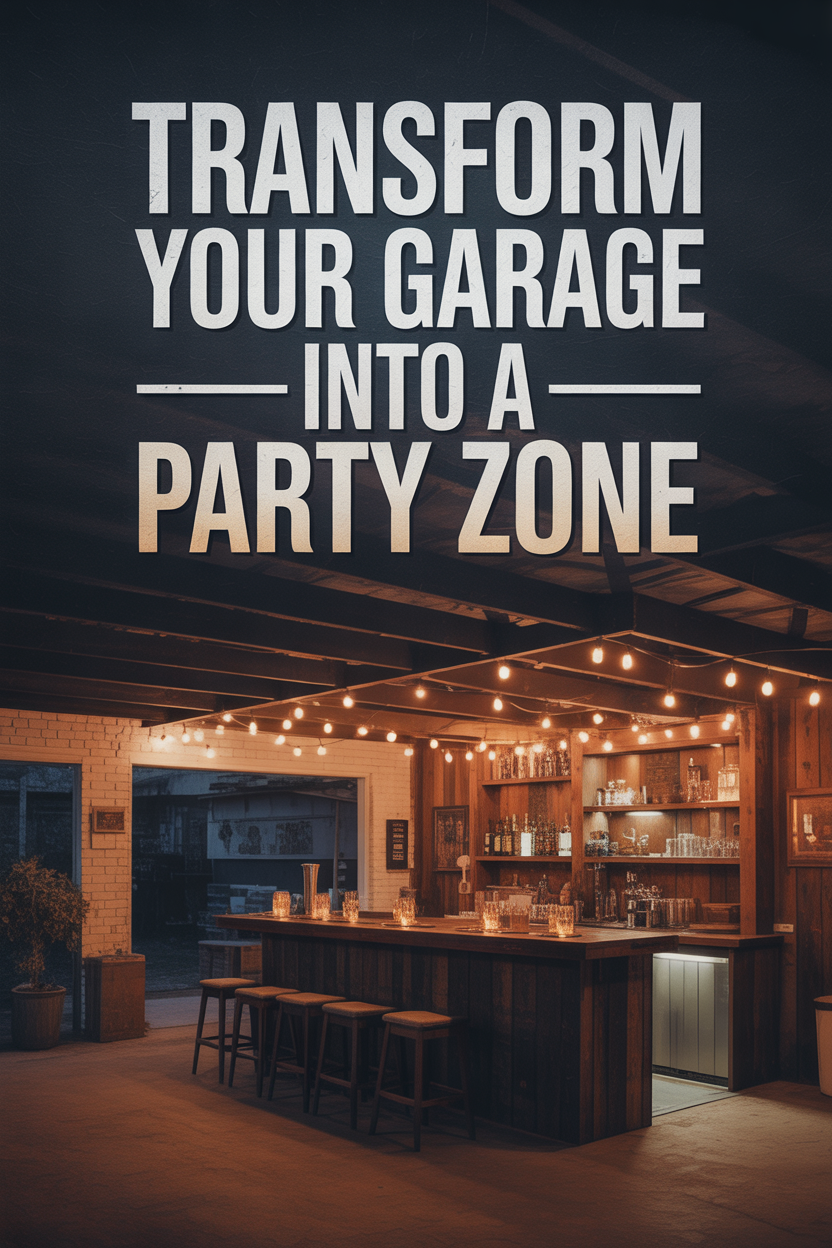
Ever dreamed of having your own personal watering hole without sacrificing your living room to the party gods? Well, grab your tool belt and let’s talk garage bars! With some planning, basic tools, and that creative spark you’ve been saving for something awesome, you can transform that glorified storage unit (let’s be honest about what most garages become) into an entertainment zone that’ll make your friends wonder if you’ve secretly become a home renovation expert.
Why Adding a DIY Garage Bar Makes Sense
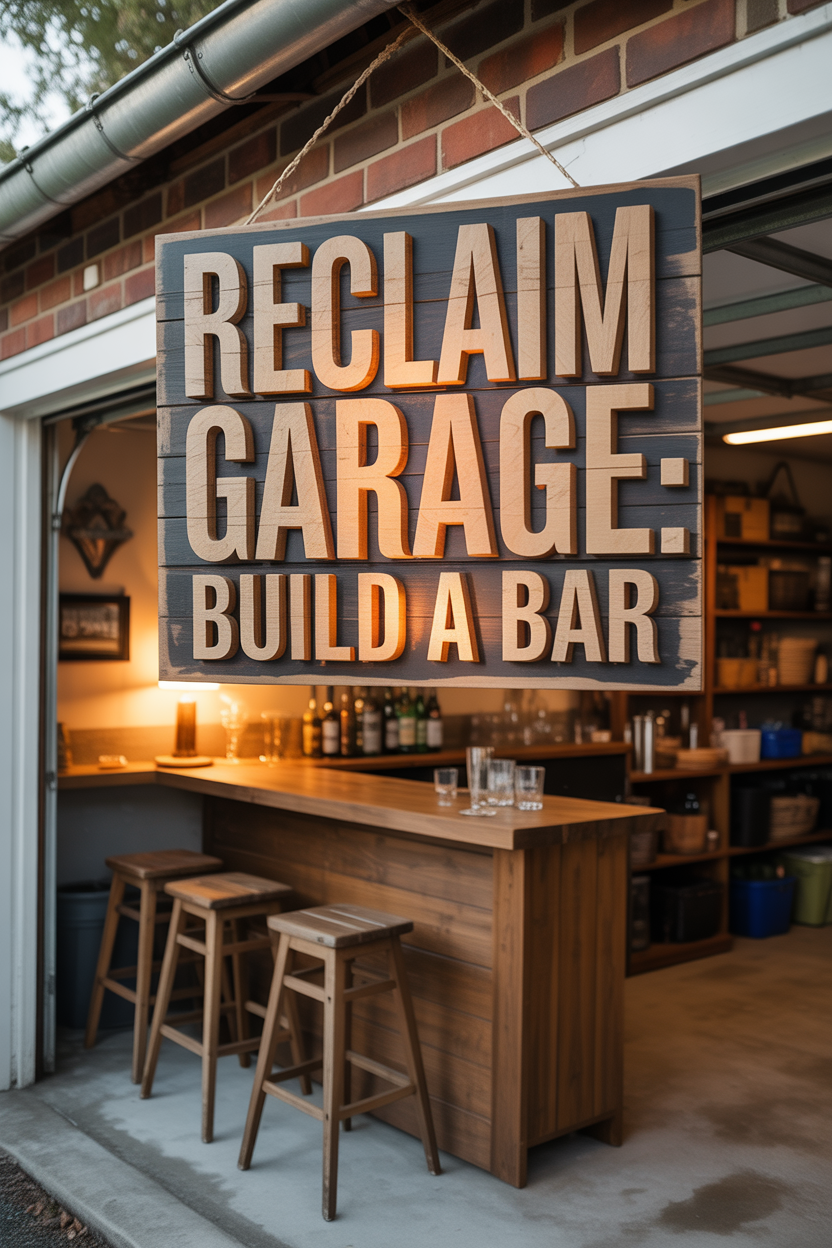
Let’s face it—your garage is probably home to holiday decorations, rarely-used exercise equipment, and maybe a car (if it’s lucky).
A garage bar puts that space to work! First, you’ll reclaim territory from those rarely-touched storage bins.
Second, you keep the party mess and enthusiastic karaoke attempts safely contained outside your living room.
Third, you’ll typically need fewer permits than other home additions (though always check local codes).
Finally, you’re adding property value while creating a space where you can proudly serve drinks that aren’t balanced on your washing machine.
Planning Your Garage Bar Space
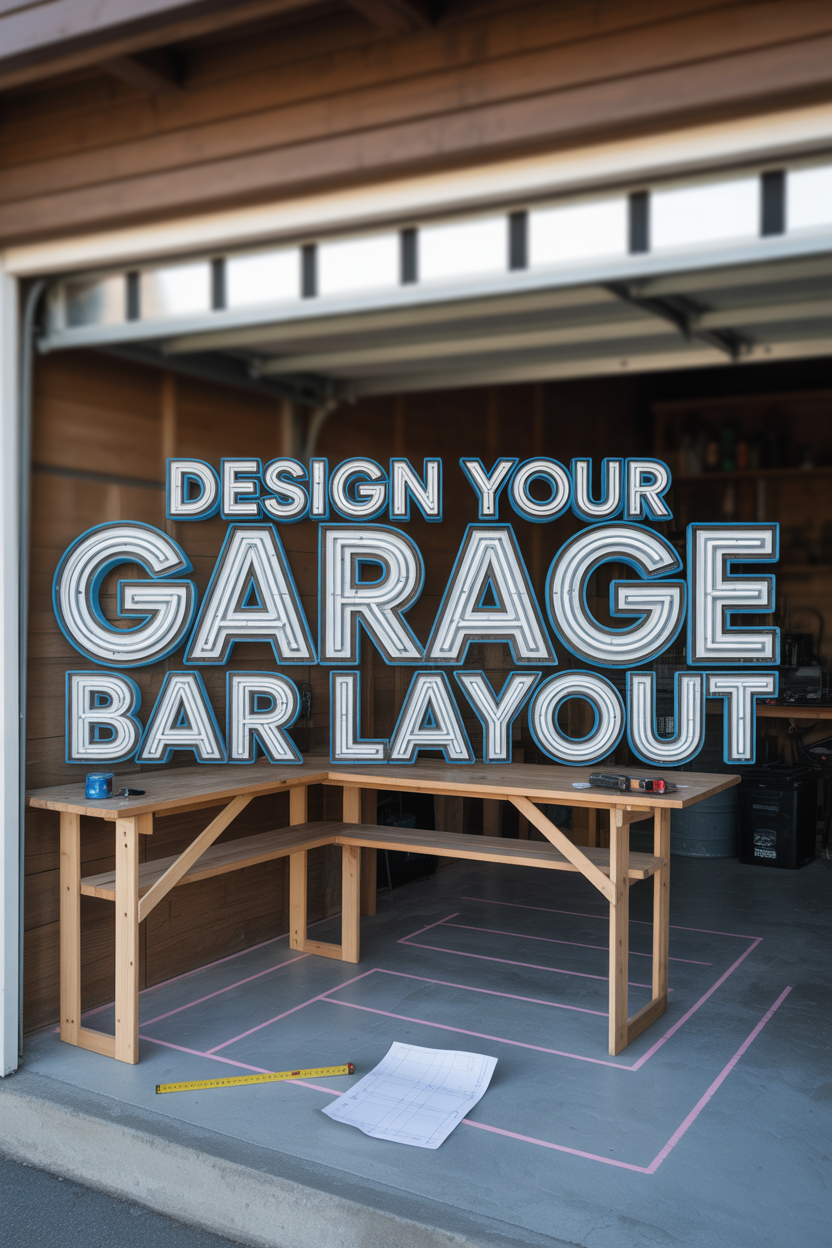
Before you rush off to buy lumber in an enthusiasm-fueled haze, take a breath and grab a measuring tape. You’ll need to figure out exactly how much garage you’re willing to dedicate to your bar area.
Will you still need to park vehicles in there? Do you need room for storage? Measure everything and sketch out a floor plan that makes sense for your space.
Traffic flow is crucial unless you enjoy watching people perform the awkward “excuse me” dance all night. Experts recommend 3-4 feet of clearance for people to move comfortably.
For larger entertainment dreams, consider an L-shaped or U-shaped bar design that maximizes both function and style.
Essential Tools and Materials
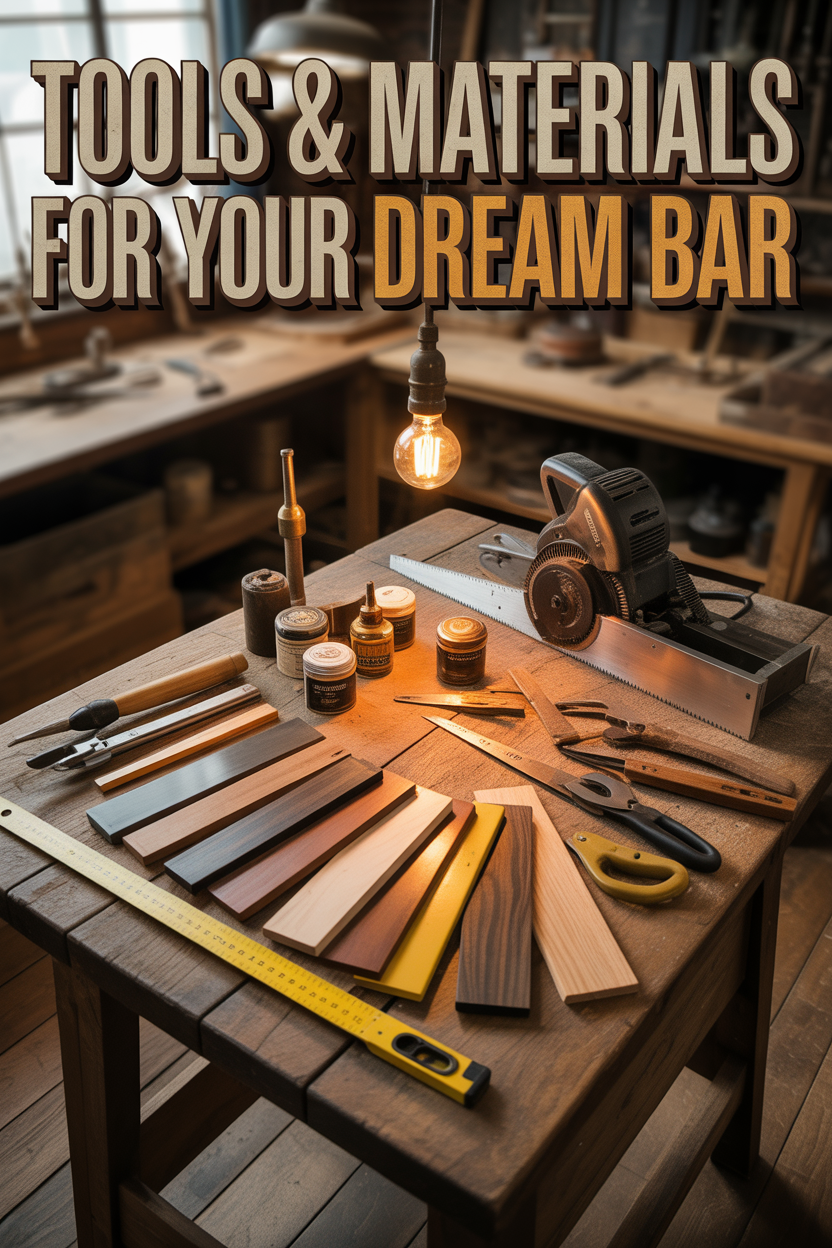
Time to gather your tools:
- Measuring tape and level (because precision matters)
- Circular saw or miter saw for cutting materials
- Power drill and screwdriver
- Hammer
- Stud finder
- Sander
For materials, your shopping list includes:
- 2x4s for framing
- Plywood sheets (sturdy grade)
- Countertop material
- Various screws and nails
- Finishing materials like paint or stain
- Decorative elements to enhance the space
Setting a Realistic Budget
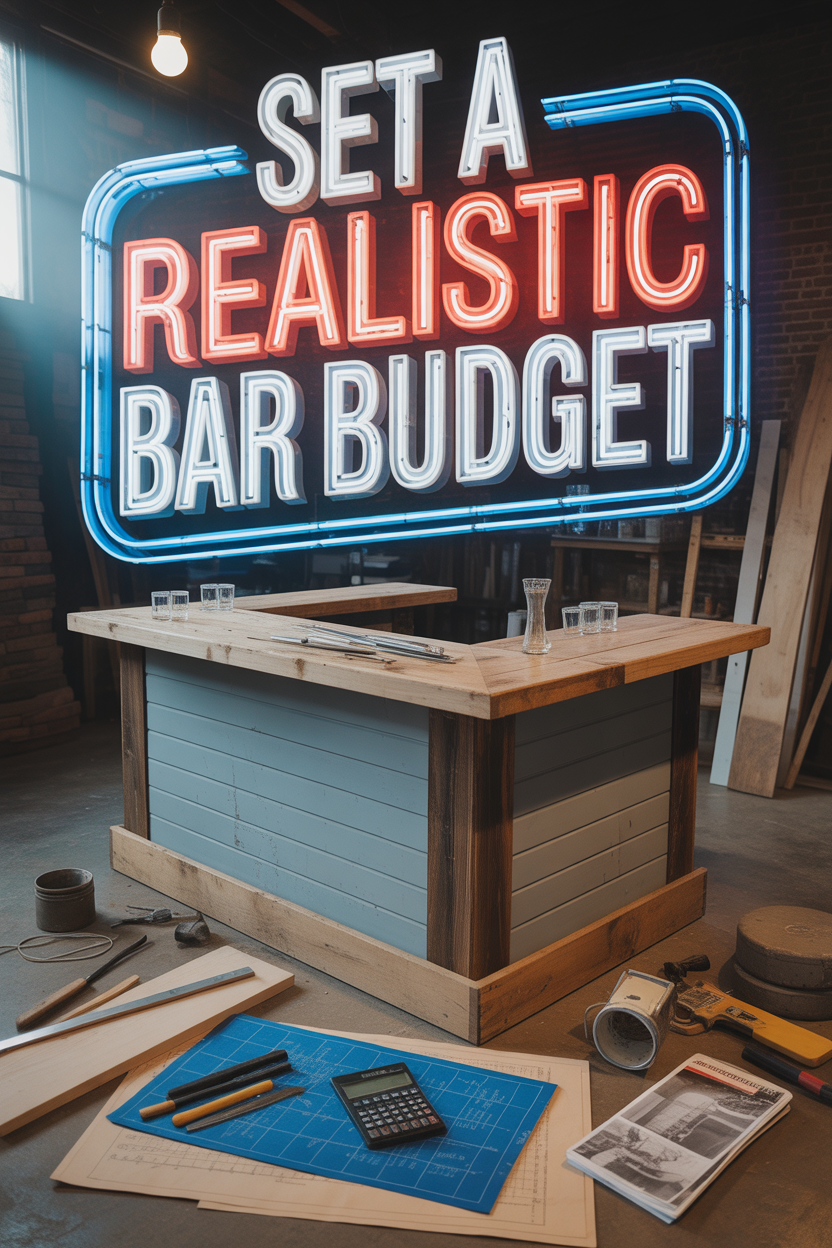
Let’s talk money—because unrealistic expectations can quickly turn your weekend project into a financial headache.
Your garage bar can range from $500 for a basic setup to $5,000+ for a premium version. Here’s where your cash will go:
- Structural materials: $200-$600
- Countertop: $100-$1,000
- Electrical work: $100-$500
- Plumbing: $0-$1,000
- Refrigeration: $100-$800
- Bar seating: $100-$500
- Décor: $200-$1,000
Save money by hunting for secondhand treasures or repurposing materials you already have.
Always add a 10-15% contingency fund because unexpected expenses are practically guaranteed with any DIY project.
Bar Design Options: Built-In vs. Mobile
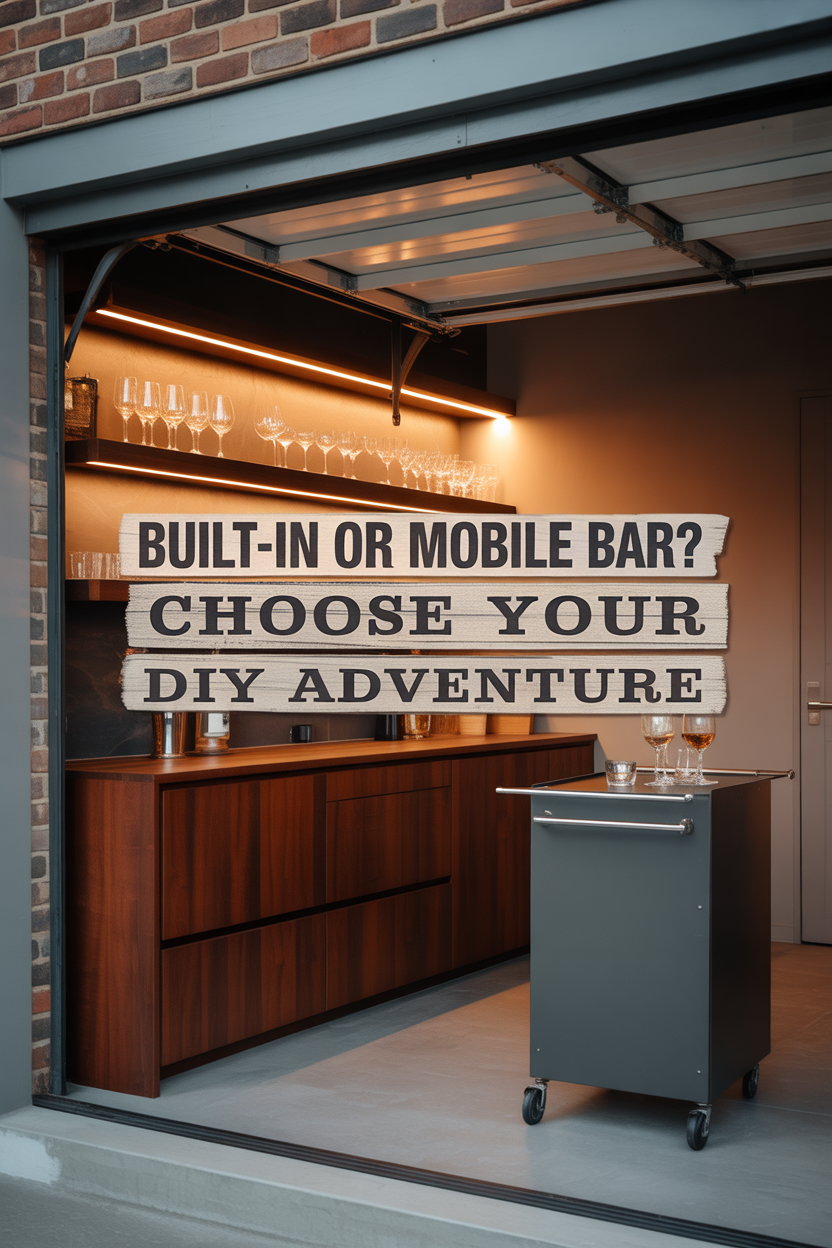
You have two main options for your garage bar design:
Built-in bar: Permanently attached to walls or floor, offering stability, ample storage, and the option to include features like sinks or beer taps. Perfect if you’re fully converting part of your garage into an entertainment space.
Mobile cart style: For those who still need garage flexibility, this option wheels away when not in use. These bars-on-wheels cost less, require less commitment, and can be tucked against a wall when you need to park vehicles in your garage.
Building Your Basic Bar Structure
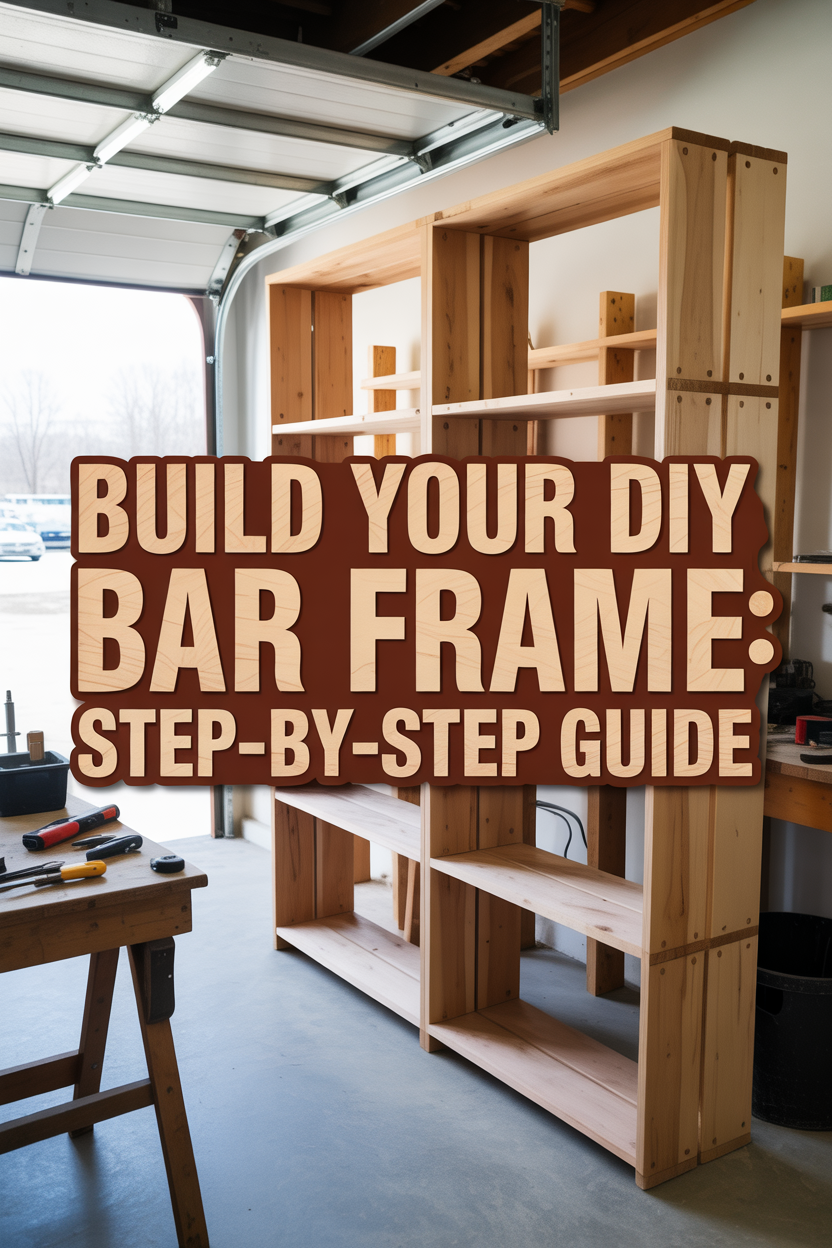
Let’s build this thing! Here’s your step-by-step guide:
1. Build the frame: Construct a rectangular frame with 2x4s, typically 24″ deep. Make the front (where guests lean) about 42″ high and the back (your side) about 36″ high for comfortable serving.
2. Add support: Install vertical supports every 16″ to ensure stability and prevent sagging over time.
3. Secure the frame: Attach to wall studs if possible, or add plywood backing if it’s freestanding to eliminate wobbling.
4. Construct shelving: Build internal supports for bottle storage and bar supplies.
5. Cover the exterior: Attach plywood to the outside, creating the bar’s visible structure.
6. Install the countertop: Secure your chosen surface material, making sure it’s level for proper function.
7. Apply finishing touches: Add paneling, paint, or other decorative elements to enhance the appearance.
Creative Countertop Options
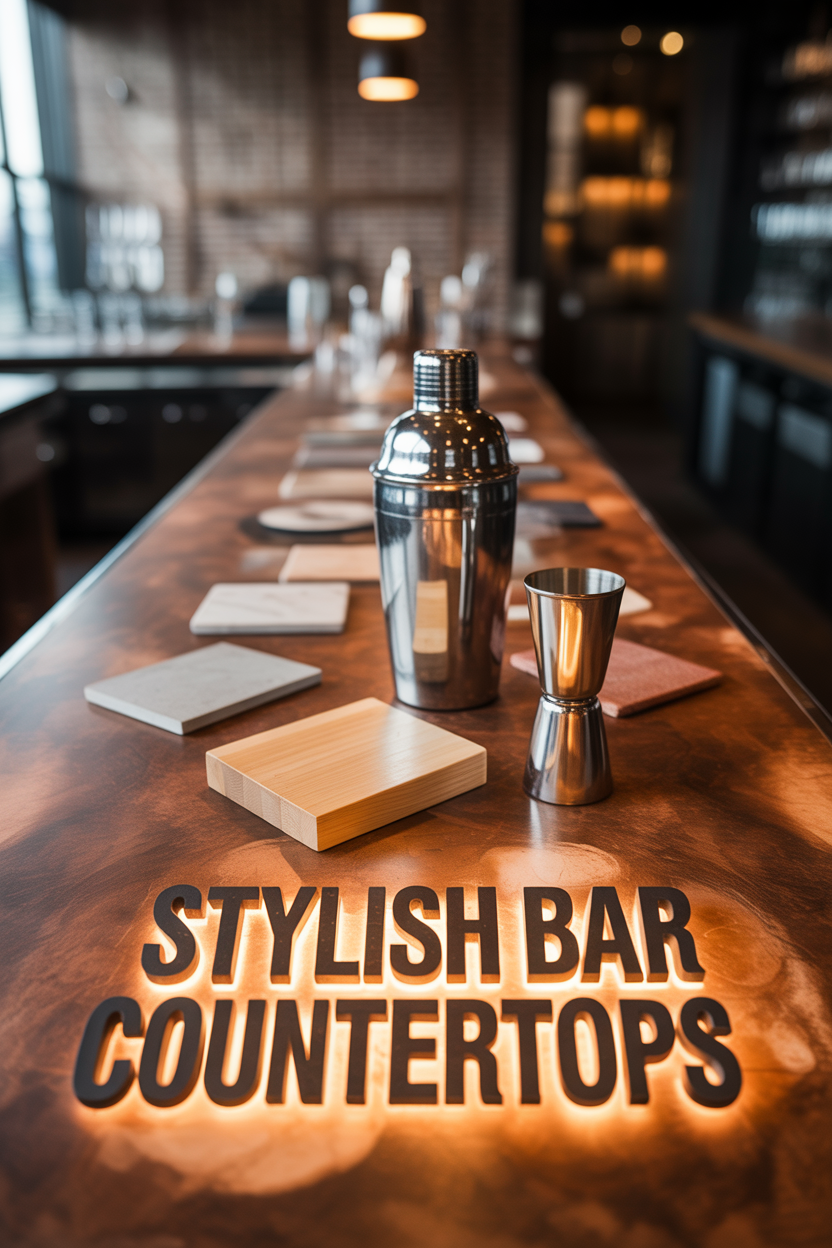
Your countertop is the focal point of your bar. Consider these budget-friendly options:
- Laminate countertops: Affordable ($10-30 per square foot), available in numerous patterns, and easy to clean.
- Butcher block: Warm, inviting, and rustic at $30-60 per square foot. Requires occasional sealing but offers a premium look.
- Concrete countertops: DIY-friendly at just $5-10 per square foot with an industrial chic appearance.
- Tile surfaces: Endless design possibilities from $5-20 per square foot.
- Repurposed materials: Get creative with salvaged wood, old doors, or other unique materials for a one-of-a-kind look.
Electrical and Lighting Solutions
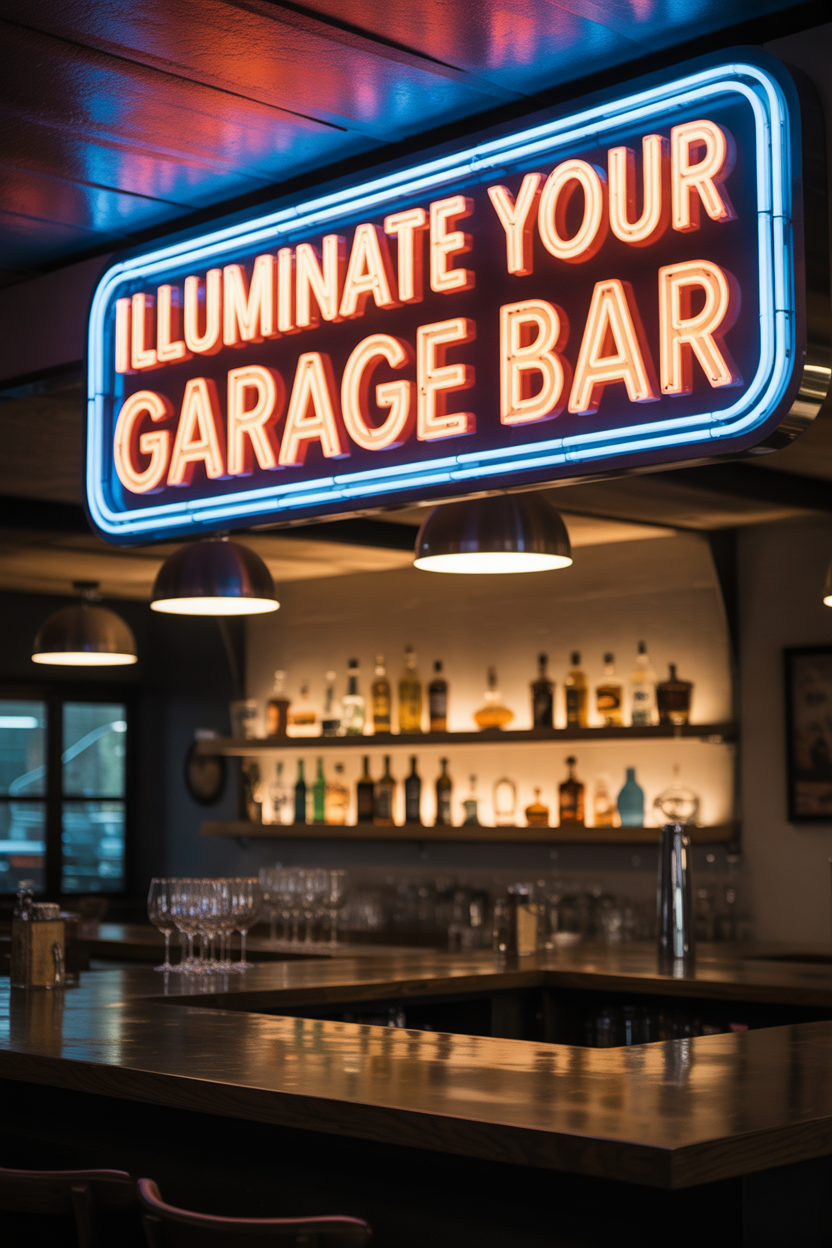
Good lighting transforms your garage bar from basic to exceptional. You’ll need:
- Dedicated outlets for appliances like blenders, mini-fridges, and other essentials
- Ambient lighting to create the right atmosphere
- Task lighting over the bar for practical drink preparation
- Accent lighting to highlight special features or bottle displays
LED strip lights under countertops or shelves add instant ambiance without complex wiring.
For serious electrical work, consult a professional—especially if you need to add new circuits or outlets to support your bar’s needs.
Plumbing Considerations
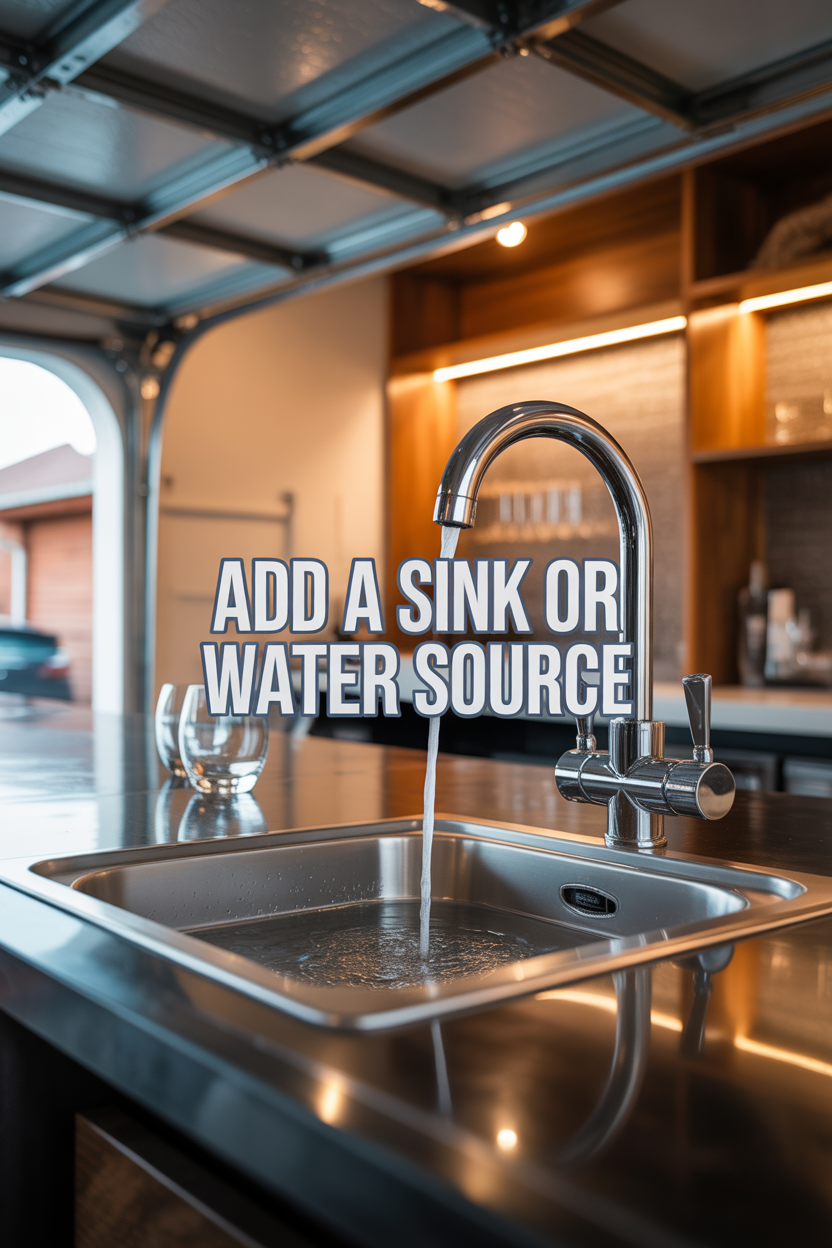
A sink can elevate your bar experience, but requires careful planning:
If adding a sink to your bar:
- Evaluate proximity to existing water lines
- Decide between a compact bar sink or larger utility sink
- Determine if you need hot water access
- Consider whether your garage is heated enough to prevent pipe freezing
Alternatives for simpler setups:
- A portable water dispenser with a collection basin
- Rolling cart with water containers
- Designated ice bins for quick glass rinses
For permanent plumbing installations, hiring a professional is often worth the investment to avoid potential water damage issues.
Refrigeration and Storage Solutions
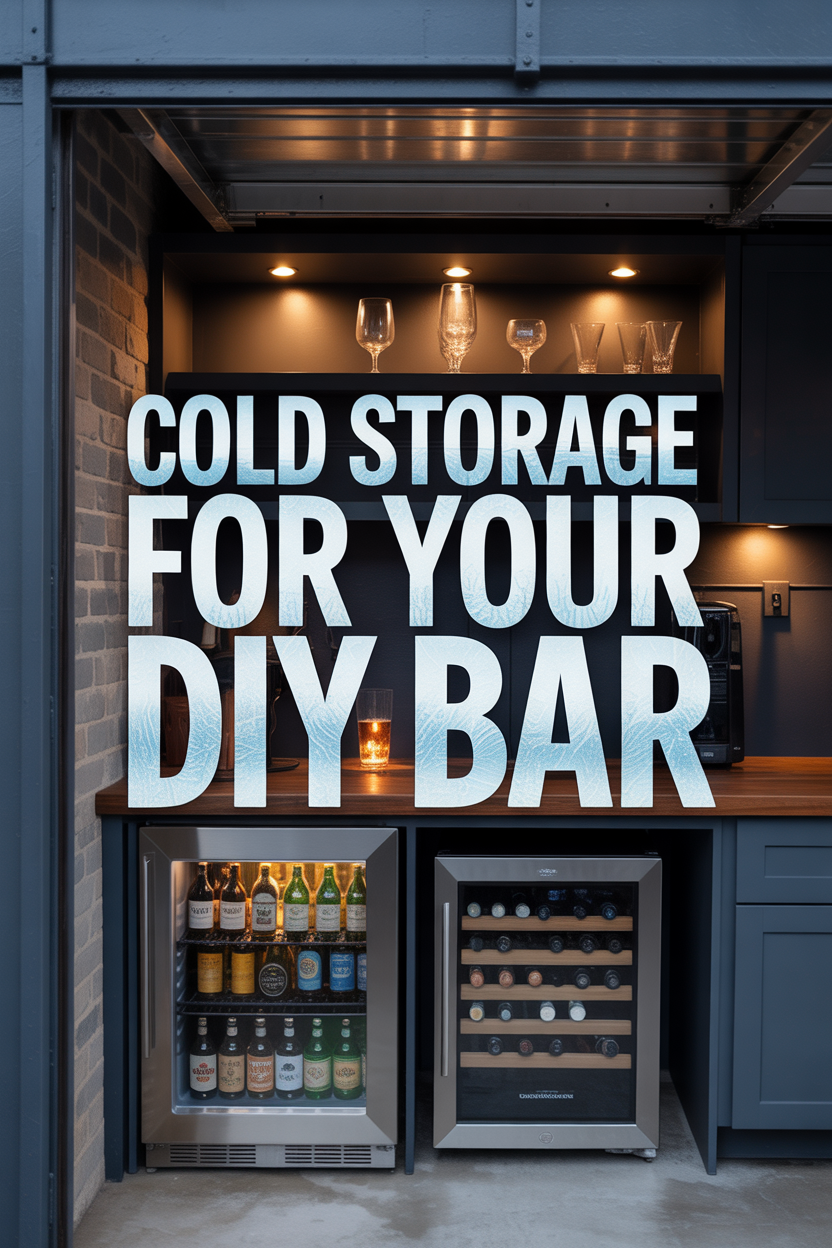
Every functional bar needs proper cold storage and organization:
- Mini-fridge: The classic choice ($100-300), perfect for casual garage bars.
- Under-counter refrigerator: Seamlessly built-in for a professional look ($300-800).
- Kegerator: For draft beer enthusiasts ($400-1,000).
- Wine cooler: For maintaining optimal serving temperature for wines ($150-500).
For storing bar essentials:
- Open shelving for displaying bottles and glassware
- Cabinets with doors for less attractive necessities
- Drawers for tools, openers, and accessories
- Hanging glass racks to maximize space and add visual interest
Essential Finishing Touches
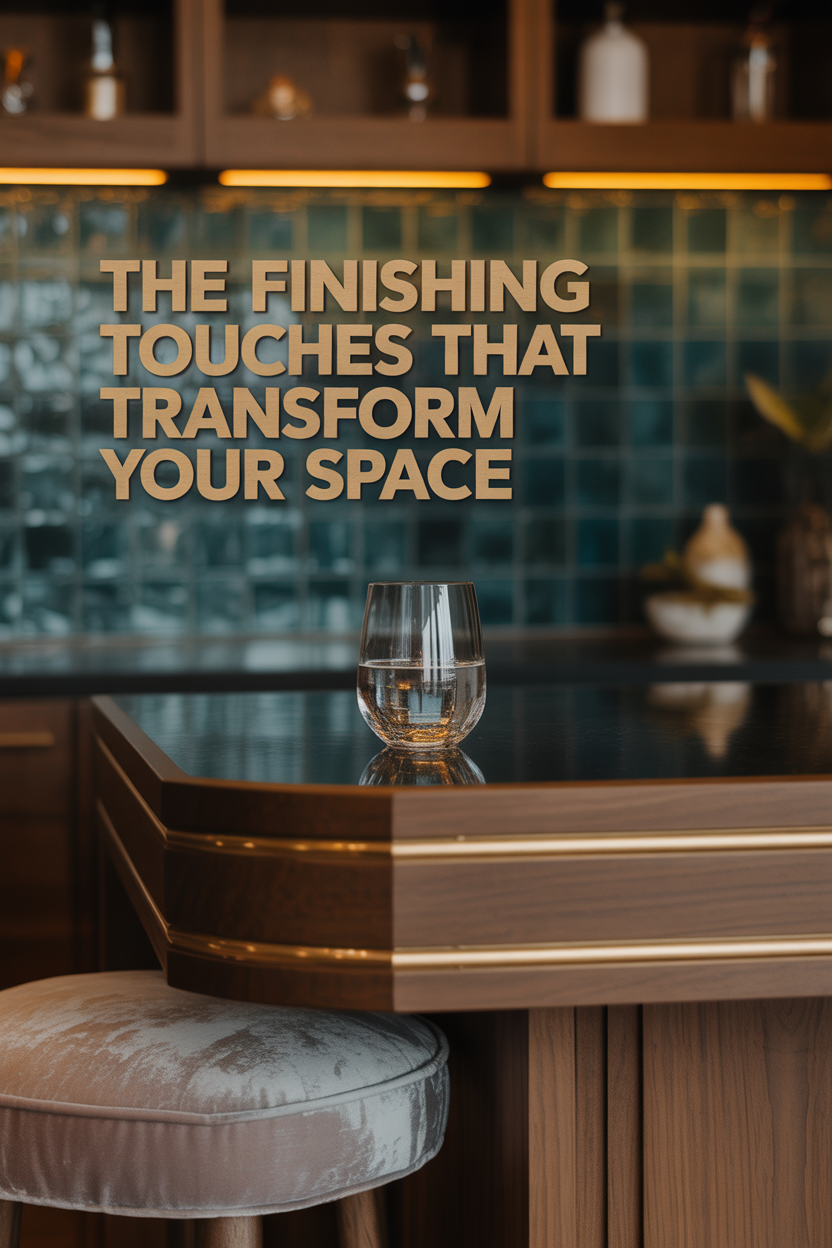
These details elevate your space from basic to professional:
- Bar rail: A padded or wooden edge along the customer side that provides comfort and prevents spills (starting around $20 per foot).
- Footrest: A simple 2×4 or metal pipe mounted near the floor gives guests somewhere to rest their feet while seated.
- Backsplash: Protect your walls with materials like beadboard, tile, or other decorative elements that complement your design.
- Drip rail: A slightly raised edge on your side of the bar to contain spills and make cleanup easier.
Comfortable Seating Options
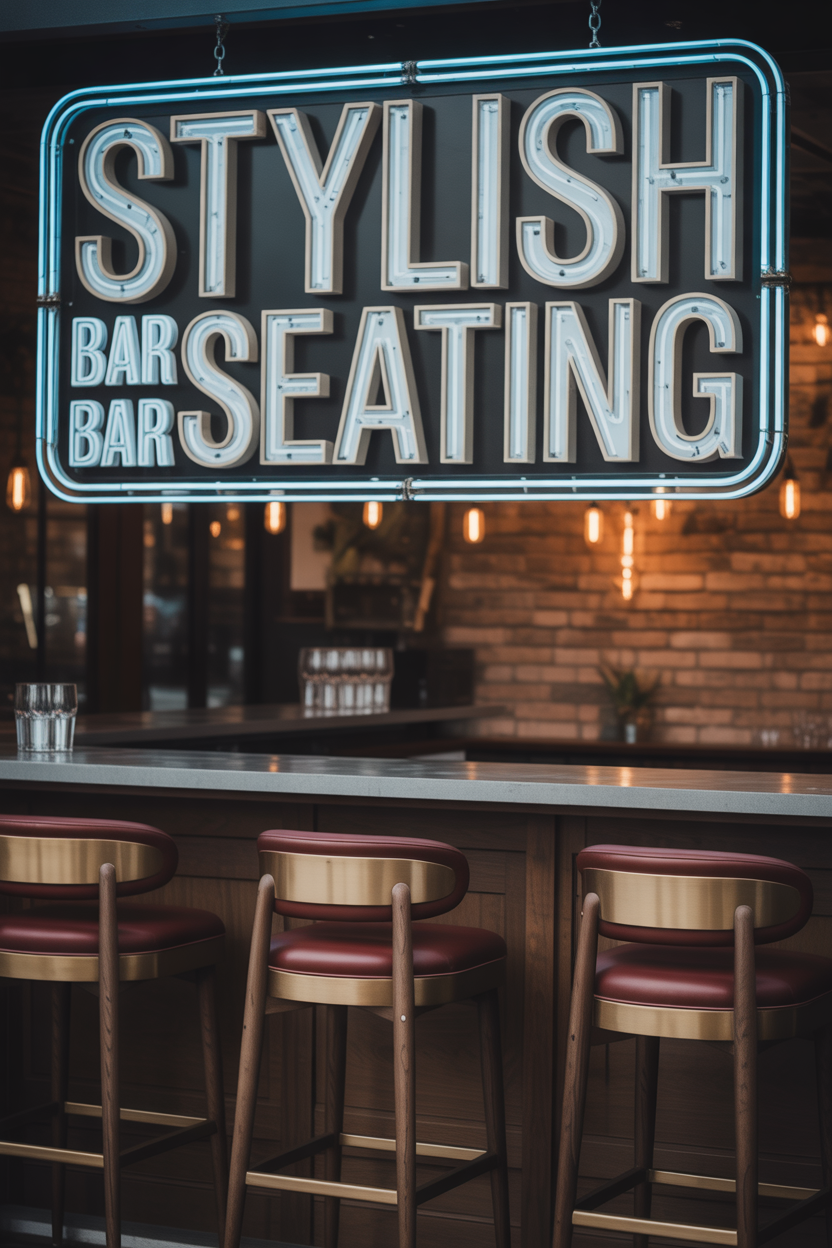
Quality seating makes a huge difference in how long guests will stay and enjoy your space:
- Bar stools: Match height to your bar—42″ bars need 28-30″ stools, while 36″ counters need 24-26″ stools. Allow 24″ width per person for comfortable seating.
- Built-in seating: A bench along one wall maximizes seating capacity while saving floor space.
- Adjustable height stools: Versatile options that accommodate different preferences.
- Weather-resistant furniture: Important for garages that experience temperature fluctuations.
For maximum comfort during extended gatherings, choose stools with backs and footrests.
Decorating Your Garage Bar
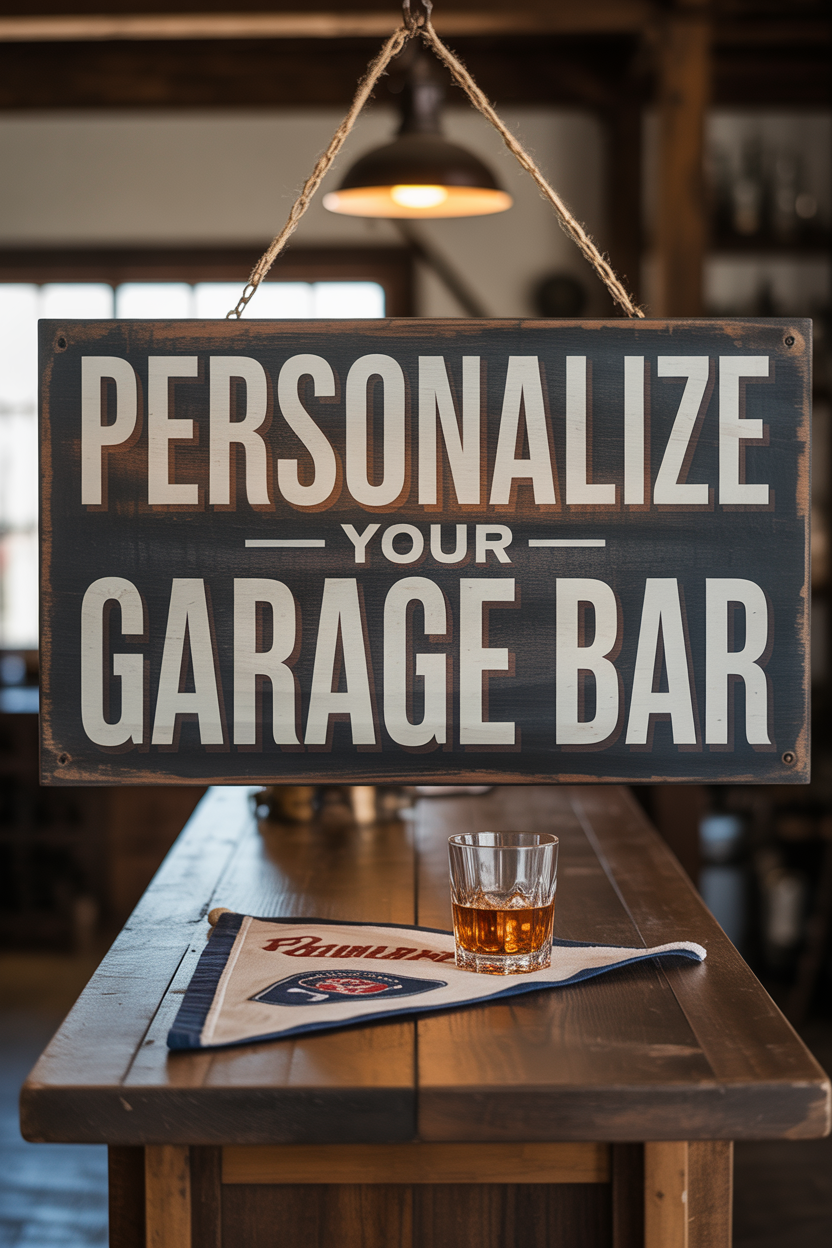
Your décor establishes the personality of your space:
- Sports theme: Team memorabilia, multiple screens, and pennants create the perfect gameday atmosphere.
- Rustic/industrial style: Reclaimed wood, exposed metal, and vintage signs offer timeless appeal.
- Tropical tiki paradise: Bamboo, colorful lights, and island décor transport guests to vacation mode.
- Classic speakeasy: Dark woods, vintage glassware, and subdued lighting create sophisticated ambiance.
- Brewery-inspired: Tap handles, barrel elements, and craft beer signage for beer enthusiasts.
Whatever theme you choose, add personal touches that make it uniquely yours—like a custom sign with your family name or meaningful collectibles.
Year-Round Climate Control
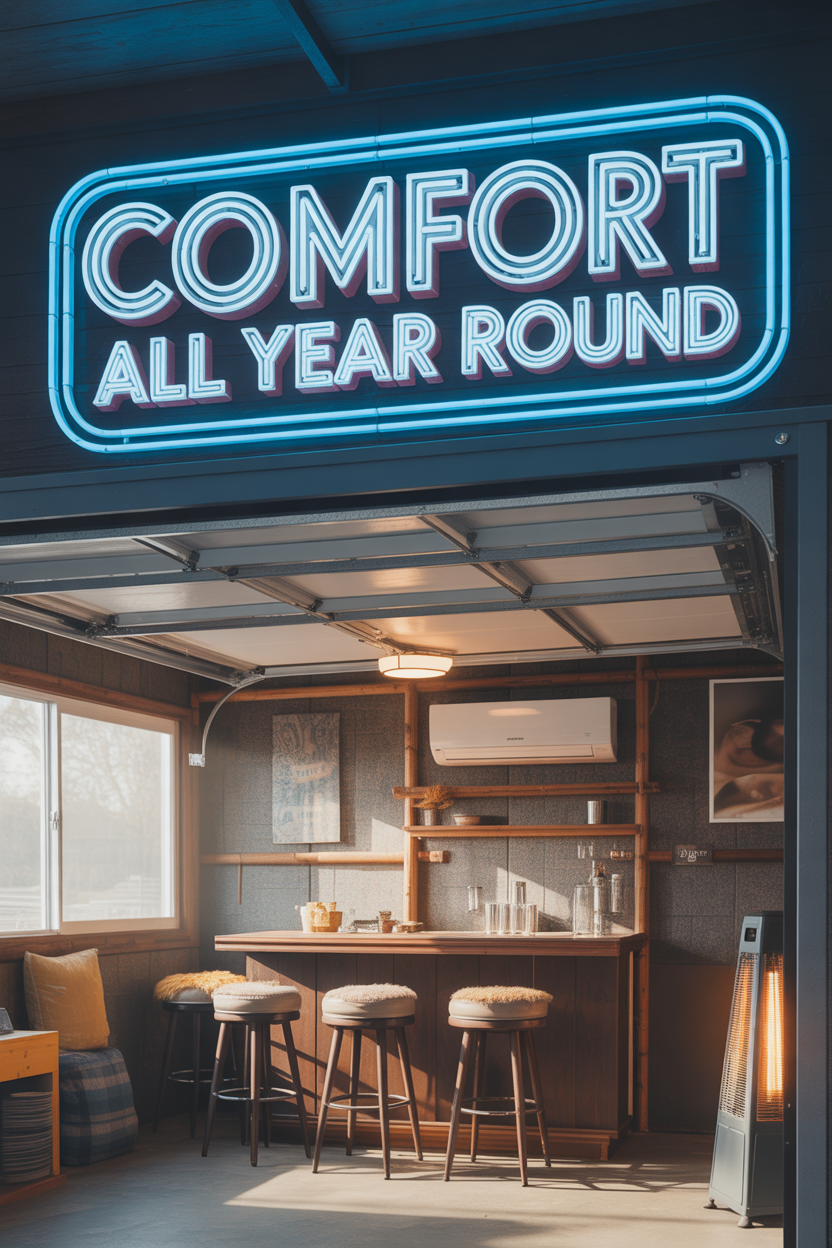
Make your garage bar comfortable regardless of the season:
- Enhanced insulation: Add insulation to walls and ceiling to regulate temperature more effectively.
- Portable heating/cooling: Space heaters, portable AC units, or fans provide flexible temperature control.
- Ceiling fan installation: Improves air circulation and enhances comfort.
- Weather stripping: Seal gaps around doors and windows to prevent drafts and energy loss.
- Garage door insulation: Inexpensive kits that significantly improve temperature regulation.
For the ultimate comfort upgrade, consider a mini-split HVAC system that provides year-round temperature control.
Maintenance and Upkeep
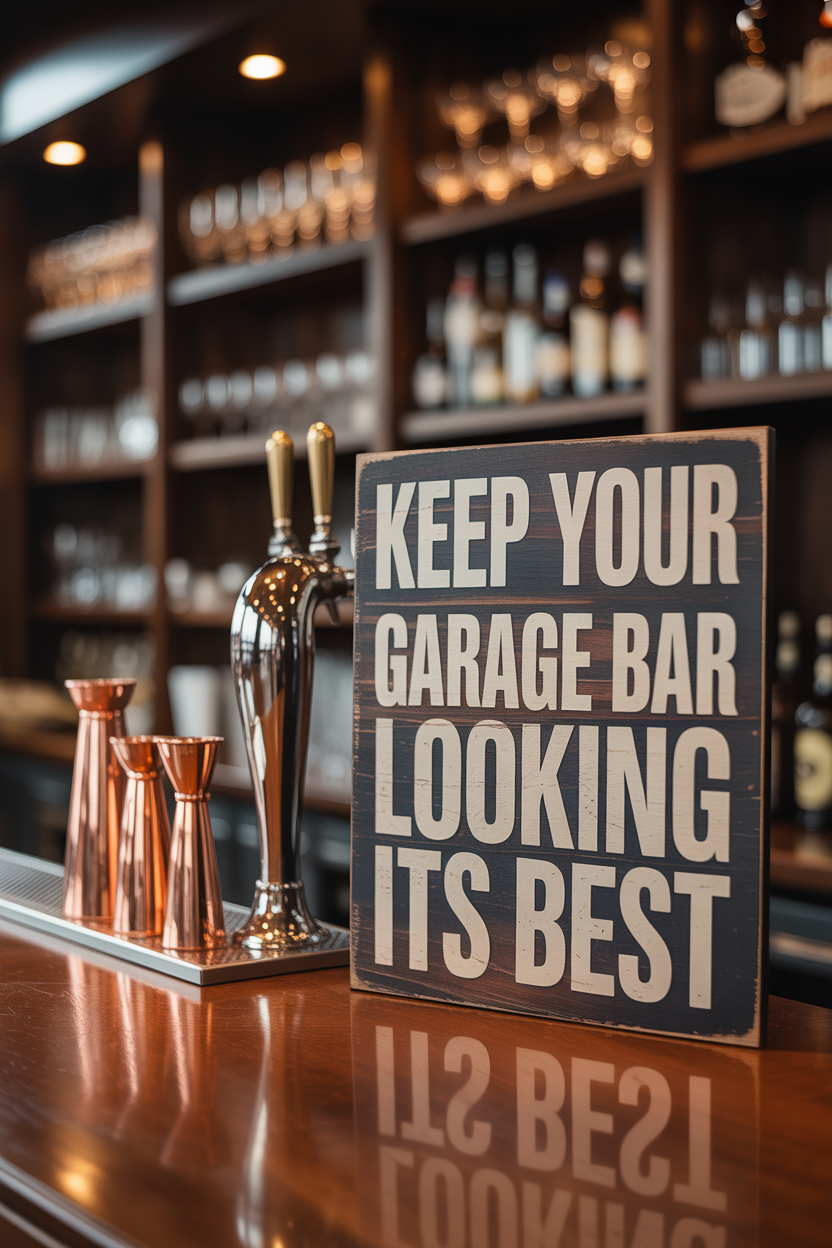
Keep your bar looking its best with regular maintenance:
- Wipe down countertops after each use to prevent stains and damage.
- Clean beer tap lines monthly if you have a draft system.
- Check refrigeration temperatures regularly to ensure proper function.
- Monitor for moisture issues, especially during seasonal changes.
- Reseal wooden surfaces annually to protect against spills and wear.
- Clean glassware thoroughly after use for the best drinking experience.
- Address spills immediately to prevent damage and pest problems.
With thoughtful planning, quality materials, and attention to detail, your DIY garage bar will become the entertainment hub you’ve always wanted. Whether you’re hosting game nights, family gatherings, or just enjoying quiet evening drinks, your custom creation offers the perfect blend of personality and function without surrendering your living room to chaos.
Ready to transform that garage into your personal hangout spot? Your tools are waiting—and your friends will be amazed at what you create!


