Build Your Own DIY 2×4 Garage Cabinets for Better Storage
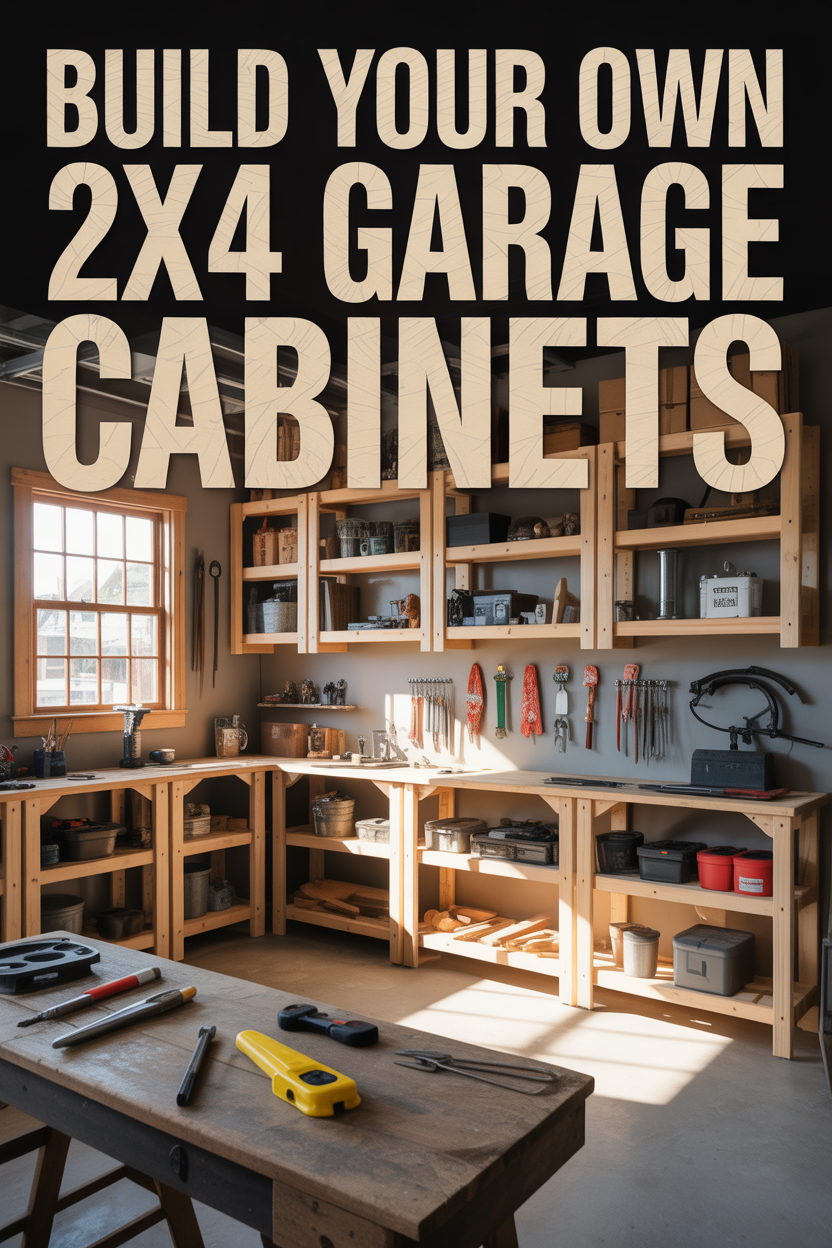
Ready to turn your garage from a chaotic catch-all into an organized haven? Let’s build some DIY 2×4 garage cabinets that’ll make you smile every time you walk into your newly organized space!
These sturdy storage heroes use simple materials and basic tools to create something that looks like you hired a professional. The best part? You’ll save money while getting exactly what you need.
No more trying to squeeze oddly-shaped items into store-bought cabinets that never quite fit right. Your custom-built cabinets will work perfectly for your specific garage and storage needs.
This project turns wasted wall space into functional storage that handles everything from paint cans to seasonal decorations. Get ready to fall in love with your garage all over again!
How to Plan Your DIY 2×4 Garage Cabinet Project
Okay, let’s get real about planning – this is where the magic happens. Skipping this step is like trying to assemble IKEA furniture without looking at the pictures.
Start by measuring your garage space like you’re planning to move in permanently. Walk around with your tape measure and really get to know every corner, beam, and quirky angle your garage has to offer.
Here’s the sweet spot for cabinet dimensions that work in most garages: 6 feet long, 16 inches deep, and 75 inches tall. These measurements give you serious storage power without turning your garage into an obstacle course.
The beauty of building your own diy 2×4 garage cabinets is the simplicity – you only need twelve 2x4s and one sheet of OSB plywood. That’s it!
Before you head to the lumber yard, create a cut list that would make a professional carpenter proud. Write everything down and check your math twice.
If you’re installing these beauties along your sidewall, now’s the time to check your floor slope. Most garage floors tilt toward the door so water runs out instead of pooling.
Think about what’s going into these cabinets too. Christmas decorations need different spacing than paint cans, and your collection of car parts has its own requirements.
Essential Tools and Materials for 2×4 Cabinet Construction
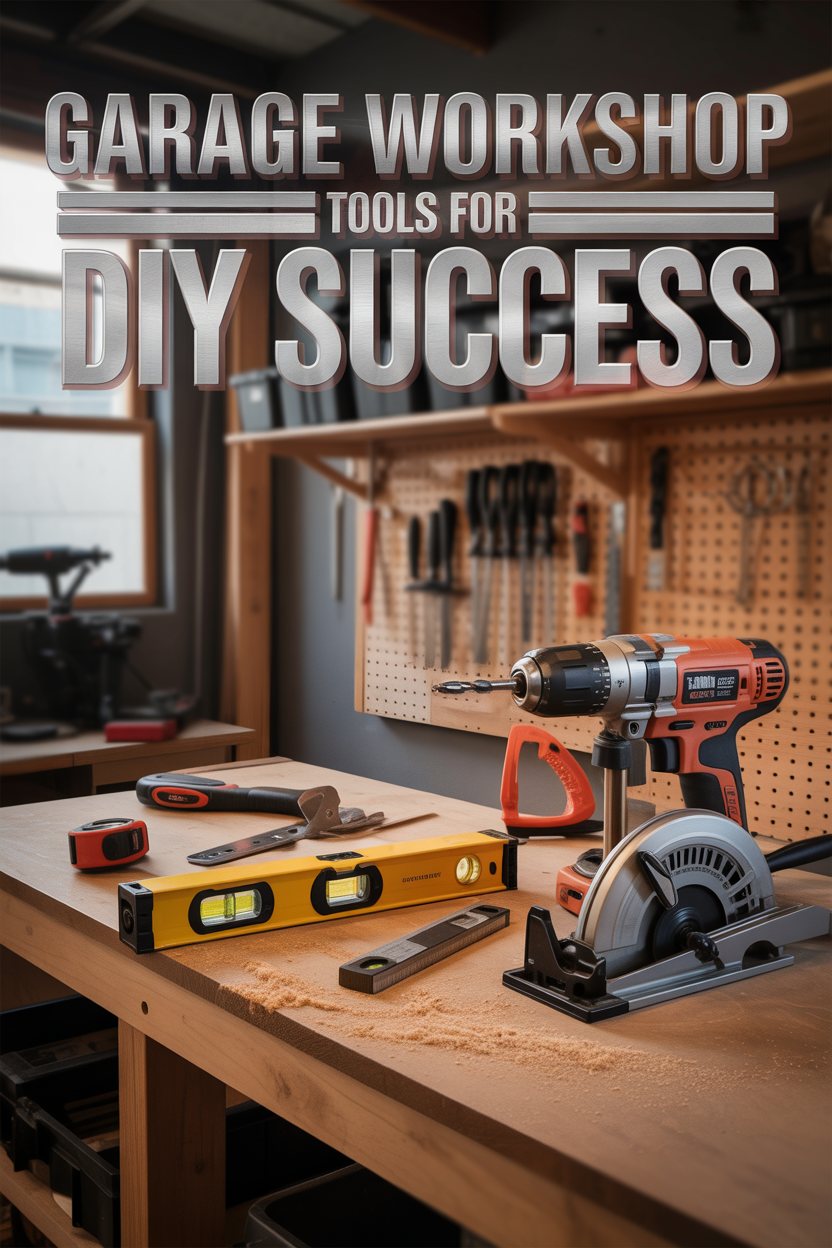
Good news – you don’t need a workshop that would make Bob Vila jealous! This DIY garage storage project keeps things wonderfully simple.
Your tool lineup includes a circular saw or miter saw for cutting, a power drill for putting things together, and a carpenter’s square to keep everything nice and straight. That’s your core team right there!
A few extras that’ll make your life easier: a level, a magnetic stud finder, and the usual suspects – tape measure, pencil, safety glasses, and work gloves. Your future self will thank you for the safety gear.
When picking lumber, channel your inner perfectionist and choose straight 2x4s without more knots than a Boy Scout manual. Warped boards make assembly feel like wrestling with a stubborn puzzle piece.
For the OSB, standard grade works perfectly – save the premium stuff for projects where it’ll actually be seen. Hardware-wise, grab 2½ inch screws for frame assembly and 3-inch screws for mounting to wall studs.
How to Cut 2×4 Frame Components to Perfect Size

Time to make some sawdust! Accurate cuts are like a good foundation – get them right, and everything else falls into place beautifully.
Start with your long frame pieces first. If you’ve got a miter saw, you’ll feel like a cutting machine making identical pieces.
Next up are those 13-inch cross-braces. These little heroes might not look like much, but they’re what keep your shelves from turning into sad, droopy smiles when you load them up.
Here’s a pro tip that’ll save your sanity: label each piece as you cut it. Use a permanent marker and your cut list to mark everything clearly.
Future you will be amazed at how organized past you was, especially when you’re assembling multiple cabinets. Remember the carpenter’s golden rule: measure twice, cut once.
How to Prepare OSB Shelving Material for Garage Cabinets
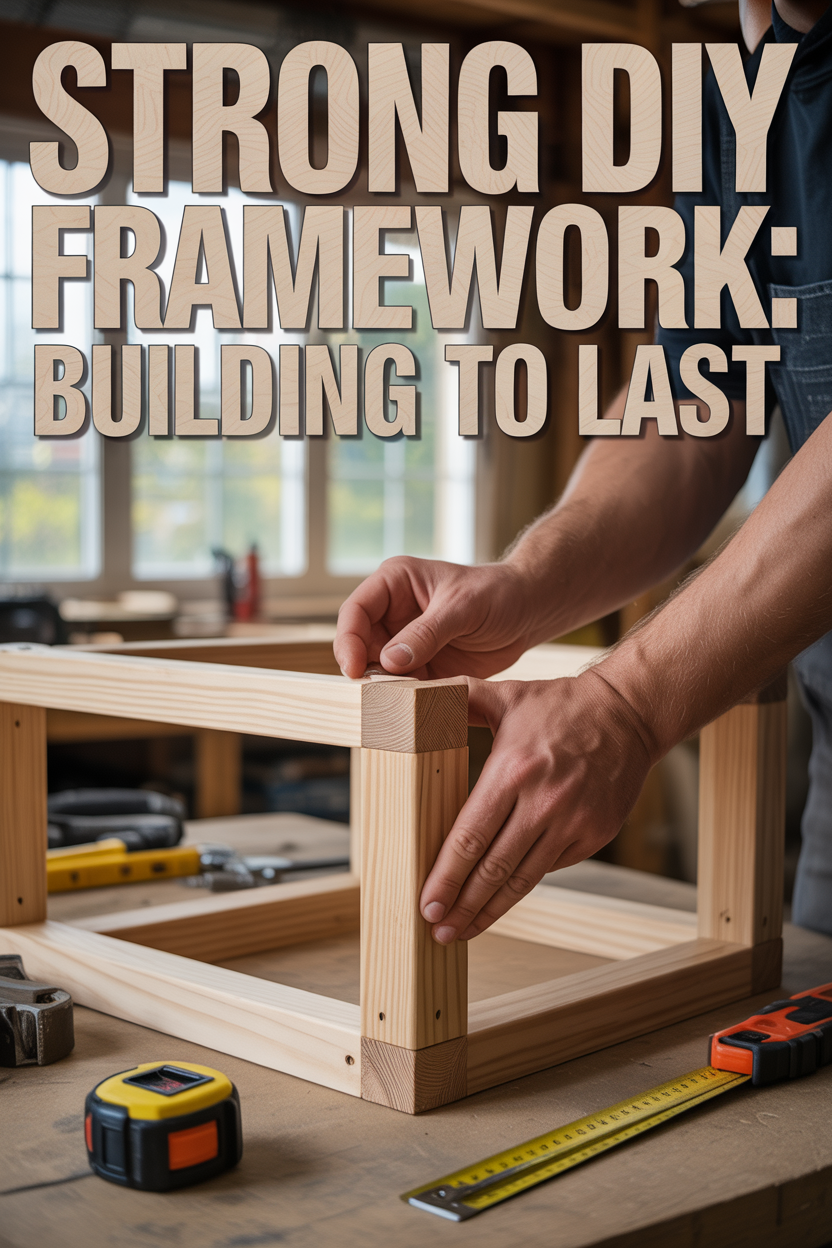
OSB cuts differently than solid lumber – it’s got personality! Use a sharp blade and support your material well to avoid those annoying splinters.
Set up your sawhorses or commandeer your workbench to create a stable cutting platform. Cut those 16-inch wide strips for your garage cabinet shelves with confidence.
This width hits the storage sweet spot – plenty of room for bins and boxes without your cabinets sticking out into traffic lanes. Plan your cuts smartly and you might squeeze an extra shelf from the leftovers.
If you’re building multiple cabinets, a simple rip cut jig becomes your best friend for consistent widths. Take time to support your cuts properly – laying the OSB on top of your 2x4s creates a stable base.
Give those cut edges a quick sanding to smooth out splinters and rough spots. It’s a small step that makes handling easier and gives your finished cabinets that professional look.
How to Build Strong Individual Cabinet Frames
Frame building is where your diy 2×4 garage cabinets really start taking shape! Lay out your long frame boards on a flat surface and mark where those cross-braces will live.
Measure 23 inches from each end – this spacing gives you the strength to handle whatever your garage can throw at these shelves. Attach those inner braces with wood screws, spacing them evenly like little soldiers holding up the fort.
Four braces per shelf might seem like overkill, but you’ll never lie awake worrying about sagging shelves. Keep your carpenter’s square handy to make sure everything stays true as you work.
If your lumber has a tendency to split, pre-drill your holes. Most softwood 2x4s are pretty cooperative, but it’s better to be safe than sorry.
Take your time getting each frame perfectly square before moving on. Check your diagonal measurements to confirm everything’s square – when both diagonals match, you’ve got a perfect frame.
How to Assemble Professional-Looking Cabinet Shelving Units
Here’s where things get fun! Start your assembly upside down with the top shelf positioned first.
I know it sounds backwards, but trust the process – it makes everything easier because that top shelf sits perfectly flush with your cabinet leg tops. Cut some 15-inch spacer blocks from your leg cutoffs – these little gems make assembly much smoother!
They maintain perfect shelf spacing and make one-person assembly totally doable. Just set spacers in each corner, plop the next shelf on top, and secure it down.
Work your way methodically from top to bottom, checking measurements as you go. It’s way easier to fix spacing issues now than after everything’s locked together with screws.
Keep that carpenter’s square within arm’s reach – level, square shelves make you look like a cabinet-building genius. Take breaks to step back and admire your handiwork!
How to Install OSB Cabinet Tops for Maximum Durability
Time to top off these beauties! Attach your OSB shelf panels using brad nails for connections that are both clean and strong.
Start with the upper shelves and work down – your back will thank you for not having to reach over completed lower sections. Center each panel carefully and make sure edges line up flush with your frame perimeter.
No need for wood glue on this garage organization project – brad nails provide plenty of holding power for typical garage storage adventures. Pre-mark your nail locations for even spacing and that professional appearance.
Drive nails just below the surface so they won’t snag on storage bins or scrape knuckles. A nail set helps you achieve those clean, professional-looking results that make you proud.
Work through each shelf level systematically. Double-check panel positioning before driving all nails home completely – small adjustments are easy now but become creative challenges later.
How to Locate Wall Studs and Adjust for Garage Floor Slope

Secure mounting is absolutely critical for loaded garage cabinets – we’re talking about holding serious weight here! Use a magnetic stud finder to locate screws in your drywall.
This method shows you exactly where those hidden wall studs are lurking behind the surface. Mark each stud with painter’s tape so you don’t lose track during installation.
Plan to hit at least two studs per cabinet unit. These cabinets are going to hold a lot of stuff – tools, paint, storage bins, and probably things you forgot you owned.
Now for some garage floor reality – most of them slope toward the door so water heads outside instead of setting up camp. This slope is great for drainage but means your cabinets need custom leg work.
Grab a straight 2×4 and level, then play around with shims under one end until that bubble sits perfectly centered. The shim height tells you exactly how much your floor slopes.
Cut your interior cabinet legs to the standard 75½ inches first, then adjust your exterior legs by subtracting the slope measurement. Always test-fit your frame on the actual floor before final assembly.
How to Handle Common Garage Obstacles and Layout Challenges
Real garages are wonderfully imperfect spaces with personalities of their own. You might encounter electrical outlets, garage door tracks, foundation curbs, or mystery plumbing that interferes with your plans.
Measure and mark all these garage quirks before finalizing your installation strategy. Foundation curbs are common troublemakers – when a curb sits exactly where a cabinet leg wants to live, measure the curb height and cut that leg shorter.
Work around obstacles creatively instead of forcing square pegs into round holes. Sometimes moving a cabinet just a few inches solves problems completely.
Think about electrical access when planning locations. You might need to cut notches for outlet boxes or leave gaps for easy access.
Consider future needs too – adding workbench lighting or power tool outlets later is much easier when you plan for them now. A little planning and custom cutting saves hours of creative language during installation.
How to Secure Cabinet Mounting to Garage Walls
The moment of truth! Position your assembled diy 2×4 garage cabinet units against the wall at those marked stud locations.
Recruit a helper to hold things steady while you drive 3-inch screws through the back frame directly into wall studs. These longer screws provide serious holding power for loaded cabinets.
Check level and alignment before final tightening – it’s your last chance to get everything perfectly positioned. Use shims if needed to dial in that perfect fit.
Secure at least two attachment points per cabinet unit to prevent any rocking or shifting under load. More attachment points spread the weight around better and create bombproof installations.
Don’t cheap out on mounting hardware – good attachment points protect everything you’ve built. Test cabinet stability after mounting by giving the frame a gentle push and pull.
Properly mounted cabinets should feel absolutely rock-solid with zero movement at attachment points. Your investment deserves secure, professional-quality mounting that lasts for decades.
Long-term Maintenance and Storage Tips for Maximum Efficiency

Keep your investment happy with periodic check-ups! Inspect mounting screws occasionally and retighten as needed.
Loaded garage cabinets create constant stress on wall attachments, and screws can gradually work loose over time. Quick periodic checks prevent small issues from becoming big problems.
Watch for shelf sagging and add extra bracing if necessary. Heavy items concentrated in one spot can create challenges even with good initial construction.
Now for the fun part – making these cabinets work for you! Choose storage bins that play nicely with your shelf spacing and plan a labeling system from day one.
Group similar items together like they’re having a family reunion. This logical grouping makes finding specific items lightning-fast and keeps your organizational system working long-term.
Keep OSB surfaces clean and dry to prevent moisture damage and extend cabinet life. Give your cabinet frames an annual inspection for loose connections or damaged components.
Well-maintained DIY garage cabinets provide decades of reliable storage service and continue making you smile every time you use them!


