Complete Guide to Wood Carpenters Tool Box Plans: From Beginner to Advanced

Hello, fellow wood enthusiasts! Let’s talk about something that makes every woodworker’s heart skip a beat – the perfect tool box! A well-designed woodworker’s tool box isn’t just a container; it’s your trusty sidekick in the workshop that grows alongside your skills and your expanding tool collection. Whether you’re just starting in the wonderful world of sawdust or looking to upgrade from that chaotic pile of tools you call a “system,” this guide will help you build the wooden tool box of your dreams!
What Makes a Great Woodworker’s Tool Box
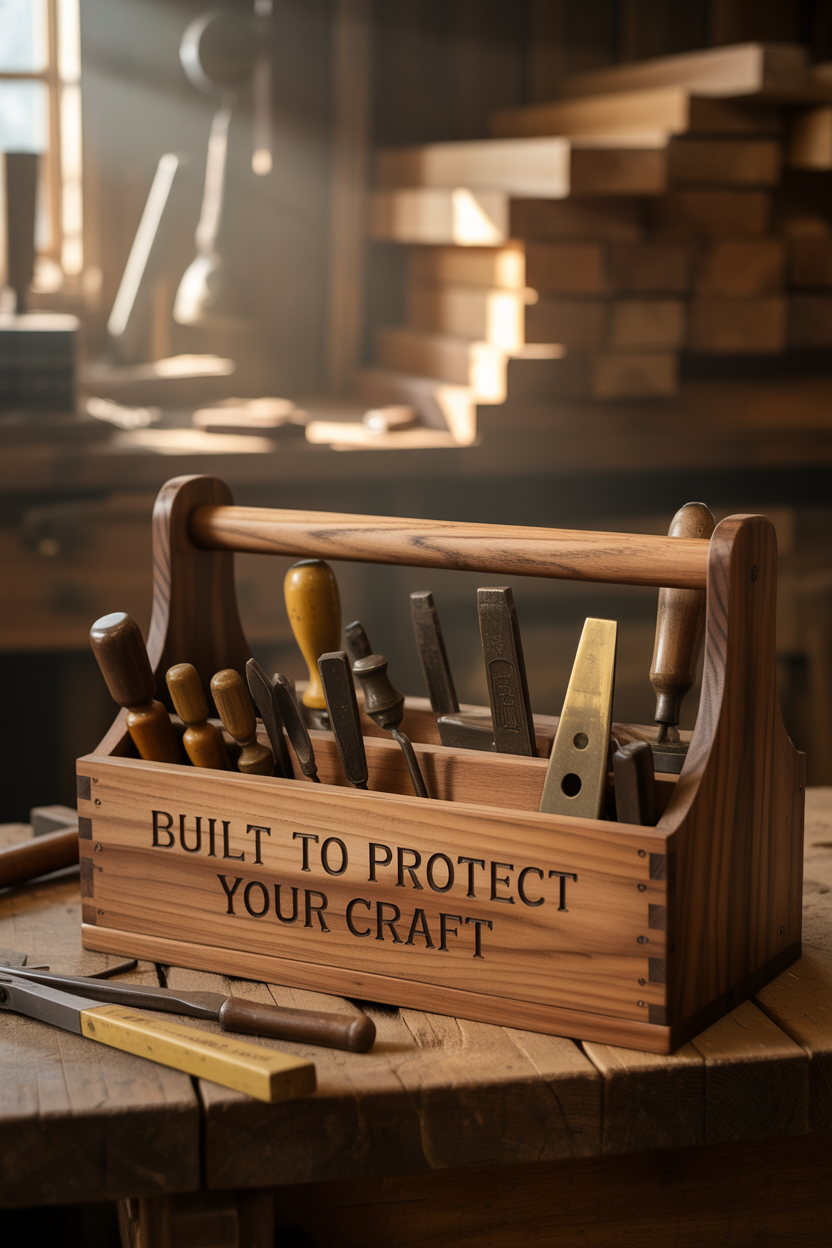
A truly excellent carpenter’s tool box fits your needs perfectly. Your ideal wood tool box should keep those precious tools safe from damage, moisture, and workshop rust. The best DIY designs excel in three areas: durability tough enough to survive workshop use, smart weight distribution for easier carrying, and storage customized to your unique collection of woodworking tools.
Traditional woodworkers’ tool boxes have survived decades for good reason. They feature solid joinery that can handle years of use, clever compartments that keep tools organized, and dimensions that balance capacity with portability.
Essential Tools to Store in Your Carpenter’s Box
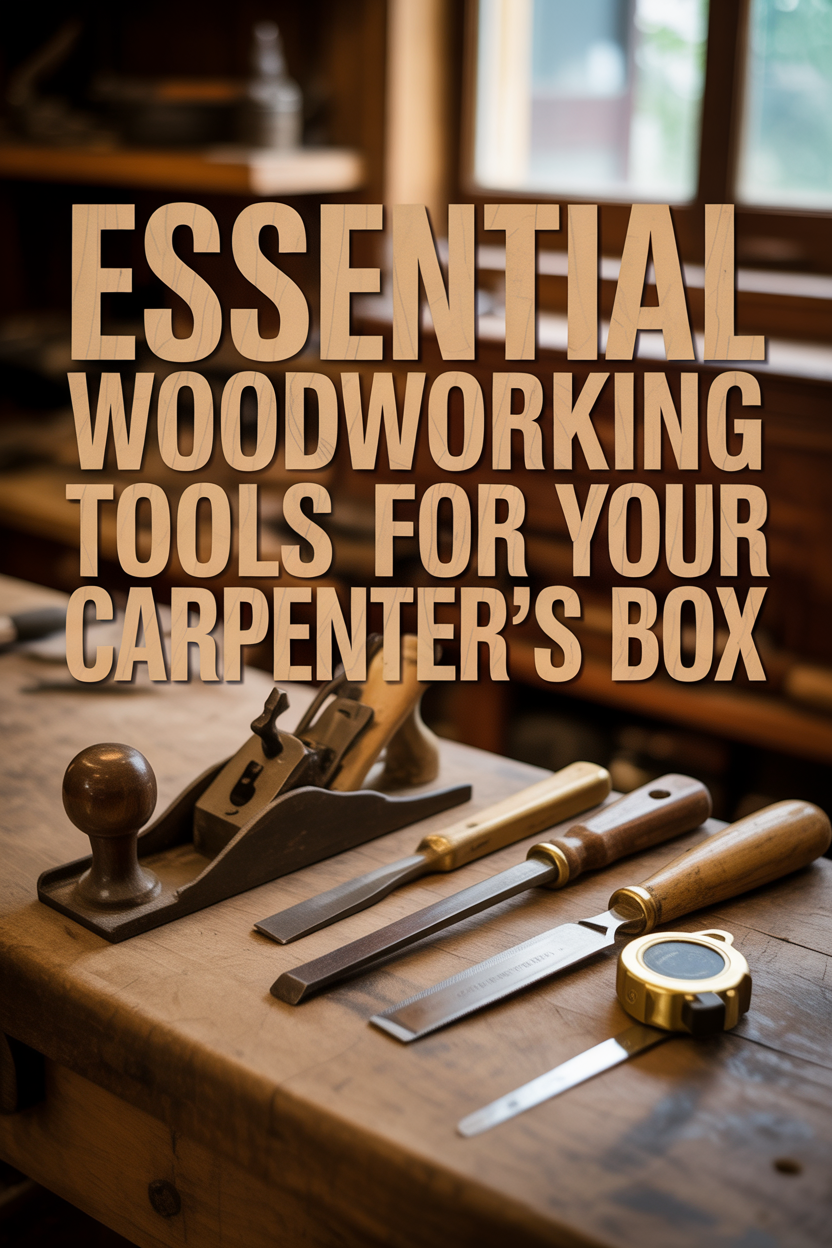
Before building your wooden masterpiece, consider what’s going inside! For most woodworkers, the must-haves include:
- Hand saws for precise cutting work
- Measuring and marking tools for accuracy
- Chisels and gouges that need special protection
- Hand planes that deserve their own dedicated space
- Hammers and mallets for assembly work
- Screwdrivers and wrenches for various fastening needs
- Sharpening equipment to maintain your edge tools
- Small clamps for holding work pieces
Take inventory of your most-used woodworking tools and think about how they’ll organize together in your DIY tool box. Related tools should stay together, and heavier items should remain at the bottom of your box to prevent tipping.
Traditional vs. Modern Tool Box Designs

Traditional carpenter’s tool boxes offer simple, timeless appeal. They typically feature a straightforward chest design with a hinged lid and maybe a till (removable tray) for smaller items. These designs embrace simplicity with solid construction that woodworkers have relied on for generations.
Modern interpretations incorporate innovative features that improve functionality. They might include:
- Dust-sealed compartments to protect sensitive tools
- Foam inserts cut to tool profiles for perfect organization
- Integrated power tool charging stations
- Combination of wood and modern materials for durability and weight savings
Your choice between traditional or modern should reflect both your woodworking style and organizational preferences.
Selecting the Right Wood for Your Tool Box
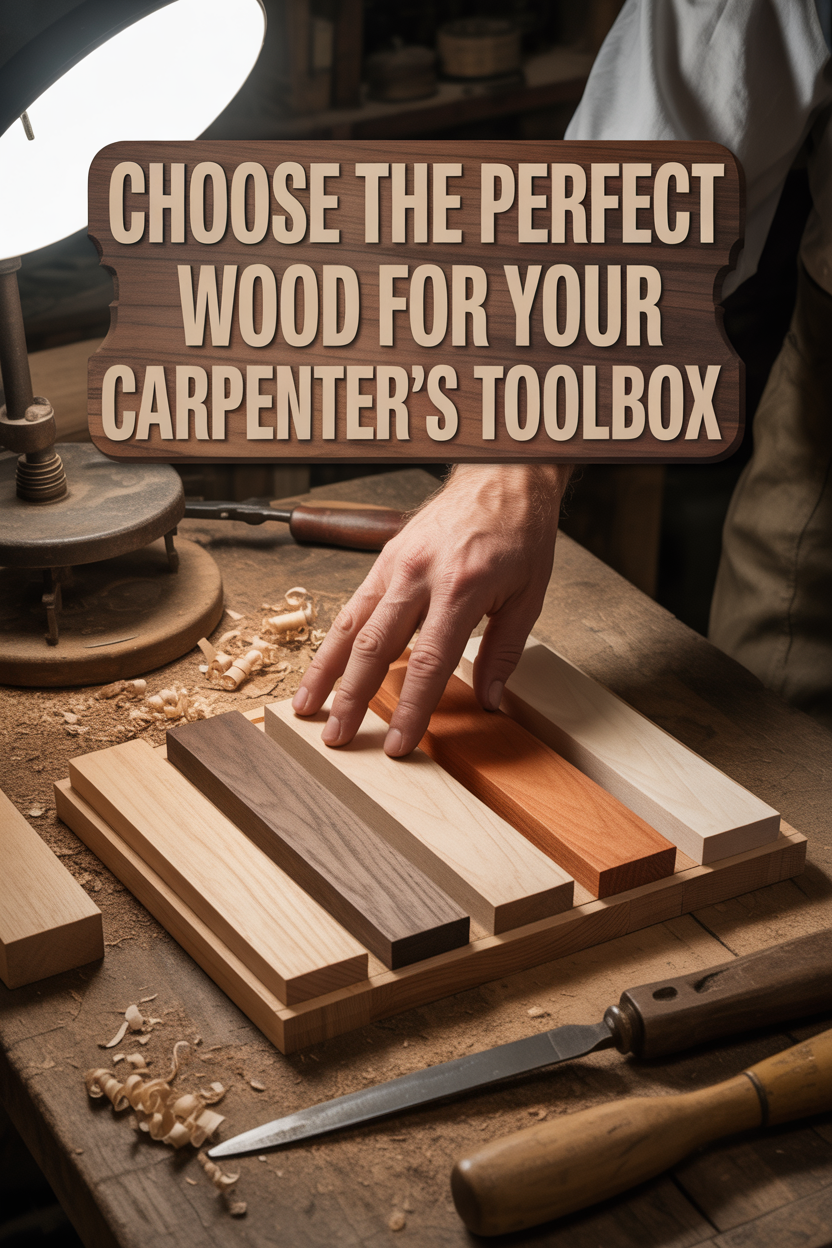
Choosing wood for your tool box requires balancing strength, weight, and appearance. Consider these options for your carpenter’s box:
- Pine: Lightweight and affordable – perfect for beginners or if portability is important.
- Oak: Extremely durable but heavier than other options.
- Maple: Hard, dense, and professional-looking with excellent wear resistance.
- Cherry: Beautiful wood that ages wonderfully, with moderate weight.
- Plywood: Practical, dimensionally stable, and budget-friendly.
For exterior components that will take abuse, hardwoods like oak or maple work best. For interior parts, lighter woods or plywood are suitable. Many woodworkers combine materials – using hardwood for the frame and softer woods for interior components.
Tool Box Size and Portability Considerations

Size significantly impacts how you’ll use your tool box. Are you building a workshop fixture or a portable solution? Here are some size guidelines to consider:
- Small portable box: 18-24″ long × 10-12″ wide × 10-12″ high (perfect for essential tools)
- Medium shop box: 24-30″ long × 12-16″ wide × 14-18″ high (balanced capacity and manageability)
- Large master chest: 36″+ long × 18-24″ wide × 20″+ high (maximum storage capacity)
Remember that wood combined with tools creates substantial weight. A fully loaded carpenter’s tool box can become surprisingly heavy. Consider adding wheels for larger designs, or keep portable boxes compact. Pay careful attention to handle placement for comfortable carrying.
Simple Beginner-Friendly Tool Box Plan

New to woodworking? Start with this straightforward wooden tool box design:
Materials needed:
- ¾” pine boards (about 12 board feet)
- Wood glue
- 1¼” wood screws
- Basic hinges and a handle
Dimensions: 20″ long × 10″ wide × 10″ high
Construction steps:
- Cut side panels (10″ × 10″), end panels (8½” × 10″), bottom (18½” × 8½”), and top (20″ × 10″)
- Assemble the box by attaching sides to the bottom with glue and screws
- Attach end panels, ensuring they’re flush with the sides
- Mount hinges to connect the lid to the back of the box
- Add a handle to the front or top
- Sand thoroughly and finish with oil or varnish
This beginner-friendly box can be completed in a weekend and will immediately improve your tool organization.
Intermediate Design with Sliding Drawers
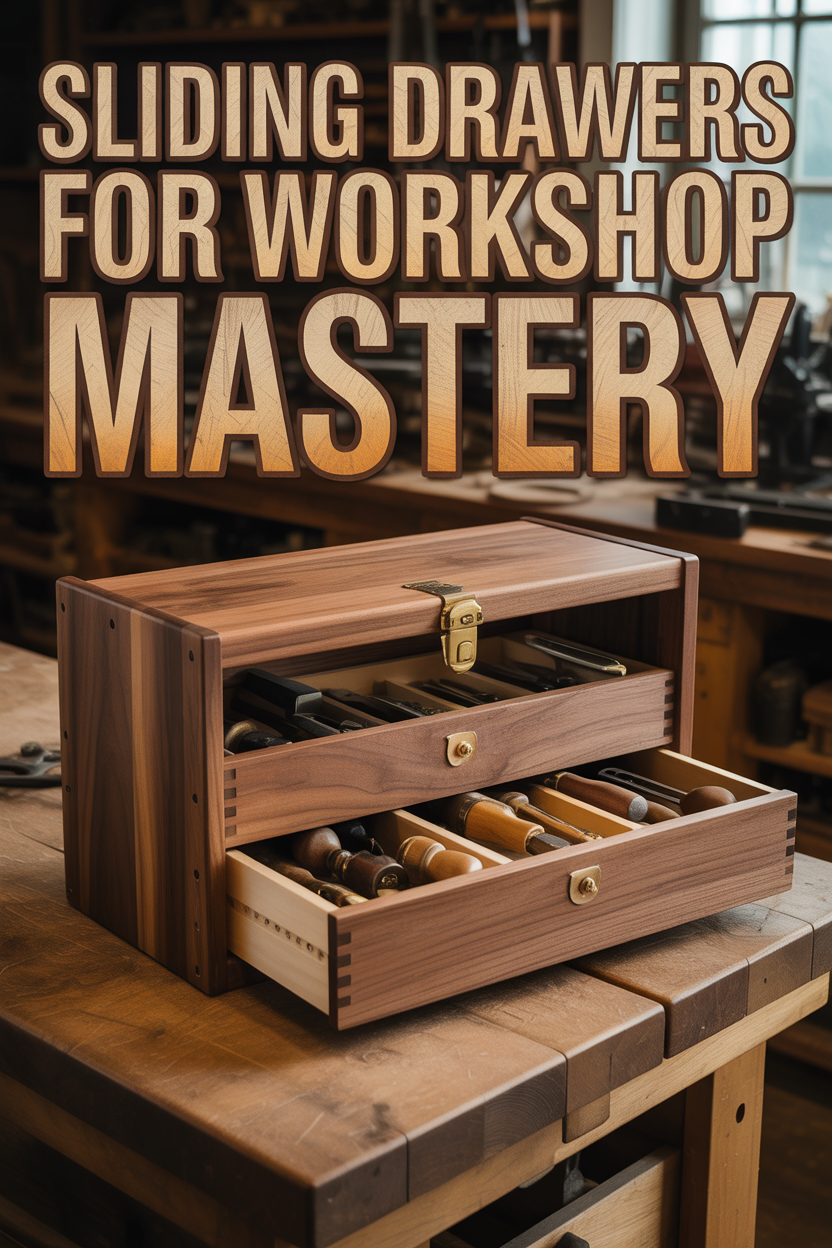
Ready to enhance your tool box with more functionality? This design adds sliding drawers for better organization:
Materials for your intermediate box:
- ¾” hardwood for exterior (oak or maple for durability)
- ½” plywood for drawers (reduces weight)
- Drawer slides
- Cabinet hardware
Key features:
- Main compartment with hinged lid for larger tools
- Two sliding drawers beneath for small items and accessories
- Dovetail or box joint construction for strength and visual appeal
- Removable till in the upper compartment for better organization
This design requires more precise measurements and joinery skills, but provides significantly better organization. Your sliding drawers should use proper wooden or metal slides for smooth operation. Include drawer stops to prevent accidents and damage.
Advanced Multi-Tier Carpenter’s Chest Plan
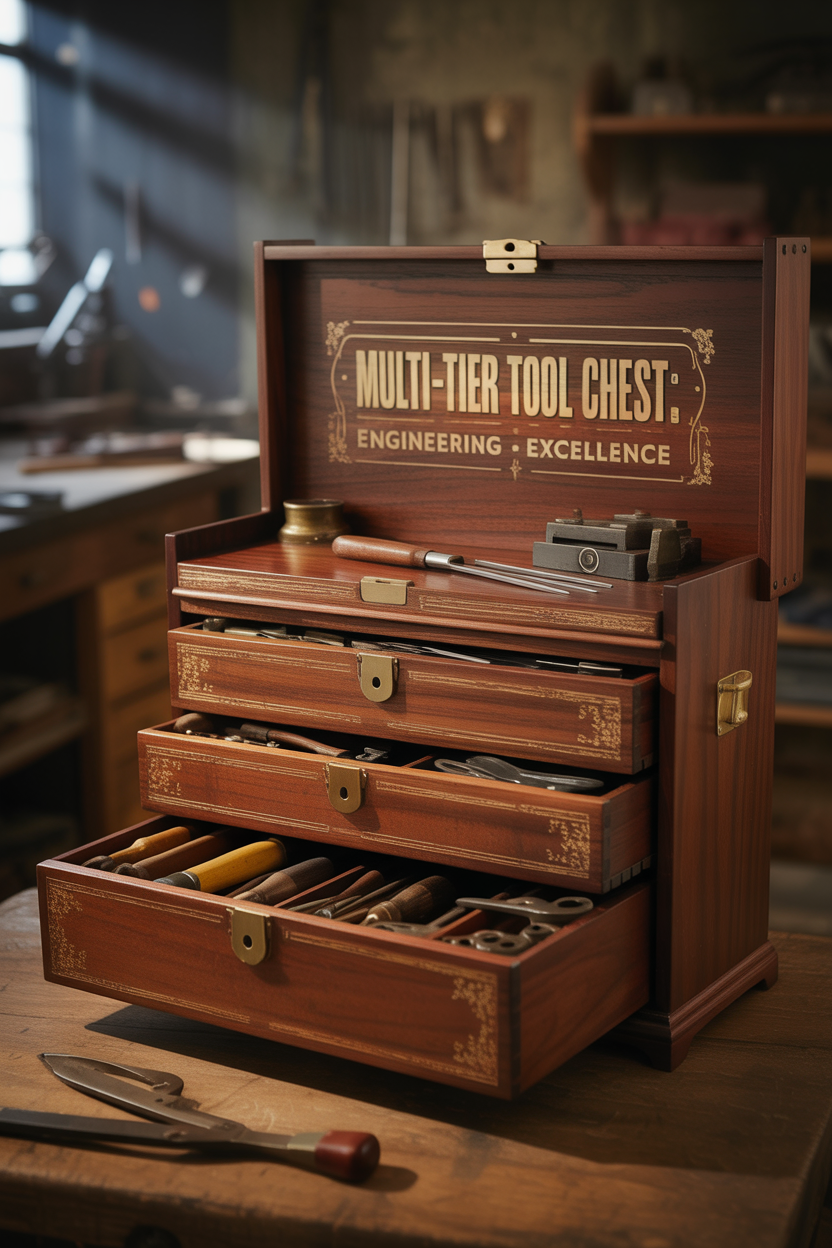
For experienced woodworkers, this traditional chest with expanding tiers offers the ultimate in tool storage:
Design highlights:
- Base chest with two pull-out trays that expand outward when opened
- Top compartment with cantilevered trays that rise automatically when the lid opens
- Dedicated spaces for every tool in your collection
- Hidden compartments for valuable items
- Full-width drawers at bottom for heavier tools
This advanced design incorporates mechanical systems including cantilevers, precisely fitted sliding components, and careful weight distribution. It typically uses solid hardwood construction with traditional joinery methods. This creates not just a tool box but a potential family heirloom.
This complexity requires thorough planning. Create detailed plans before cutting any wood, and consider building a prototype first to test the mechanical elements.
Adding Custom Dividers and Compartments

The interior organization of your tool box determines its practical usefulness. Here’s how to create a highly organized system:
- Adjustable dividers: Create grooves in the box walls where dividers can slide to accommodate changing needs.
- Tool-specific holders: Carve custom recesses for particular tools to prevent movement and damage.
- Removable trays: Design shallow trays for small items like screws, bits, and measuring tools.
- French fitting: Cut precise recesses for each tool for maximum protection and organization.
For versatility, combine fixed sections with movable dividers. Permanent divisions work well for tools you use consistently, while adjustable components allow for future changes to your tool collection.
Tool-Specific Storage Solutions
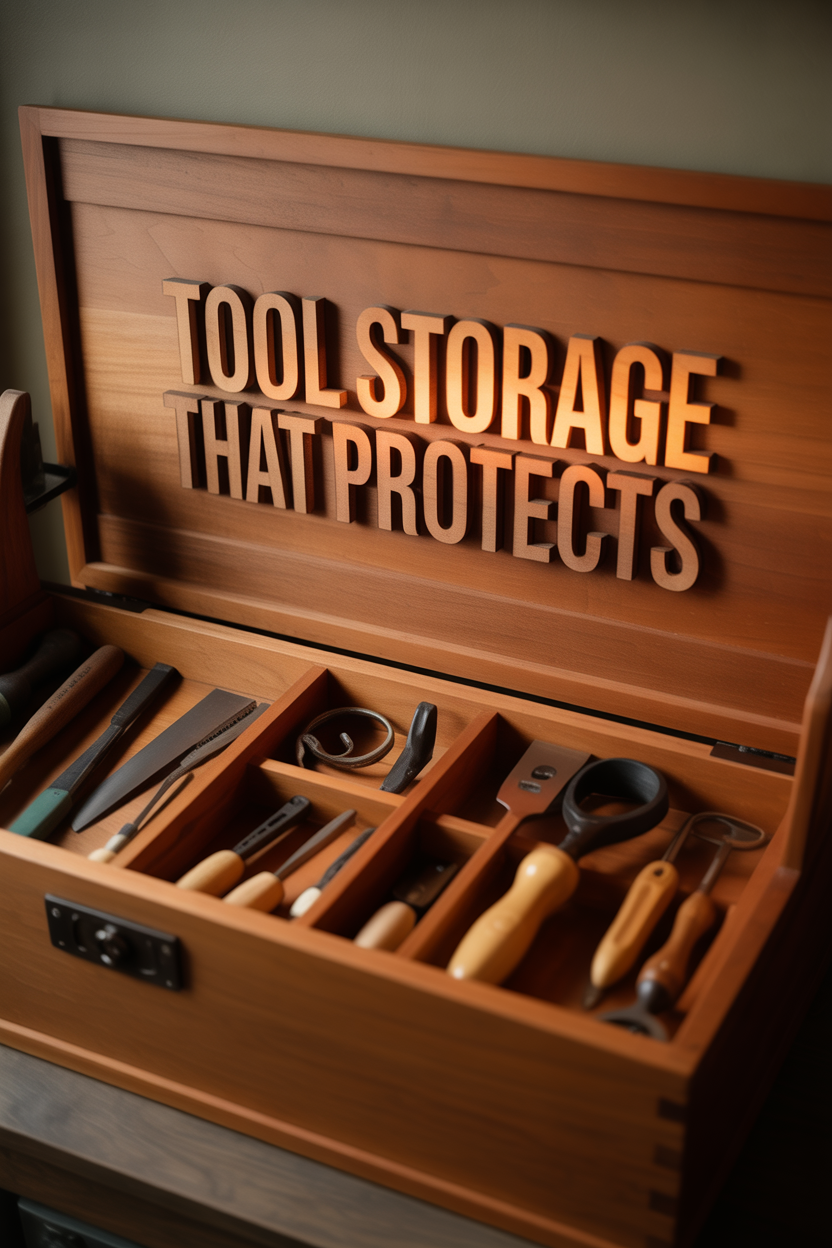
Different tools have unique storage requirements for proper protection:
- Chisels: Wooden racks with angled slots protect edges and keep tools accessible.
- Hand planes: Store upside down on padded surfaces to protect their cutting edges.
- Saws: Vertical storage with blade guards preserves teeth and prevents damage.
- Measuring tools: Dedicate shallow drawers to protect these precision instruments.
- Drill bits and router bits: Holes drilled in wooden blocks create secure storage for these items.
Consider how frequently you use each tool when planning your storage. Daily-use tools should have the most accessible positions, while specialty tools can occupy less convenient spaces.
Finishing and Protecting Your Wooden Tool Box
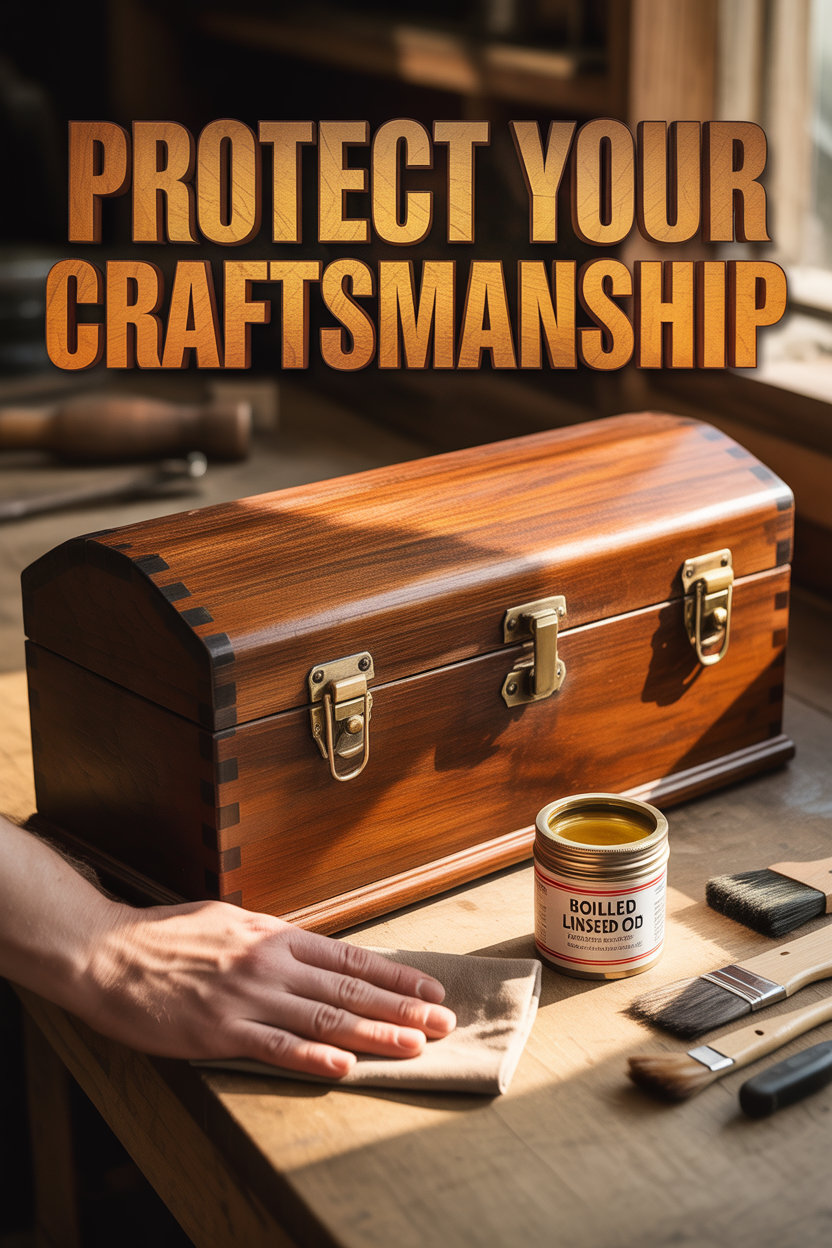
The right finish enhances appearance while protecting your tool box from workshop conditions:
- Boiled linseed oil: Penetrates wood fibers for natural protection with a warm appearance.
- Shellac: Creates an attractive glow and can be easily repaired when damaged.
- Polyurethane: Offers superior moisture resistance and durability for heavy workshop use.
- Milk paint with wax: Provides a traditional appearance with good protection when sealed properly.
For interior surfaces, consider leaving some areas unfinished to help absorb moisture. Alternatively, line the bottom with felt or canvas to provide cushioning for your tools.
Hardware Options for Hinges, Handles and Closures
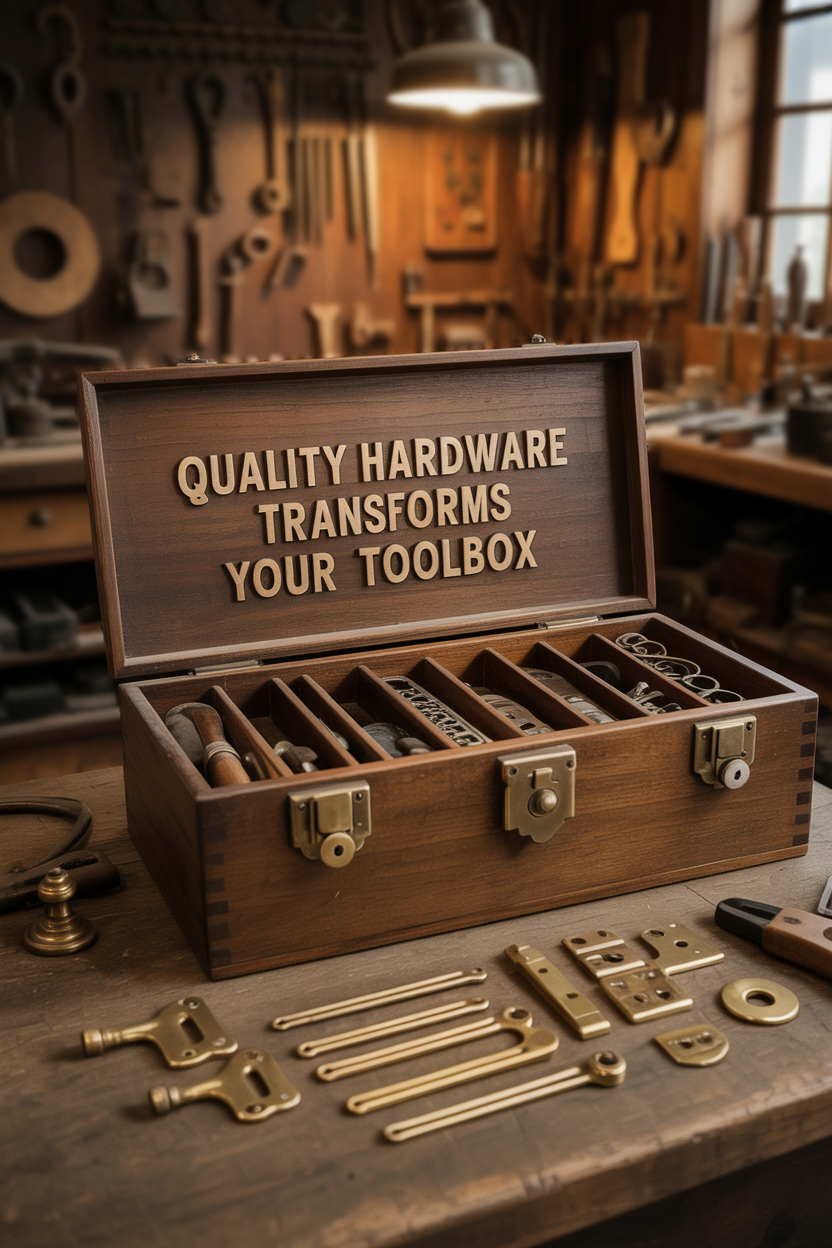
Quality hardware enhances both function and appearance of your tool box:
- Hinges: Brass butt hinges provide traditional appeal, while piano hinges offer continuous support for heavier lids. Stop hinges prevent damage from over-extension.
- Handles: Recessed pulls maintain a clean profile, while traditional bail handles allow easy carrying. For heavier boxes, include handles on both ends for two-person lifting.
- Closures: Simple turn buttons work for workshop storage, while hasps and locks provide security. Magnetic catches offer convenient operation.
Invest in quality hardware even if it costs more initially. High-grade components will function reliably for years while cheaper alternatives may fail prematurely.
Creating a Lightweight Jobsite Tool Carrier
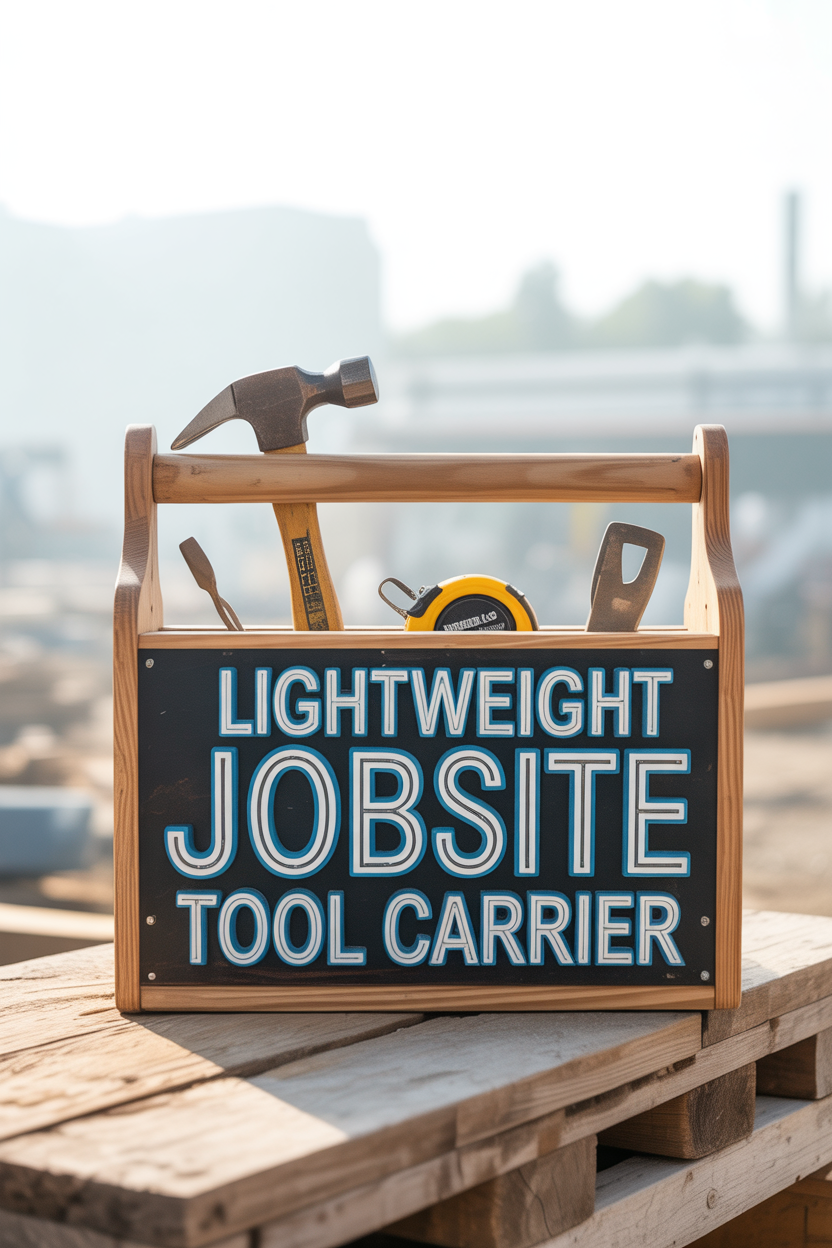
For portable use, design a tool box that prioritizes weight savings and accessibility:
Design features for portable use:
- Open-top design for quick access without needing to open lids
- Central divider creating two main compartments for basic organization
- Ergonomic handle designed for comfortable carrying
- Angled ends that allow carrying against your leg comfortably
- Exterior pockets for frequently used items like pencils and measuring tools
Use thinner ½” material instead of ¾” to reduce weight, and select lighter woods like pine or poplar. Strategic use of plywood provides strength without excessive weight. This design prioritizes convenience and portability over comprehensive organization.
Wall-Mounted Tool Cabinet Alternative
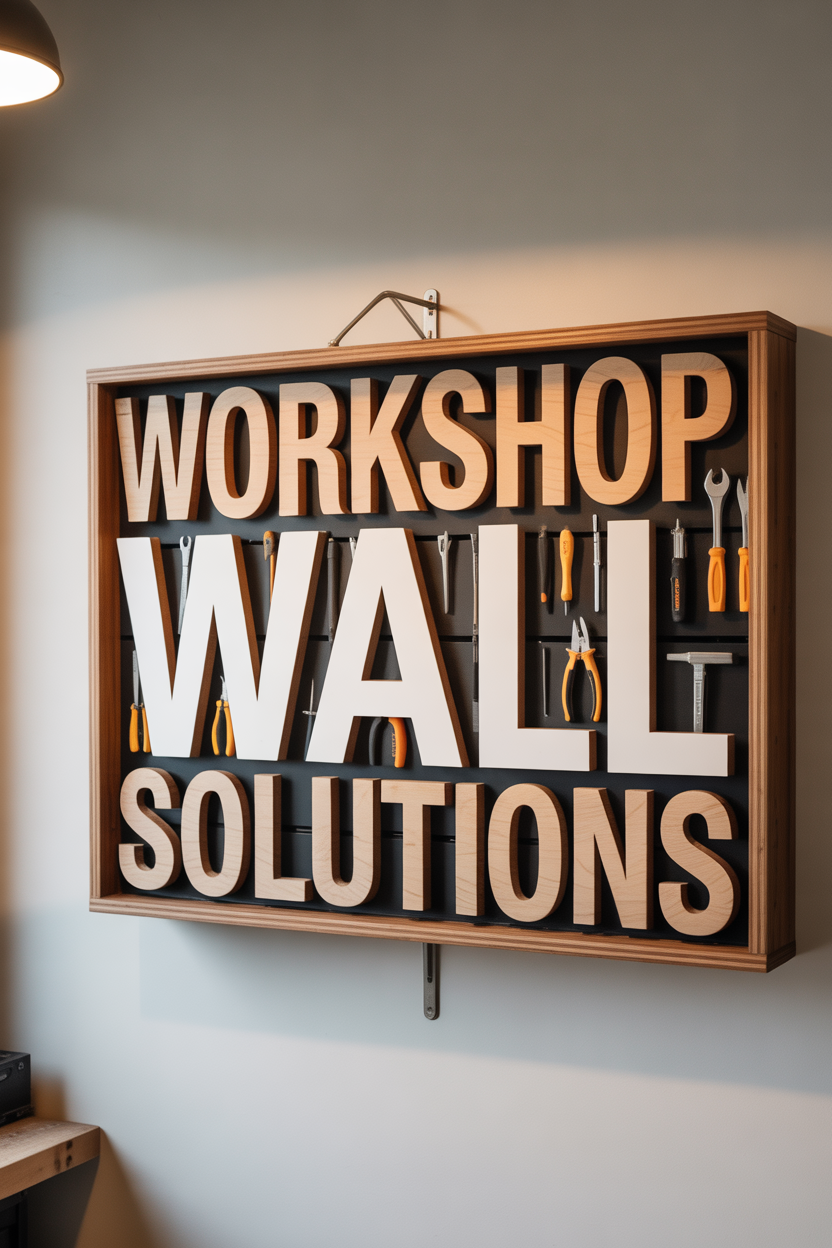
If you have a dedicated workshop, consider a wall-mounted cabinet for tool storage:
Advantages of wall-mounted storage:
- All tools visible and accessible at once
- No digging through layers to find tools at the bottom
- Efficient use of wall space in space-constrained workshops
- Can incorporate various mounting systems like pegboard or French cleats
- Doors protect tools from dust while keeping everything visible
Design your cabinet with moderate depth (4-6″) to prevent overcrowding. Consider transparent doors or interior lighting for better visibility. Many woodworkers combine approaches – using wall cabinets for everyday tools and traditional chests for less frequently used items.
By building a custom wooden carpenter’s tool box that matches your specific needs and working style, you’re creating more than storage – you’re crafting a workshop companion for countless projects. Whether you choose a simple weekend build or an heirloom-quality chest, the organization and protection it provides will enhance your woodworking experience. The right tool storage solution makes your work more efficient and enjoyable.


