Is Your Garage Floor Crack a DIY Job or a Pro Call?

Those splits snaking across your garage floor are concrete cracks, a very common issue for homeowners. They can range from nearly invisible hairlines to gaps several inches wide. For the most part, these are simple cosmetic fixes you can tackle yourself.
But first, you must figure out if the crack points to a deeper structural problem. A quick inspection can save you from a failed repair and a much bigger headache down the road. You need to know when to grab your tools and when to call a professional.
Look for tell-tale signs of a larger issue that requires a professional opinion. Is one side of the crack higher than the other, a condition known as heaving? Do you notice any bulging, sloping, or significant crumbling along the crack’s edges?
If you see any of these symptoms, or if the crack seems to be actively getting wider over time, it’s time to consult a professional concrete contractor. These can be signs of an unstable foundation or water issues beneath the slab. Anything beyond a simple, stable crack is a job for the experts.
However, if your crack is level and stable, it’s a cosmetic issue. You have the green light to fix it yourself and take the first step toward a great-looking garage floor.
Why Does My Garage Floor Have Cracks?
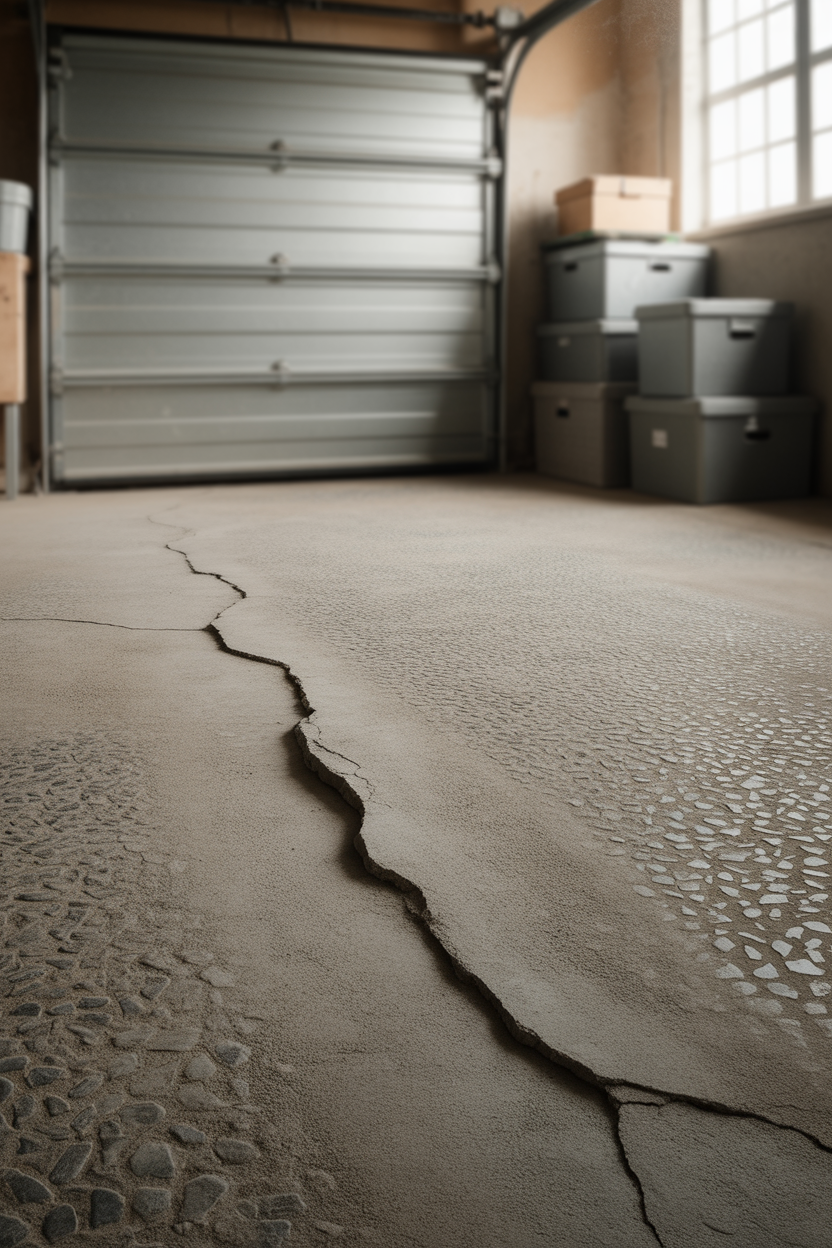
Most cracks are not signs of a failing foundation. They are usually just stress fractures from the way concrete naturally behaves. This is called shrinkage cracking, and it’s a normal part of your floor’s life.
Your concrete is always moving, just very slowly. It shrinks a little in the cold and expands when it gets warm. Over seasons and years, this movement creates stress that results in cracks.
So, don’t panic if you see a crack. It’s just what concrete does. In fact, you can expect all concrete floors to get some cracks over time.
The important thing to know is that these are usually just on the surface. They aren’t signs that your foundation is failing. By fixing them, you stop water and dirt from making the cracks bigger. You’re simply taking care of your garage floor for the future.
What Tools and Safety Gear Do I Need?

Before you start, getting the right tools together will make the job much faster and easier. A good repair depends on having the right gear on hand.
For the preparation stage, you will need a stiff wire brush, a hammer, and a cold chisel. For larger jobs, a small angle grinder with a crack-chasing wheel makes a huge difference. A powerful shop vacuum is a must-have for cleaning out debris.
When you’re ready to apply the filler, you’ll need a standard caulking gun for tube-based products. For mixed epoxies and mortars, a putty knife and a small trowel are essential for a smooth application. A piece of scrap cardboard is also useful for mixing small batches.
Most importantly, be safe. Working with concrete and power tools kicks up dust and debris. Always wear safety goggles, a dust mask, and heavy-duty gloves to protect yourself.
Step 1: Why You Must Prepare the Crack First

The success of your entire repair depends completely on one thing: preparation. The new filler needs a clean, solid surface to bond with permanently. Skipping or rushing this step is the main reason DIY repairs fail.
The goal is to remove any loose debris, dust, and weak concrete from inside the crack. The filler needs to stick to solid concrete, not dust or crumbling bits. This is where you’ll spend most of your time and effort.
You’ll often hear professionals talk about “chasing the crack.” This means using a tool to slightly widen and deepen the crack into a “V” shape. This creates more surface area for the patch to grip onto, ensuring a much stronger, longer-lasting repair.
You also need to find and remove any “laitance.” This is a weak, dusty, or sandy layer of concrete that often forms on the surface. If you try to patch over laitance, your repair will simply peel away with it later on.
Chasing the Crack: How to Open and Clean Hairline Fractures

For smaller cracks, your most important tools are a hammer and a cold chisel. Place the tip of the chisel into the crack and gently tap it with the hammer. Your goal is to slightly undercut the edges, creating a V-shaped groove that is wider at the bottom than at the top.
This inverted “V” shape, known as an undercut, acts as a keyway. It mechanically locks the repair material into place, preventing it from being pushed out over time. This is a crucial detail for a durable repair.
Once you have chased the entire length of the crack, switch to a stiff wire brush. Scrub the inside of the new groove hard with the brush. This will knock loose any weak concrete, laitance, and dirt.
Finally, use a powerful shop vacuum with a narrow crevice tool. Thoroughly vacuum out all the dust and loose material you just scraped free. Repeat the brushing and vacuuming process until the inside of the crack is completely clean and solid.
How to Use an Angle Grinder Safely for Larger Cracks
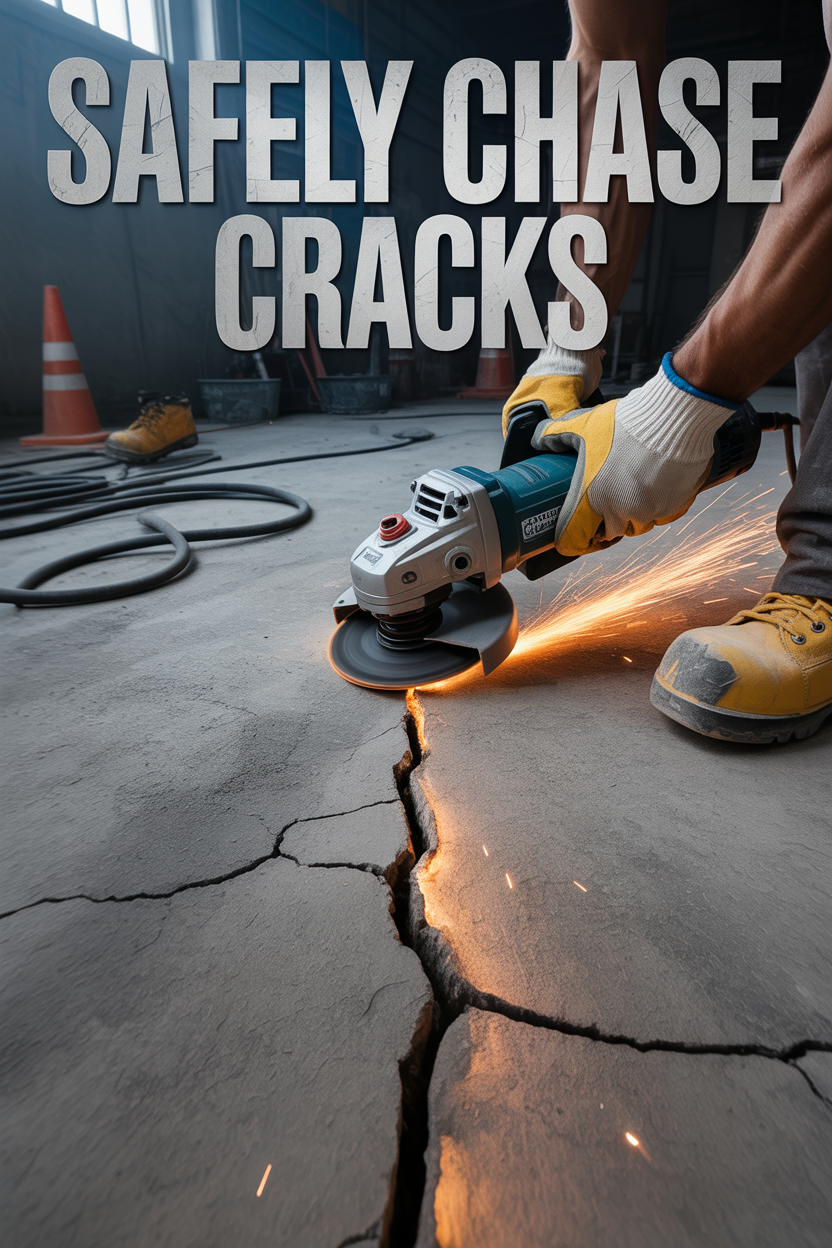
For longer or wider cracks, chasing them with a hammer and chisel can be a slow, difficult job. This is where a small angle grinder with a diamond crack-chasing wheel is a huge help. This tool saves a lot of time and makes a perfect groove for the filler.
The crack-chasing wheel is made to create a clean, even V-groove. It grinds away the weak edges and opens the crack perfectly, all in a single pass. This ensures a consistent depth and width for a professional-grade repair.
Warning! An angle grinder is a powerful tool and can be dangerous. It creates a lot of concrete dust, sparks, and flying bits. You must wear the right safety gear, including safety goggles, a good dust mask, and gloves.
If you’ve never used an angle grinder, don’t just guess how it works. Watch a few instructional videos on YouTube first. Knowing how to handle the tool safely is very important.
After grinding, the crack will be filled with fine dust. It is critical to vacuum thoroughly and more than once to get all the dust out. The crack must be completely dust-free so the patch can stick properly.
Step 2: How to Choose the Right Filler for Your Crack
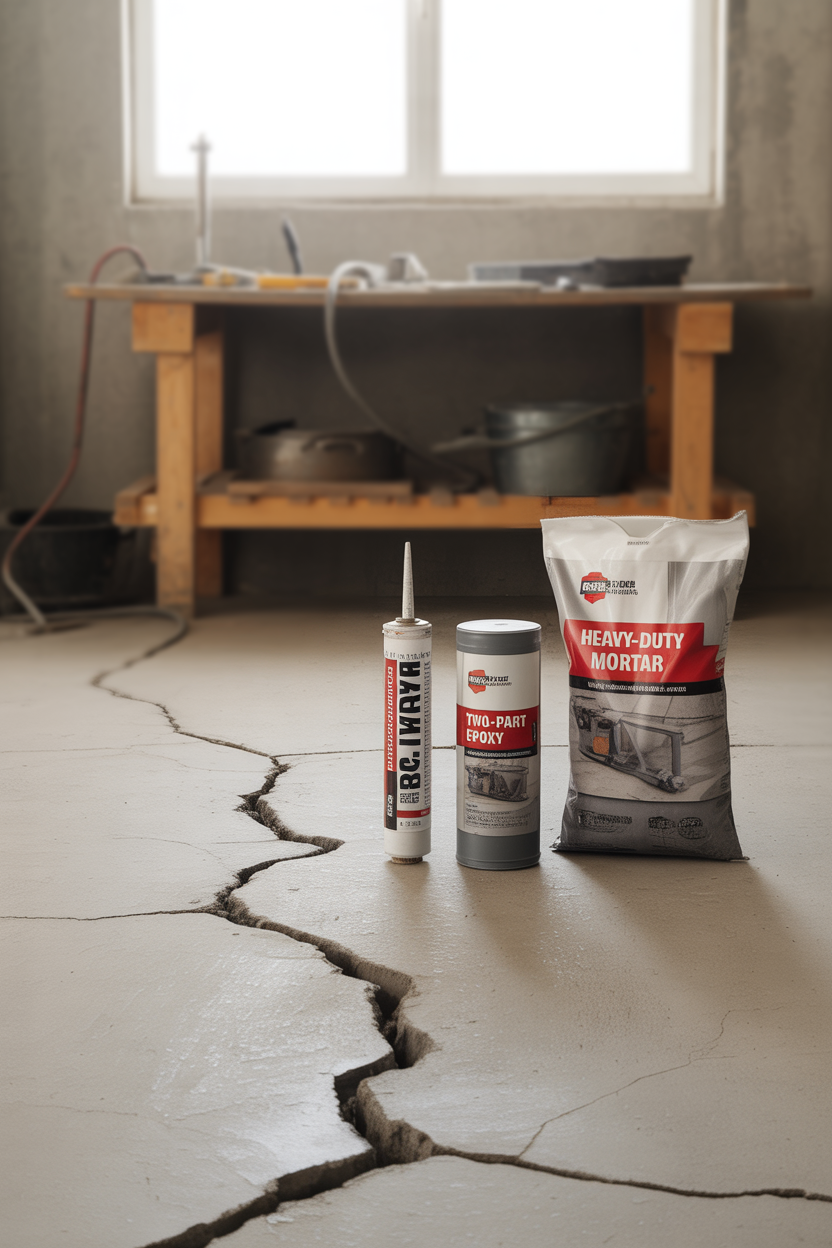
Now that your crack is clean and prepped, it’s time for the fun part: filling it in. The filler you choose depends on how wide the crack is. Using the right product will make sure your repair lasts in a busy garage.
For small, hairline cracks up to about 1/2 inch wide, the easiest solution is a self-mixing crack filler that comes in a caulking tube. These are very convenient and require no manual mixing. They provide a simple, strong, and fast repair.
For medium-sized cracks, you’ll want to use a two-part epoxy kit. These are much stronger and last longer than simple caulks.
When facing very wide cracks, multiple cracks, or even shallow pits (spalling), a heavy-duty epoxy mortar system is the best choice. These systems create an extremely strong patch that is often stronger than the original concrete itself. Alternatively, a polymer-modified cement patcher can also be an effective choice.
Fixing Small Cracks (Up to 1/2″): The Caulking Gun Method

For everyday garage floor cracks up to 1/2″ wide, there’s no need for complicated mixing. A self-mixing tube of polyurethane or epoxy crack filler is your best choice. These products are easy to use and give you great results.
Our favorite for this task is RTG Concrete Crack Filler. It’s affordable, effective, and perfect for the average DIYer. It works with a standard caulking gun and comes with a special nozzle that mixes the two-part formula perfectly as you apply it.
Simply load the tube into your gun, cut the tip, and apply a steady bead into the prepared crack. The filler is self-leveling to a degree, and it cures into a hard, durable, concrete-like finish that completely seals the damage. This is the simplest way to get a professional-strength repair.
The finished repair will be tough and waterproof. It stops more damage from moisture or freezing and thawing. It’s a perfect choice for fixing your floor with little effort.
RTG Concrete Crack Filler at a Glance
- Use RTG on cracks up to 1/2 in. wide.
- It’s completely waterproof once cured.
- Bonds to concrete, slate, brick, and cement.
- No manual mixing required—the nozzle does the work.
- Dries to a milky clear color.
- Requires a caulking gun with at least an 8:1 thrust ratio.
- Check out RTG Concrete Crack Filler on our Product Page.
Repairing Medium Cracks: Two-Part Epoxy Kits

When you’re dealing with cracks that are a bit wider, or even small chipped areas, you need a stronger product that can fill the space better. A two-part epoxy patching kit is the next step up. These kits stick incredibly well and are very durable.
One of the best and most widely available options is Rust-Oleum’s Epoxyshield Concrete Patch & Repair. This is a trusted two-part system that consists of an epoxy resin and a hardener. It’s well known for being easy to use and creating a very tough repair.
To use it, you simply mix the two parts together on a scrap piece of cardboard until you have a uniform color. Once mixed, you only have a short time to work, so only mix as much as you can apply in about 10-15 minutes. Press the mixture firmly into the crack with a putty knife or trowel.
The mixture cures to a light gray, concrete-like finish. It’s very strong and holds up against chemicals and scrapes. This makes it an ideal choice for the high-traffic environment of a garage floor.
Rust-Oleum Epoxyshield at a Glance
- Ideal for cracks and holes up to 1/2 in. deep.
- Creates a waterproof, high-strength patch.
- Use on concrete, masonry, and stone.
- Simple 2-parts base to 1-part activator mix ratio.
- Dries to a durable light gray finish.
- Check out Epoxyshield on our Product Page.
Filling Large Cracks and Pits: Heavy-Duty Mortar Systems

If your garage floor has a lot of damage, very wide cracks (up to one inch), or areas of pitting and spalling, you need a heavy-duty solution. For these bigger jobs, a three-part epoxy mortar patch is what the pros use. These systems create a patch that is nearly indestructible.
The Epoxy Mortar Patching System is a great product known for handling these tough repairs. It consists of a resin, a hardener, and a specialized sand aggregate. When mixed, they form an epoxy mortar that can be troweled into place like cement but cures to a strength far greater than it.
This system is not just for concrete; it sticks so well that it can repair asphalt, wood, and even metal surfaces. The application is straightforward: mix the three parts in small, workable batches, and trowel the mortar firmly into the damaged area.
For very deep cracks or holes, you can first fill the void about two-thirds of the way with clean sand. Then, apply the epoxy mortar over the sand, forcing it in to remove any air pockets. This makes the repair more economical without sacrificing strength.
Epoxy Patching System at a Glance
- Repairs cracks and holes up to 1 in. wide.
- Creates a permanent, waterproof bond.
- Can be used on concrete, brick, stone, and more.
- A powerful 3-part epoxy patch system.
- Dries to a tough, medium gray finish.
- Find the Epoxy Patching System on our Product Page.
What About Using a Polymerized Concrete Patcher?
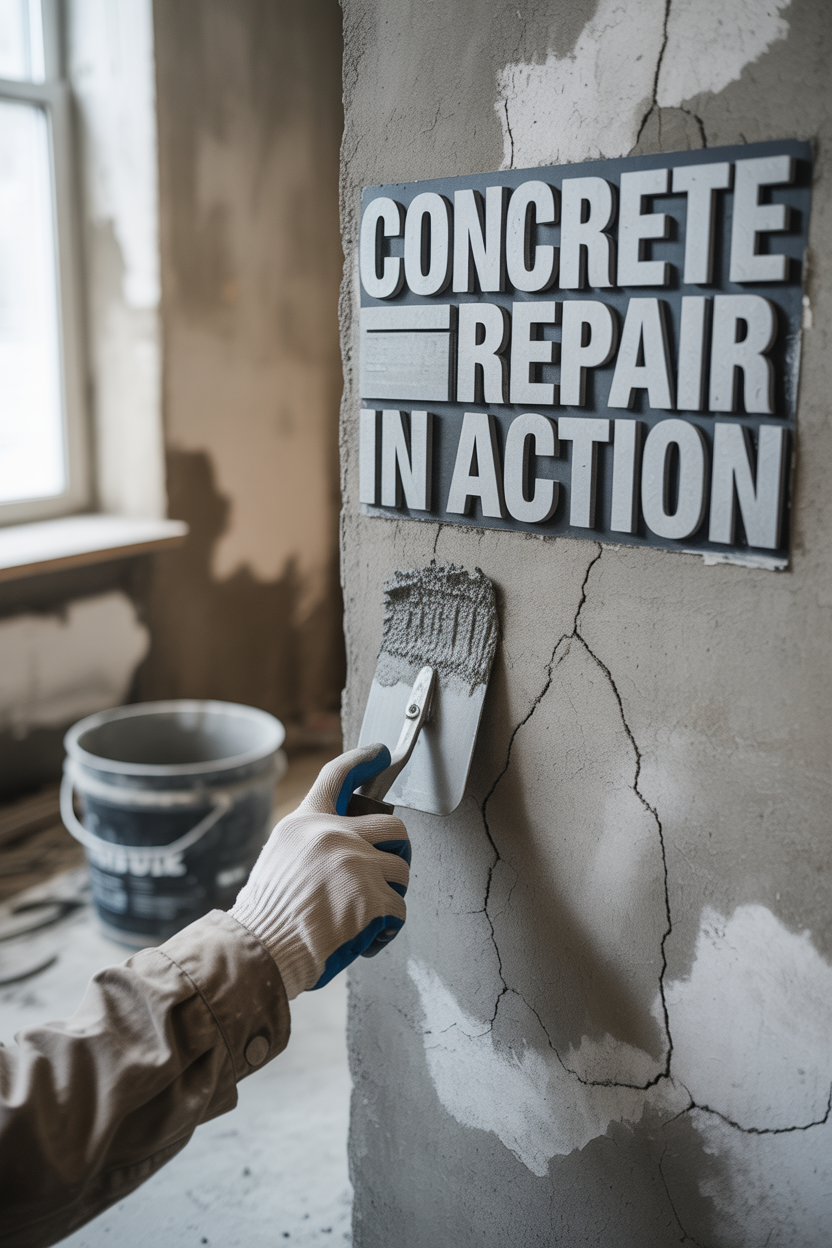
Epoxy gives you the most strength, but some people like working with a more traditional cement-based product. Polymerized concrete patchers are a great alternative. They are easy to use and look very natural. They feel more like regular concrete but stick much better.
Unlike epoxies that give you only a short time to work, polymerized concrete is mixed with water and gives you more time to trowel the slurry into the crack and get a smooth finish. This can be less stressful if you’re new to this. It’s an excellent choice for a wide range of repairs.
One of the best products in this category is Sakrete’s Top ’N Bond Concrete Patcher. It’s very easy to use: just mix the powder with water until it’s like a paste, then apply it with a trowel. It sticks extremely well to the old concrete for a lasting fix.
For deeper cracks, you apply Top ‘N Bond in layers. Fill the crack about halfway, let it harden for a few hours, and then apply the final layer, smoothing it flush with the surrounding floor. While not quite as strong as an epoxy mortar, it is more than tough enough for most garage applications.
Sakrete Top ‘N Bond at a Glance
- Apply in 1/2 in. layers for deep cracks.
- Cures to a strong, waterproof finish.
- Excellent for concrete, brick, and masonry.
- Fills cracks, holes, and areas of pitting.
- Simply mix with water to the desired consistency.
- Dries to a standard medium gray concrete color.
- Learn more about Top ‘N Bond on our Product Page.
What to Expect: The Real Look of a DIY Concrete Repair
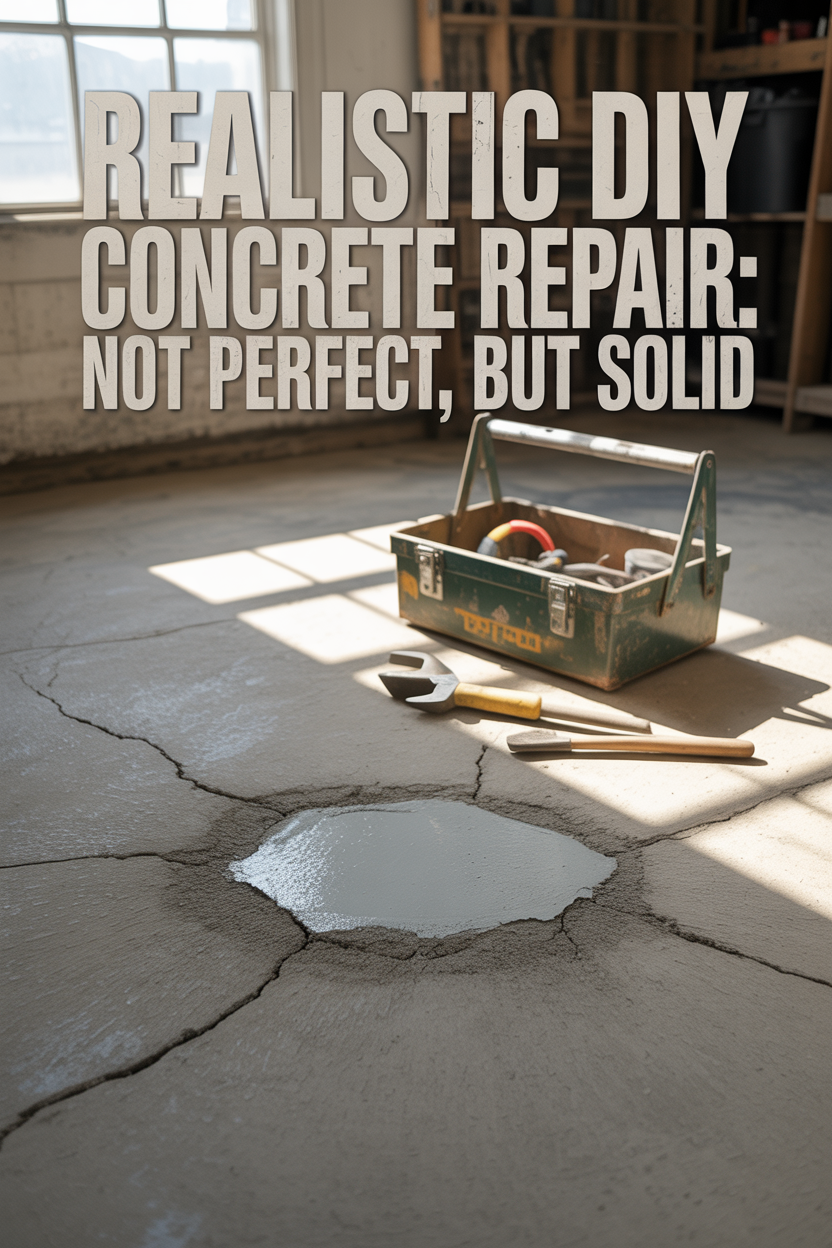
It’s important to have realistic expectations for how your repair will look. Let’s be clear: your patch will not be a perfect color and texture match for your old floor. This is true no matter what product you use.
Many negative reviews for these products come from people who were disappointed with the color. But concrete changes color as it gets older, and a new patch can’t match that aged look.
The main goal of a DIY repair is to fix the problem, not just make it look perfect. You are making the crack stable, stopping it from growing, and keeping water out. You’re restoring your floor’s solid surface, which is a huge victory.
Think of this repair as step one. If you want a perfect, showroom-style floor, your next project will be to coat or paint the whole thing. But first, you must fix the cracks to have a solid base for that new finish.


