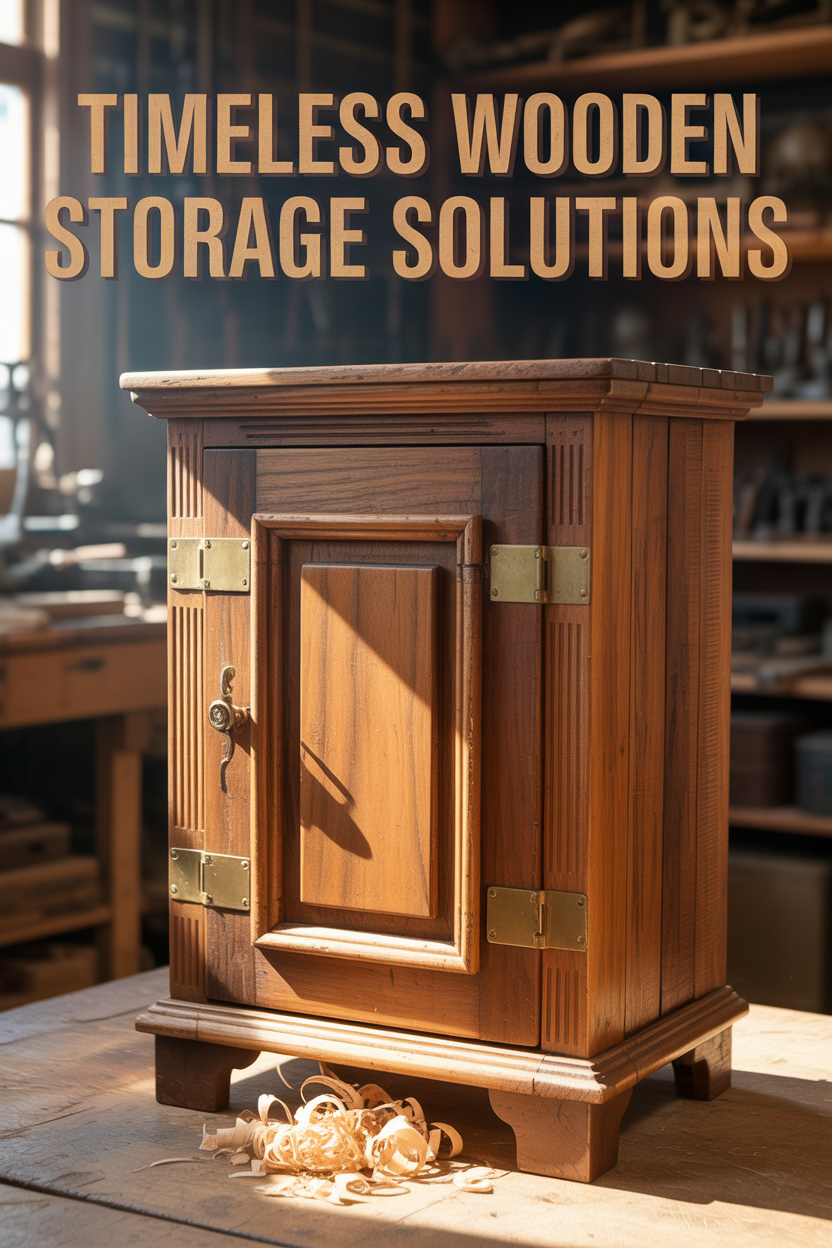
The Ultimate Guide to Carpenter Cupboards: From History to Construction
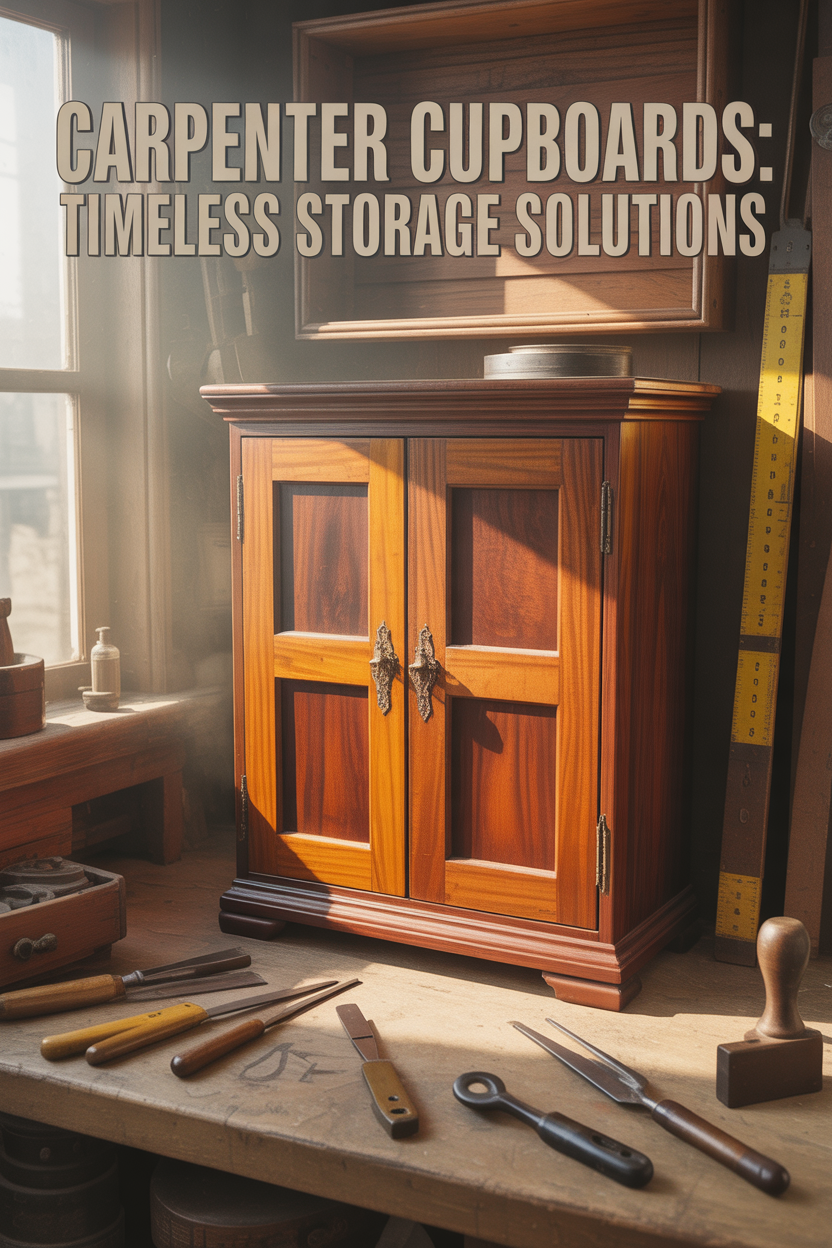
Well hello there, fellow woodwork enthusiasts! Today we’re diving into the wonderful world of carpenter cupboards – those magical storage solutions that have been keeping our stuff organized since basically forever! Grab your favorite beverage, get comfy, and let’s explore everything from their rich history to how you can build one yourself (without losing a finger in the process, hopefully!).
The History and Evolution of Carpenter Cupboards
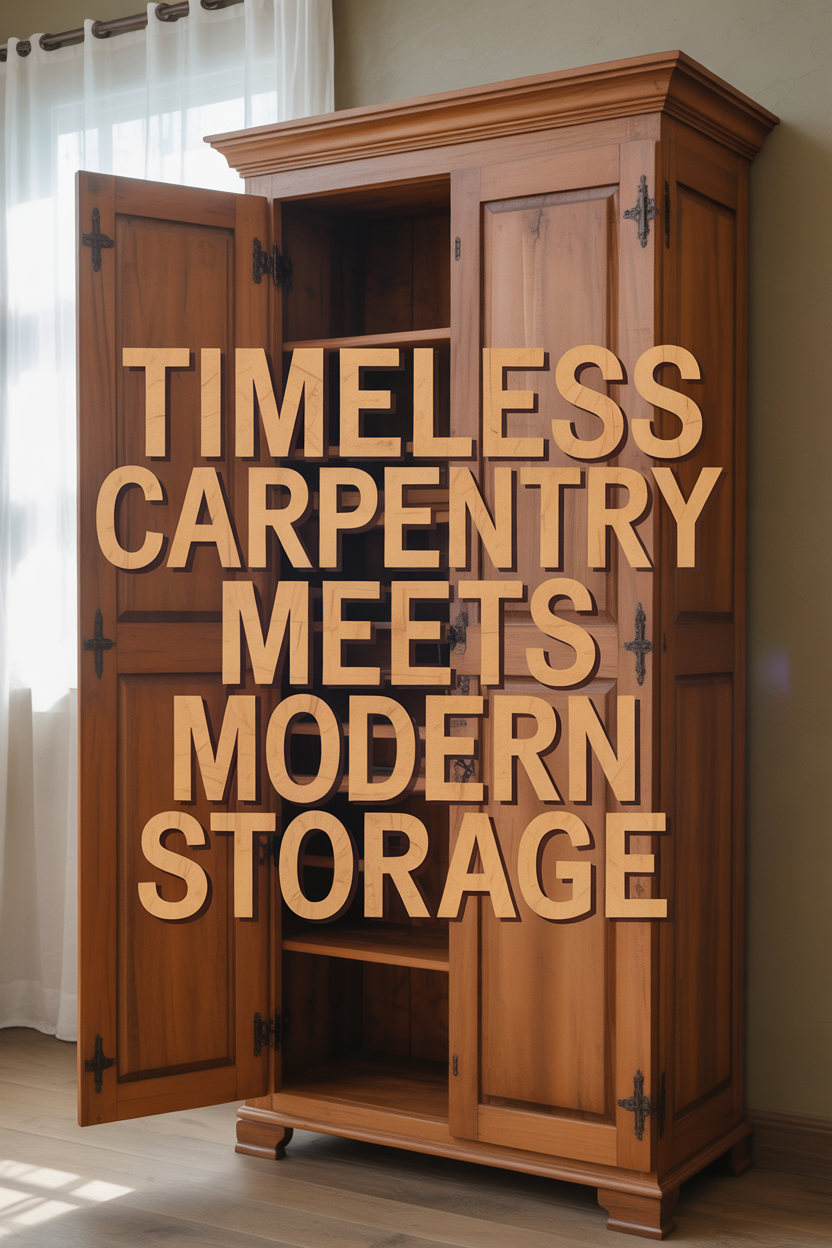
Carpenter cupboards have been around for centuries, truly standing the test of time. Back in medieval days, these wooden wonders were purely practical affairs. Think less “Instagram-worthy storage solution” and more “please just hold my stuff without falling apart.” Local woodworkers built them with whatever materials they could get their hands on.
Fast forward to the 17th and 18th centuries, and carpenters started showing off a bit. American colonial cupboards got all dressed up with elegant details and paneling. And those Victorians never met a surface they couldn’t make more ornate!
Today’s carpenter cupboards have taken the best traditional techniques and mixed them with modern design. From charming rustic farmhouse styles to sleek minimalist versions, these versatile storage heroes continue to evolve with our changing tastes.
Essential Tools Needed for Building a Carpenter Cupboard
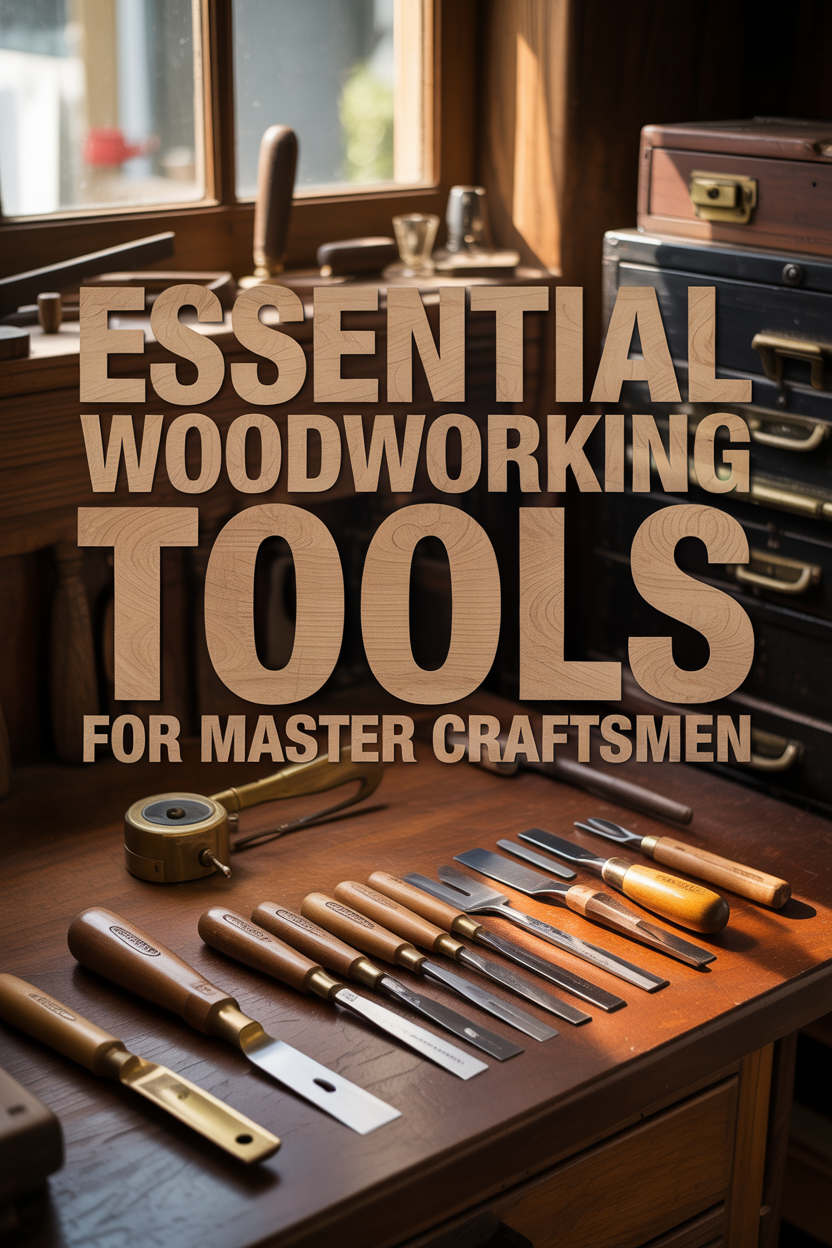
Ready to build your own cupboard? You’ll need some proper tools first! For measurements (which are critically important), grab yourself a reliable tape measure, carpenter’s square, bubble level, and marking tools. Remember, your cupboard will only be as good as your measurements.
For cutting, you’ll want a circular saw for the big pieces, a jigsaw for curves, and a miter saw for those precise angles. Don’t forget some good old-fashioned hand tools like chisels and planes – they’re like the vintage vinyl records of woodworking: a bit more work but oh-so-satisfying.
During assembly, clamps will become your new best friends. Seriously, you can never have too many clamps – they’re like extra hands that don’t complain! A decent drill with various bits will help you create holes and install hardware without breaking a sweat.
And please, don’t skip the safety gear! Those protective goggles might not win any fashion contests, but neither will an eye patch. A sturdy workbench is also essential – trying to build furniture on a wobbly card table is like trying to ice skate uphill.
Types of Wood Best Suited for Carpenter Cupboards
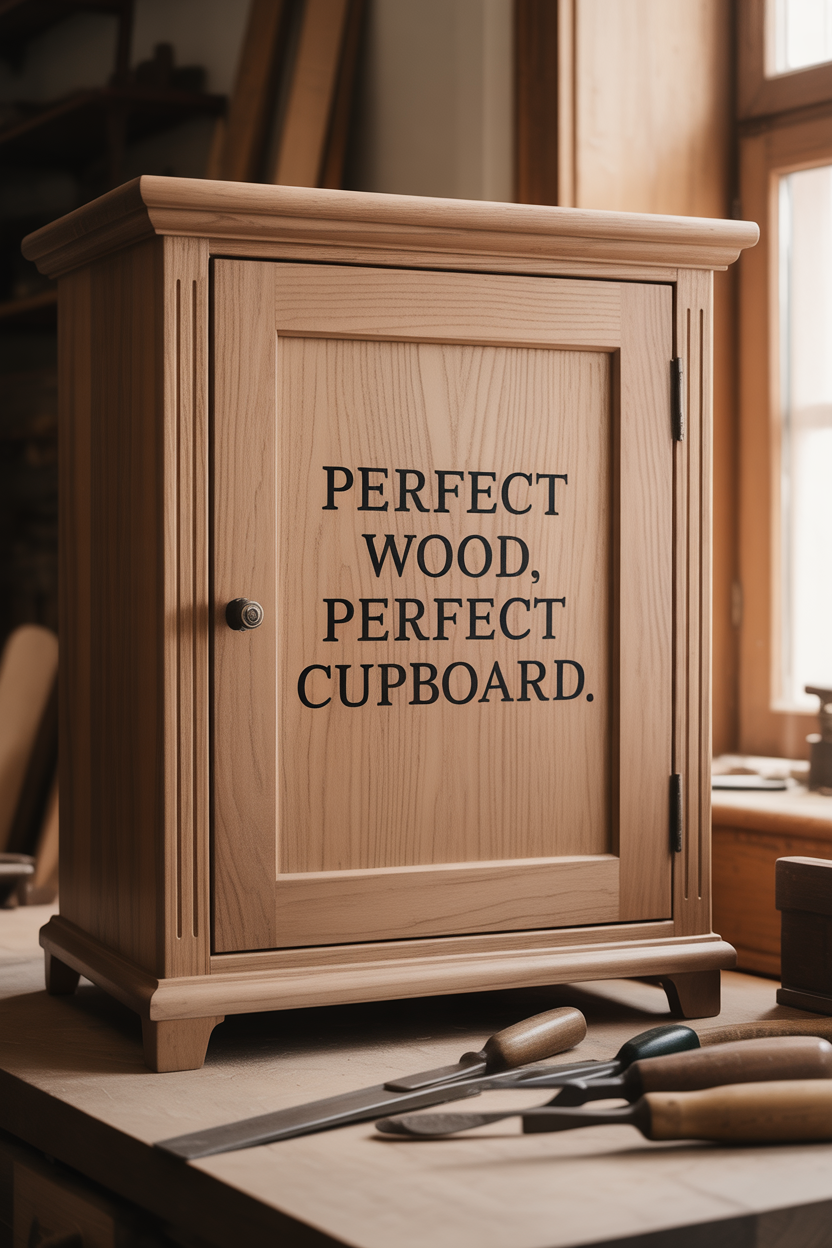
Choosing wood is like dating – you’re looking for the right combination of looks, personality, and staying power! Premium hardwoods like oak, maple, cherry, and walnut are the top-tier options. Oak is dependable with distinctive grain, while cherry brings warm reddish tones that actually get better with age.
On a tighter budget? No worries! Softwoods like pine and cedar are more affordable options that still have plenty to offer. Pine is perfect if you’re planning a painted cupboard or going for that rustic-chic look. Cedar naturally repels bugs and moisture – it’s nature’s own protective wood.
Then there are the engineered wood products – the sensible compromise options. Plywood offers excellent stability without the movement issues of solid wood. MDF gives you that consistently smooth surface that’s perfect for painting.
Match your wood to your cupboard’s purpose – kitchen cupboards need something that can handle moisture, while display cabinets might prioritize those gorgeous grain patterns that make your guests admire your craftsmanship.
Understanding Measurements and Dimensions for Your Cupboard

Getting your measurements right is fundamental to success! Standard kitchen cupboards typically range from 12-24 inches deep (upper cabinets being the slimmer 12-inch versions, while base cabinets rock a more substantial 24-inch depth). Height-wise, base cabinets usually stand 34-36 inches tall, while upper cabinets hang about 18 inches above countertops and stretch 30-42 inches in height.
When designing your cupboard, think about what you’ll be storing inside. Your grandmother’s china collection needs different dimensions than your collection of power tools. Make sure to allow enough clearance around doors and drawers – nothing more frustrating than a drawer that can only open halfway before crashing into something else!
Create detailed plans before you make a single cut. Include space for all your joinery methods and hardware – remember that finished dimensions will be different from your raw materials.
And please follow the golden rule of carpentry: measure twice, cut once. Your lumber supply and patience will thank you.
Step-by-Step Guide to Building a Basic Carpenter Cupboard
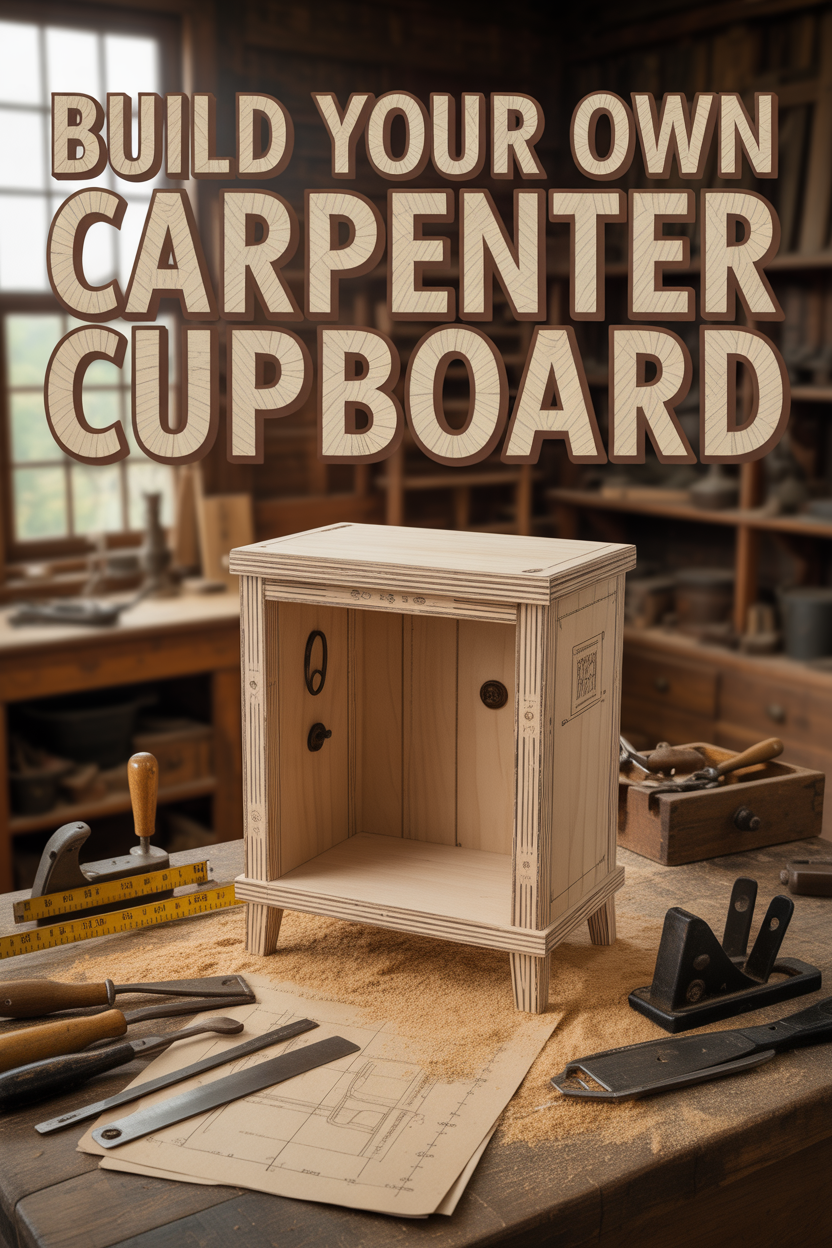
Start with thorough planning – detailed drawings and a cutting list will save you from standing in your workshop staring blankly at wood pieces wondering what goes where.
Begin construction with the cupboard carcass – that’s carpenter talk for “the box part.” Cut your sides, top, bottom, and shelves to size. Use dado joints for shelves if you’re feeling fancy, or pocket holes if you want to keep things simple. When assembling, use wood glue and plenty of clamps. Keep checking for square corners – a wonky cupboard is not what we’re aiming for!
Next comes the back panel – plywood works wonderfully here. For the face frame, join rails and stiles with your chosen method before attaching to the carcass. This is your cupboard’s “face” – make it pretty!
Door construction requires precision – nobody wants doors that swing open by themselves. Cut panels slightly smaller than openings, allowing space for hardware. Attach hinges to the doors, then mount them to the face frame. Spend time getting the gaps even – this is where quality craftsmanship really shows.
Finally, install any interior fittings, sand everything smooth, and apply your finish. Installing hardware is the jewelry that completes your wooden masterpiece. Stand back and admire your handiwork – you’ve just created something that could last for generations!
Advanced Joinery Techniques for Carpenter Cupboards

Ready to level up your woodworking game? Let’s talk joinery – the carpentry equivalent of advanced techniques! Dovetail joints are the rockstars of the joinery world – those interlocking “tails” and “pins” not only create incredibly strong drawer corners but also showcase your woodworking skills.
Mortise and tenon joints are the classics that never go out of style. They form rock-solid connections between rails and stiles in your face frames and doors. If furniture joints could win awards for reliability, these would have a shelf full of trophies!
Box joints (or finger joints) give you another decorative yet sturdy option for visible corners. These interlocking “fingers” create both strength and visual interest – a perfect combination of form and function.
For shelving, stopped dado joints provide solid support while maintaining a clean front edge. And mitered corners with reinforcing splines combine elegant looks with hidden strength.
Modern tools like doweling jigs, biscuit joiners, and Domino tenoners help create professional-quality joints with less hand-cutting, but there’s something deeply satisfying about mastering traditional hand-cut joinery. Your great-grandchildren might thank you when they’re repairing your cupboard 100 years from now. Talk about leaving a legacy!
Hardware Selection: Hinges, Handles, and Catches
Choosing hardware is like accessorizing your outfit – it can make or break the whole look! First up: hinges. Traditional butt hinges proudly show themselves, adding to that classic cupboard vibe. Meanwhile, European concealed hinges remain completely hidden while offering adjustability for when things don’t line up perfectly.
Door and drawer pulls are where you can really let your personality shine! Sleek bar pulls say “I’m modern and minimalist,” while cup pulls whisper “I have a fondness for vintage kitchens.” Remember to match the scale to your cupboard – tiny handles on massive doors look disproportionate and feel awkward to use.
Catches and closures ensure your doors stay properly shut. Magnetic catches provide invisible holding power, while elbow catches offer that satisfying mechanical click that signals proper closure.
Maintain finish consistency throughout your project – mixing metal finishes can look disjointed unless done very deliberately. Quality hardware might cost more upfront, but considering how frequently you’ll use those handles and hinges, it’s worth the investment.
Finishing Touches: Sanding, Staining, and Painting
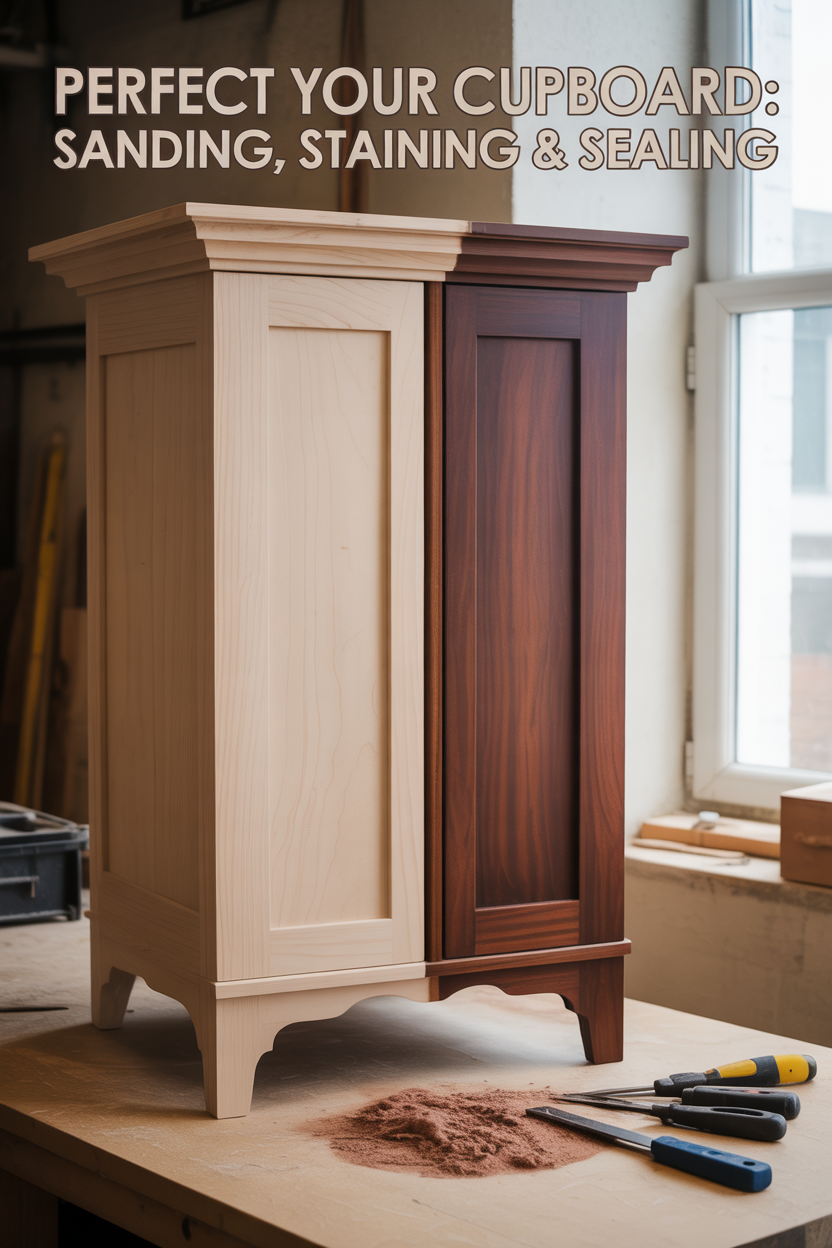
Start with methodical sanding, working through progressively finer grits. Always sand with the grain unless you’re deliberately going for a specific textured look.
When staining, always test your color on scrap wood first. Apply pre-stain conditioner to softwoods like pine to prevent blotchiness. Apply stain evenly and wipe excess before it dries to avoid creating a sticky surface.
For painted cupboards, prime first! This is especially important with resinous woods that can bleed through paint. Apply thin coats of quality paint – several light applications work better than one thick layer that never quite dries right.
Protective topcoats shield your creation from daily wear and tear. Water-based finishes offer easier cleanup and fewer fumes, while oil-based versions provide that deep, rich look. Apply multiple thin coats for a smooth, durable finish that will protect your cupboard for years to come.
Space-Saving Carpenter Cupboard Designs for Small Homes
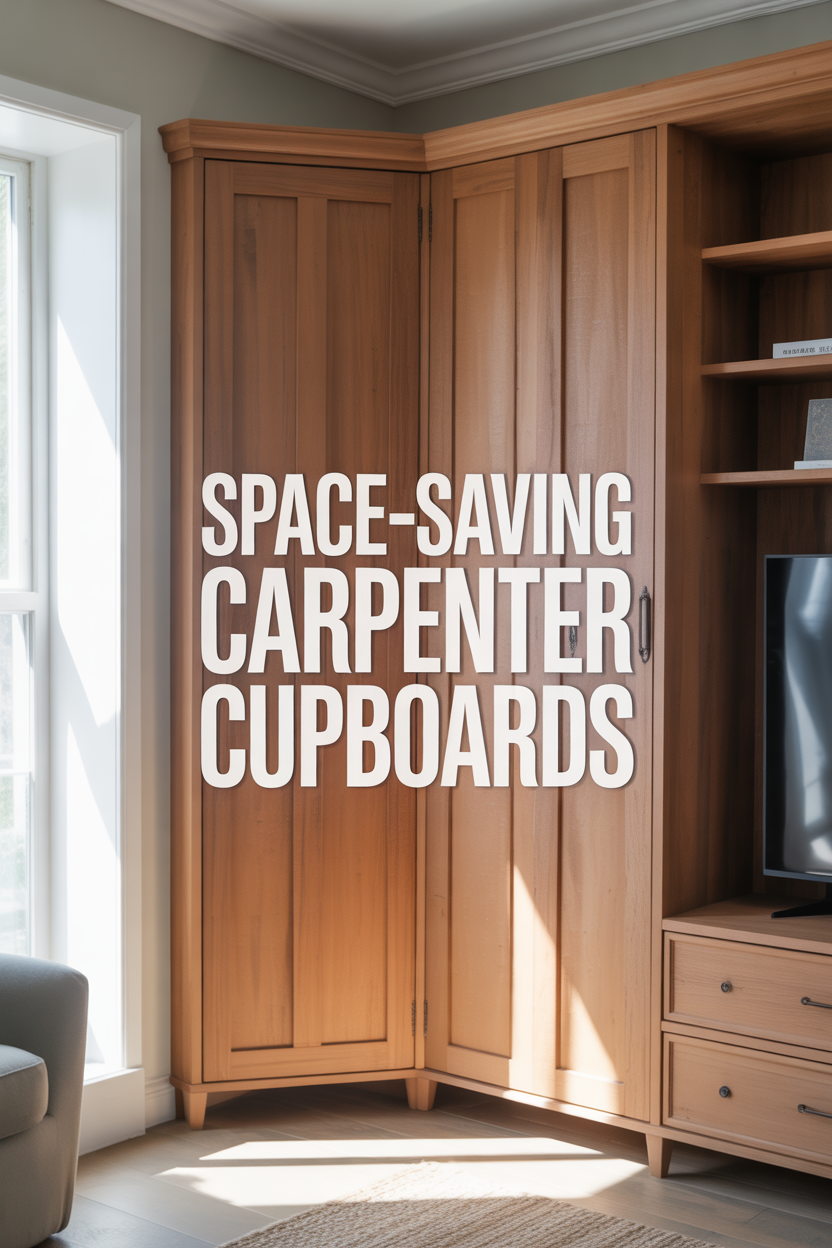
Corner cupboards make excellent use of spaces that might otherwise go unused. Angled fronts or lazy Susans help you reach items that would otherwise be difficult to access in those awkward corners.
Built-in features dramatically increase efficiency. Consider toe-kick drawers beneath base cabinets, pull-out pantry shelves, or door-mounted organizers that transform dead space into valuable storage.
Multi-functional cupboards work double-duty in small spaces. A window seat with storage below, a room divider with accessible shelving from both sides, or a fold-down desk integrated into a cupboard – these space-saving champions make small spaces feel much more functional.
For extremely tight areas, consider recessing cupboards between wall studs. Custom-fitted cupboards that follow angled ceilings or awkward walls capture otherwise unusable spaces. In small homes, every inch counts – so measure carefully and plan strategically.
Custom Features to Consider for Your Carpenter Cupboard
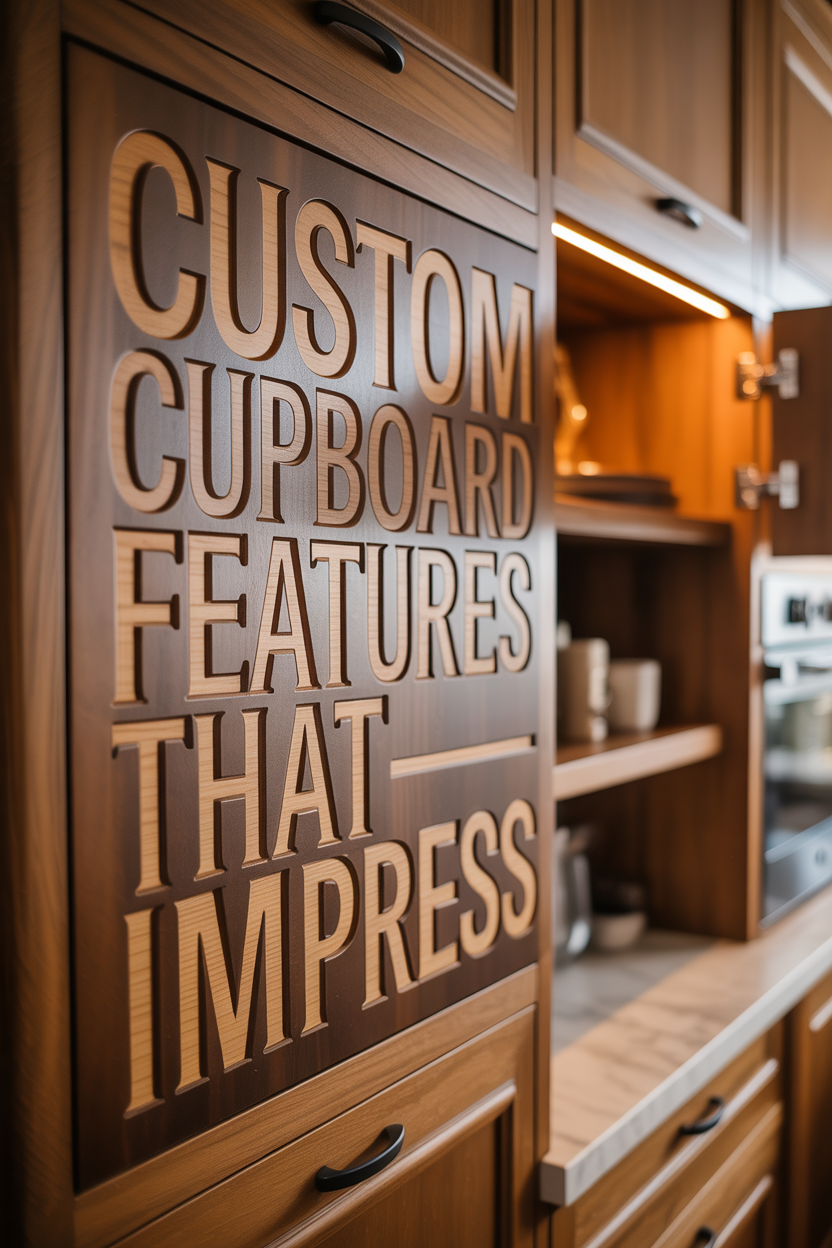
For kitchen cupboards, specialized organizers like spice racks, plate dividers, or pull-out trash bins will maximize functionality. Adjustable shelving provides flexibility as your storage needs evolve over time.
Strategic lighting doesn’t just help you find things – it creates atmosphere. Under-cabinet lighting illuminates work areas, while interior lighting showcases your treasured items. Modern LEDs use minimal electricity while generating little heat, making them perfect for cabinet installations.
Specialized compartments designed for specific items are game-changers. Wine racks, file drawers, jewelry trays, or tool storage can be directly integrated into your design, creating purpose-built spaces for your belongings.
Decorative elements add personality to your cupboard. Glass doors display contents while keeping dust at bay. Decorative moldings add visual interest to otherwise plain surfaces. Contrasting woods or inlays make your cupboard stand out as a true craftsman piece.
Soft-close mechanisms prevent slamming and add a touch of luxury to everyday use. Pull-out surfaces provide temporary workspace when needed – perfect for those moments when you need just a bit more counter space.
Common Mistakes to Avoid When Building Carpenter Cupboards

Inadequate planning leads to wasted materials and frustration. Create detailed plans before making any cuts to ensure everything fits together correctly the first time.
Overlooking wood movement is a mistake even experienced woodworkers make. Wood expands and contracts with seasonal humidity changes. Account for this natural property or your beautiful doors might warp or stick during different seasons.
Rushing through measurements frequently results in pieces that don’t fit properly. Double-check everything, remember to account for material thickness, and take your time with this crucial step.
Getting the carcass square is absolutely crucial – a wonky foundation means everything attached to it will also be misaligned. Take time to ensure perfect right angles from the very beginning.
Hardware installation requires precision – pre-drill those holes to avoid splitting the wood. For hinges, position them correctly the first time to ensure doors hang straight and operate smoothly.
Inadequate surface preparation leads to disappointing finishes. Sand thoroughly, remove all dust, and never rush the finishing process. A beautiful cupboard deserves a beautiful finish.
Maintenance Tips for Extending Your Cupboard’s Lifespan

Regular cleaning prevents buildup that can damage finishes – dust with a soft cloth and occasionally wipe down with a slightly damp one. Avoid harsh chemicals that can strip protective finishes.
Periodically check and tighten hardware – screws tend to loosen over time with regular use. A quick turn of the screwdriver every few months keeps everything secure. Lubricate hinges and drawer slides annually to keep them operating smoothly.
Protect wood surfaces from environmental factors – position cupboards away from direct sunlight to prevent uneven fading. Maintain consistent indoor humidity if possible, and use coasters and protective mats to prevent water damage.
Address minor damage promptly – touch up small scratches before moisture can penetrate the wood. Repair loose joints properly by disassembling and regluing, rather than just adding more glue on top.
For cupboards with moving parts, periodic adjustments keep everything working smoothly. A little regular attention keeps everything functional for years to come!
Repurposing Old Carpenter Cupboards: Restoration Techniques
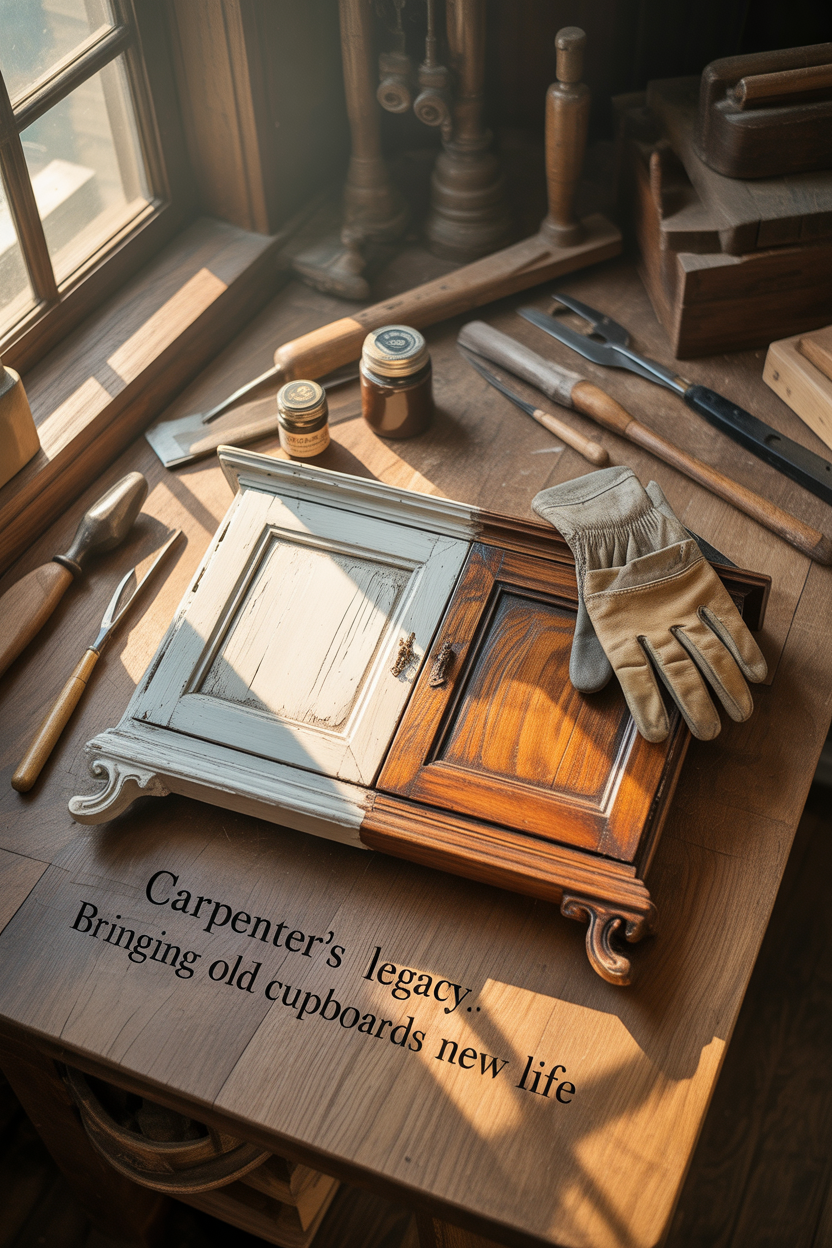
Start by carefully assessing the piece – document everything with photos before disassembly. Understanding the original construction will guide your restoration process.
Clean gently to remove decades of grime without damaging original finishes. A mixture of mild soap and water works for basic cleaning, while mineral spirits help with built-up wax and grime.
Address structural issues first – reglue loose joints, replace damaged sections, and reinforce weakened areas. For historically significant pieces, try to preserve original materials whenever possible.
Deciding whether to restore the original finish or apply a new one is a significant choice. If preserving, gentle cleaning and nourishing the wood might be sufficient. For refinishing, remove the old finish completely before applying new ones.
Consider thoughtful modifications that enhance functionality while respecting character – adding interior lighting, replacing worn hardware with period-appropriate alternatives, or adding protective elements. A well-restored cupboard combines historical charm with modern practicality.
Eco-Friendly Approaches to Carpenter Cupboard Construction

Start with responsible material selection – locally sourced woods minimize transportation impact. Look for FSC-certified lumber from responsibly managed forests, where trees are replanted and ecosystems respected.
Reclaimed wood brings character AND environmental benefits – salvaged materials from old barns, industrial buildings, and discarded furniture provide quality wood with built-in history and character.
Choose non-toxic finishes and adhesives with low or zero VOCs. Traditional options like shellac, pure tung oil, or beeswax offer natural alternatives that are healthier for your home environment.
Design with longevity in mind – quality construction techniques and timeless designs create furniture that won’t be quickly discarded. Use mechanical fasteners where appropriate to allow for future disassembly and repair.
Minimize waste through careful planning and creative use of offcuts. Small wood pieces can become drawer dividers, decorative elements, or even heating fuel. The most sustainable wood is the wood you don’t waste!
Hiring a Professional vs. DIY: When to Call in an Expert
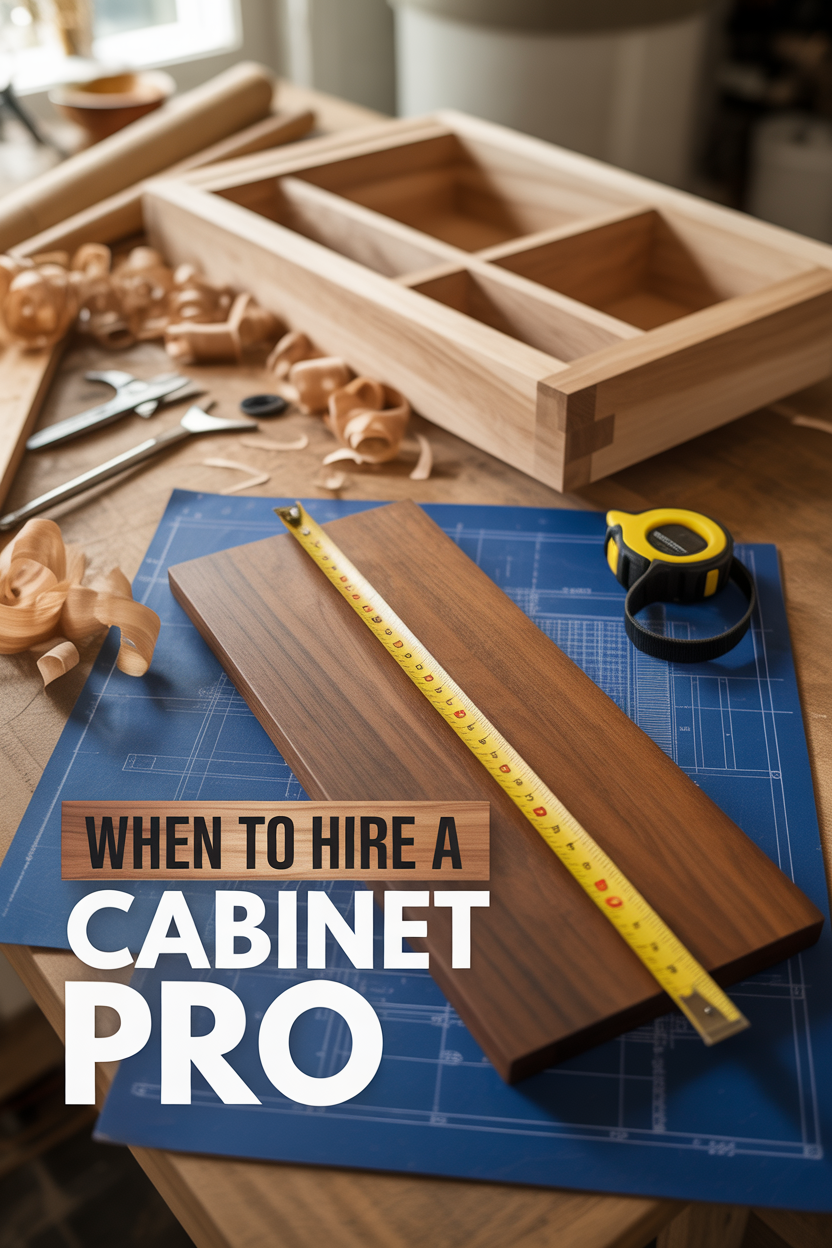
Building your own cupboard offers immense satisfaction and potential savings, but be realistic about when to call in the pros. First, honestly assess your skill level and whether you have the necessary knowledge for your desired project.
Evaluate your tools and workspace realistically. Professional-quality cupboards require proper equipment and adequate space. Without these, you may struggle to achieve the results you want.
Time constraints matter significantly – professionals work efficiently because that’s their job. Your DIY project might stretch over weeks of evenings and weekends, turning your home into a temporary workshop.
Certain projects clearly benefit from professional involvement – complex built-ins, heirloom-quality pieces, or anything requiring specialized techniques like veneering or intricate joinery.
A compromise approach might involve hiring professionals for critical aspects while handling simpler tasks yourself. Whatever you decide, clear communication about expectations, timeline, and budget remains essential. A well-made carpenter cupboard combines functionality with beauty, potentially becoming a treasured piece that lasts for generations.


